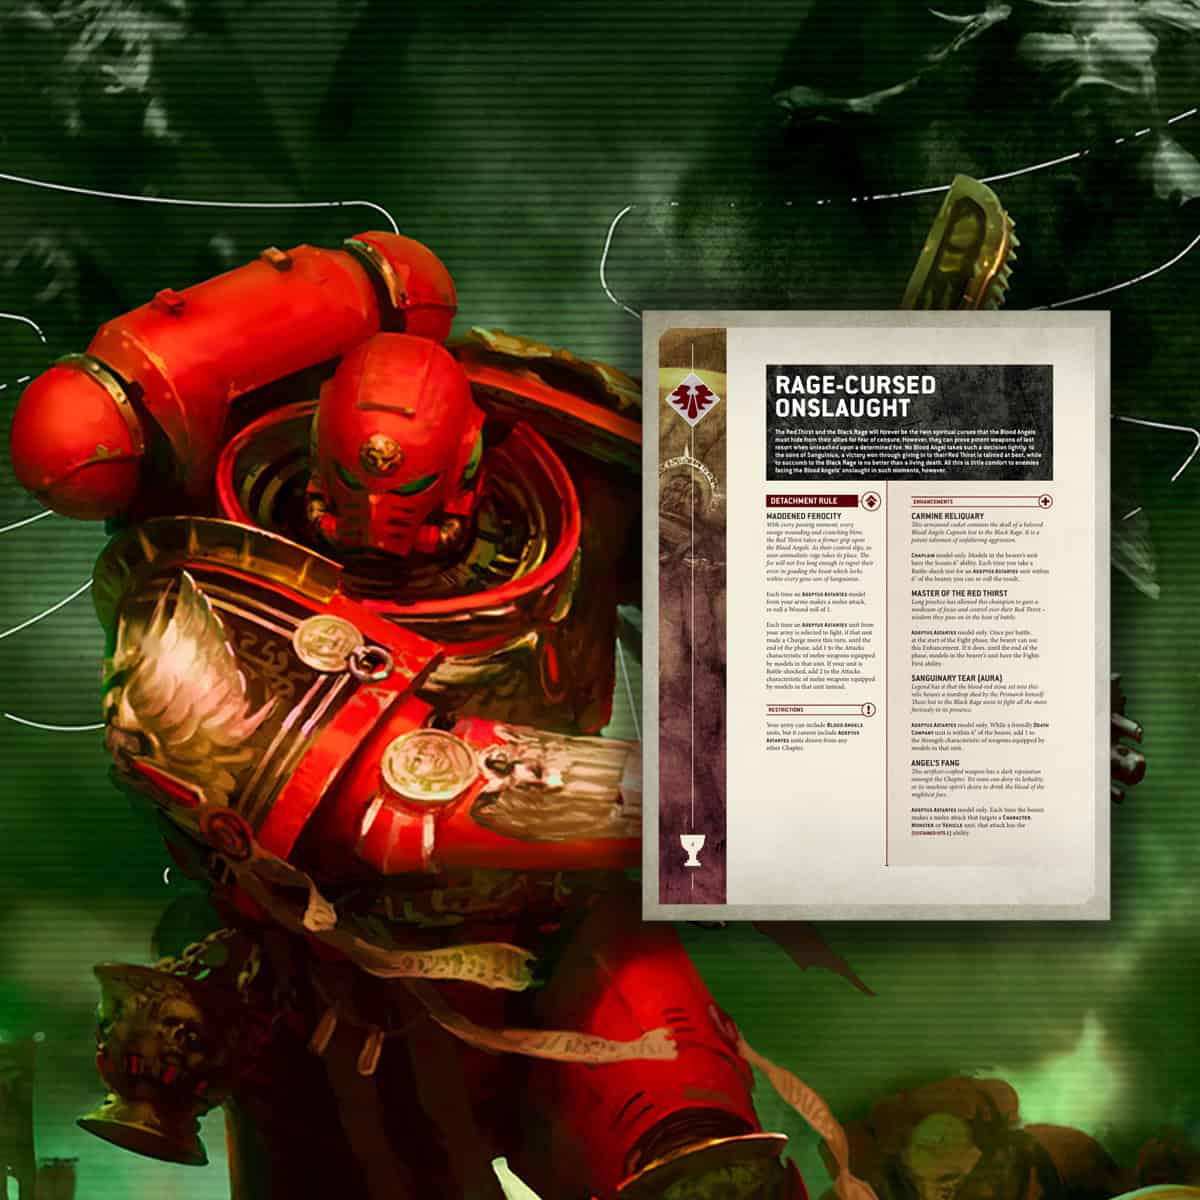
Get the full rundown on the 40k Blood Angels Rage-Cursed Onslaught Grotmas detachment rules, melee buffs, and brutal combos!
Ready to field a Blood Angels force that finally fights like it has been chugging Red Thirst smoothies for breakfast? The Rage Cursed Onslaught detachment brings raw aggression, wild ramping attacks, and enough extra swings to make your opponent think twice about touching an objective.
From vicious stratagems to enhancements that crank your heroes into full blender mode, this Grotmas detachment does not just help you win. It makes your opponent sweat every time a red helmet leans forward like it smells blood in the air.
Here’s why this twisted tribute to the Red Thirst might be the most Blood Angels detachment we’ve seen in 10th Edition.
A Tactical Guide to the Rage Cursed Onslaught Detachment
Updated on November 4th, 2026, by Rob Baer with full enhancement points, stratagem CP costs and timing, and an 11th Edition heads-up

The new 40k Rage Cursed Onslaught hits the table like a squad that skipped meditation class and went straight to rage management. Everything in this detachment wants to move fast, hit harder, and stay mad the entire game.
Mix in attack buffs, charge incentives, Battle shock trickery, and some spicy Death Company nonsense, and you get a detachment that thrives on relentless pressure and gleeful violence.
And since the rules dropped in December’s Grotmas Calendar, you can download the full package right now from GW.
Quick heads-up before we get into the rules: we’re looking at the 10th Edition version of Rage-Cursed Onslaught from that Grotmas drop. 11th Edition arrived in June 2026, and the detachment carried over into the new Space Marine faction packs. So keep in mind, the costs and timings here are the 10th Edition versions. Check the current pack before building your list around them.
Maddened Ferocity: Rage Cursed Onslaught Detachment Rule
 This rule is simple, strong, and mildly alarming. Every Adeptus Astartes model gets to re-roll Wound rolls of 1 in melee, which is already a great start.
One thing to remember: you don’t get that extra attack when you roll the charge. It kicks in when you pick a unit to fight after it made a Charge move that turn. Every melee weapon in the unit gets +1 Attack until the phase ends. If it’s Battle-shocked when you pick it, though, you’re getting +2 Attacks instead. Yes, the detachment gives you a reason to stop caring about morale and start caring about body counts.
You are basically rewarded for doing what Blood Angels want to do anyway, which is run across the board and punch things until they stop being a problem.
Rage Cursed Onslaught Detachment Enhancements
 Every crimson lunatic needs a leader who can keep team murder productive, and these enhancements bring exactly that. You get tools for scouting movement, Fights First tricks, Strength buffs for Death Company, and a relic that turns your hero into a can opener for anything big on the table.
Carmine Reliquary gives your Chaplain Scouts and Battle shock control. Master of the Red Thirst hands out a once-per-game Fights First spike.
The Reliquary costs 30 points, and it’s Chaplain-only. Every model in his unit gets Scouts 6″, which means your Chaplain and his melee buddies start that much closer to the action. Plus, Adeptus Astartes units within 6″ can re-roll Battle-shock tests. Those re-rolls are optional, too, so you can save them for units you actually need holding an objective, but you can also re-roll if you pass to grab the extra attacks.
Master of the Red Thirst comes in at 25 points, and any Adeptus Astartes model can take it. Once per battle, at the start of the Fight phase, the bearer’s unit gets Fights First until that phase ends. No range restrictions to worry about, either. I’d probably save this for when your opponent charges your best melee unit. Getting to swing first there could be huge.
Sanguinary Tear is the expensive one at 35 points. Any Adeptus Astartes model can take it, and its Aura gives friendly Death Company units within 6″ an extra 1 Strength on their weapons. Yep, all their weapons, including pistols, not just melee. Stick the bearer between a couple of Death Company squads, and they’re hitting harder up close and at range.
Angel’s Fang gives Sustained Hits 2 against Characters, Monsters, and Vehicles, which is just mean.
Angel’s Fang costs 25 points and can go on any Adeptus Astartes model. There’s no range limit or once-per-battle restriction here. Every melee attack the bearer makes against a Character, Monster, or Vehicle unit gets Sustained Hits 2 all game. I’d put this on a character who’s already throwing out a bunch of attacks and send him after a big tank.
Rage Cursed Onslaught Detachment Stratagems
 The stratagem spread here is pure violence; everyone fuels speed, pressure, and raw burst damage.
A Grim Warning Stratagem
This one keeps your objectives locked down through pure spite. For 1 CP, you can use this in any phase when one of your Blood Angels units gets destroyed within range of an objective you controlled at the end of the previous phase. Pick one of those markers, and it stays yours until your opponent’s Level of Control beats yours at the end of a phase. There are a couple of catches. The destroyed unit needs the Blood Angels keyword, so Sanguinary Guard and Baal Predators qualify. You also had to control that objective in the previous phase, if you grab the objective and die in the same phase, though, it doesn’t work.
Armour of Contempt Stratagem
A classic durability spike. For 1 CP, use this in your opponent’s Shooting phase or the Fight phase, right after an enemy unit chooses its targets. Every attack that unit makes against yours has its AP worsened by 1. Just remember, the balance dataslate changed how long this lasts. It ends once that enemy unit finishes attacking, so you’re protecting against one shooting or fight activation, not the entire phase. It makes melee weapons bounce harder than your opponent expects.
Insensate Rampage Stratagem
Death Company gets to flip the panic switch and shrug off more damage. Spend 1 CP in your opponent’s Shooting phase or the Fight phase, right after an enemy unit targets one of your Death Company units. Your guys get Feel No Pain 5+ until the phase ends. It’s Death Company only, but that protection sticks around for the whole phase. So if another enemy unit comes piling in, it still has to get through that 5+.
Limb From Limb Stratagem
If you charge, you get to pick a melee weapon type in your unit and give it either +1 Strength or +1 AP. If you are feeling extra spicy, you can choose to go Battle shocked instead and get +1 Strength and +1 AP at the same time.
This one’s 1 CP in the Fight phase, and your unit needs to have made a Charge move that turn. You can also use this before picking the unit to fight, which is where it gets interesting. So if you choose to go Battle-shocked, Maddened Ferocity also goes from +1 to +2 Attacks when those guys get their turn to swing.
Deathless Duty Stratagem
Death Company becomes immortal for a moment. For 2 CP in the Fight phase, use this right after an enemy unit targets your Death Company. Any models destroyed before they’ve fought that phase stay on the table, get to fight after the attacker finishes, and then get removed. If they’ve already swung, they’re just dead as usual. This is probably one you’d save for when your opponent gets to swing first. They swing until every last drop of fury is spent, which is great for trades and clearing enemy melee bricks.
Red Wrath Stratagem
Spend 1 CP in your Movement phase right after an Adeptus Astartes unit Advances, and it can either shoot or declare a charge that turn. Want both? Let the unit give in to the Red Thirst. It becomes Battle-shocked but gets to shoot and charge. And if that charge works, Maddened Ferocity gives it +2 Attacks instead of +1 when it fights. Just watch that charge roll, because you can’t use Command Re-roll on a Battle-shocked unit; roll badly, and you’re stuck with it. It turns a simple Advance into a full-on launch sequence.
Rage-Cursed Onslaught 40k Detachment Tactical Notes
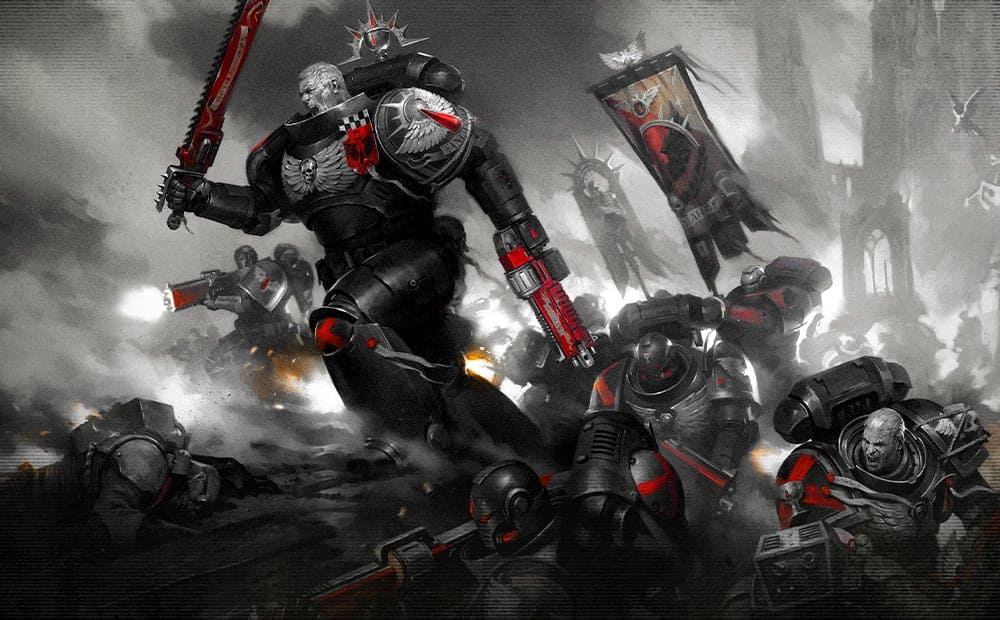 Death Company is absolutely wild in this detachment. They stack Strength, stack attacks, fight on death, and shrug off wounds. Big threats like Sanguinary Guard, Vanguard Vets, and Bladeguard turn into repeat offenders with these rules.
Death Company gets to take advantage of just about everything in this detachment. Sanguinary Tear boosts their Strength, Maddened Ferocity and Limb From Limb add attacks and AP after a charge, and Insensate Rampage or Deathless Duty make them a pain to kill before they fight. The rest of your army still gets those Wound re-rolls and extra attacks on the charge, too. Basically, everybody wants to get stuck into combat as quickly as possible.
The Battle shock bonuses matter a lot more than they look. Getting +2 Attacks on the charge from Limb From Limb or Red Wrath is great, but going Battle-shocked has some downsides. Just remember, that unit’s Objective Control drops to 0, and you can’t use your other Stratagems on it until the shock wears off in your next Command phase, which includes Command Re-roll. And with most of your good tricks costing 1 CP and Deathless Duty costing 2, you’re going to burn through CP pretty quickly if your Blood Angels don’t have much extra CP generation. By midgame, you could be running on empty. So use the Red Thirst on units you’re sending in to kill stuff, not the ones you need holding objectives.
If you like aggressive melee, this detachment does not just support that plan; it shoves you down the field with both hands.
Final Thoughts on the New 40k Blood Angels Rage-Cursed Onslaught Detachment
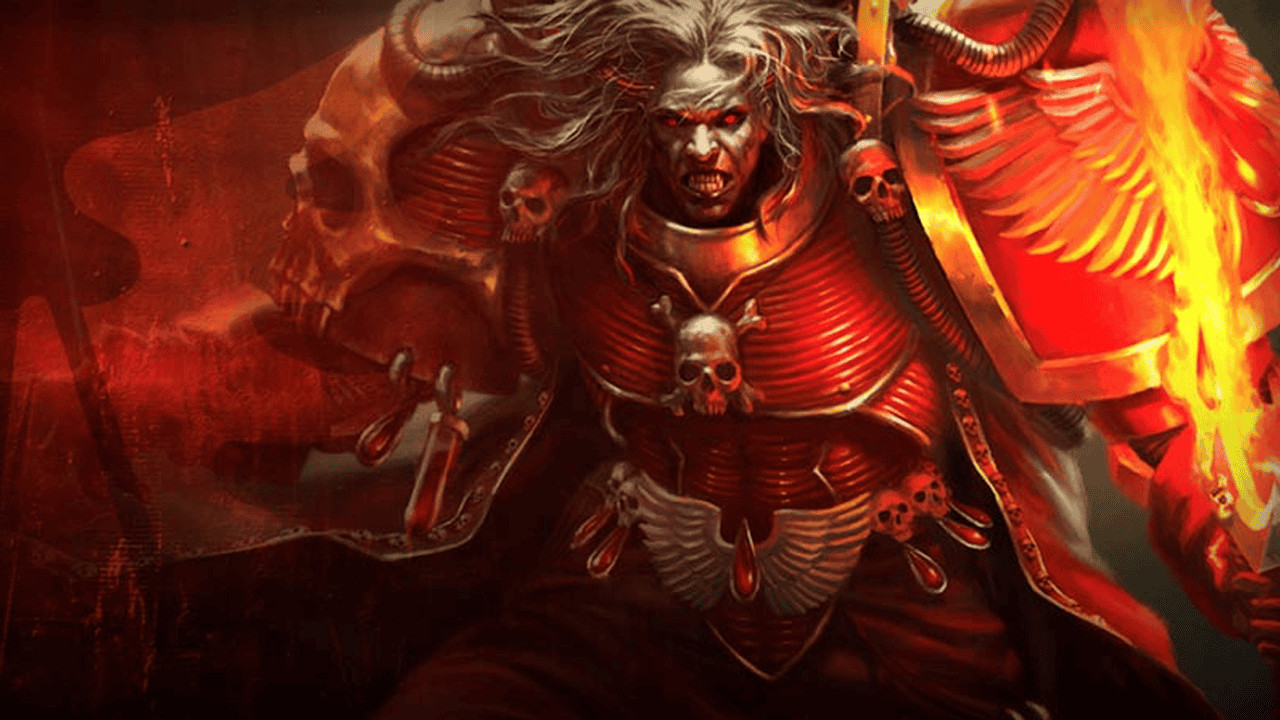
The Rage Cursed Onslaught detachment is everything Blood Angels players love. It hands out attack boosts, melee reliability, and tricks that make your units feel like they are two seconds from losing control.
So who’s going to like this detachment? If you’re running lots of Death Company and a couple of hard-hitting characters that want to charge every turn, you’re going to get a lot out of this detachment. But if you need those units holding objectives, or you’re already short on CP, things get expensive pretty fast.
Every Battle-shocked unit loses its Objective Control and can’t use your Stratagems for a turn. You just have to be careful about when you use those Battle-shock bonuses. Get that part right, and your Blood Angels will play like the Red Thirst we’ve been hearing about for decades.
And remember, this is the 10th Edition Grotmas version, so grab the latest 40k rules from GW and check the current faction pack before your next game.
See the Latest Grotmas Updates!
What do you think about the Blood Angels Rage-Cursed Onslaught detachment?