Checkout this sweet guide to making flickering fire explosions and smoke effect for your tabletop wrecks!
Squeek from the Chattering Horde posted up this great article I found recently, and I had to share it with you!
Squeek! Hi everyone.
Just a quick post and a guide to making something I have wanted to try for a while – making explosions and smoke for gaming table/ miniature warfare!
After a very short time (x1 hour), here is what I ended up with (scroll down to the video to see them flickering.)
From looking around on the net, I think these are more likely to be fires, rather than explosions (but they are commonly called “Tea light explosions”, for reasons we shall see below.)
 |
| This is a fire, not an explosion, notice the fairly thick smoke from the top of the vehicle. |
 |
| This is a controlled mine explosion. |
As you can see, an explosion would involve a lot more “force” and the explosion itself is mainly a bright yellow, with orange and black at the edges.
How to make Tea light Explosions and Smoke
1. Gather your materials.
- 4-8 Tea lights. These come in packs, and cost very little. Mine have replaceable batteries, but the very cheap ones don’t (which saves you even more money!) You probably want a total of 8 or so.
NOTE: If you don’t have tea lights, no worries! You can still make columns of smoke by following all the other steps below (to see examples, see the BONUS TIP photos at the bottom of this post)
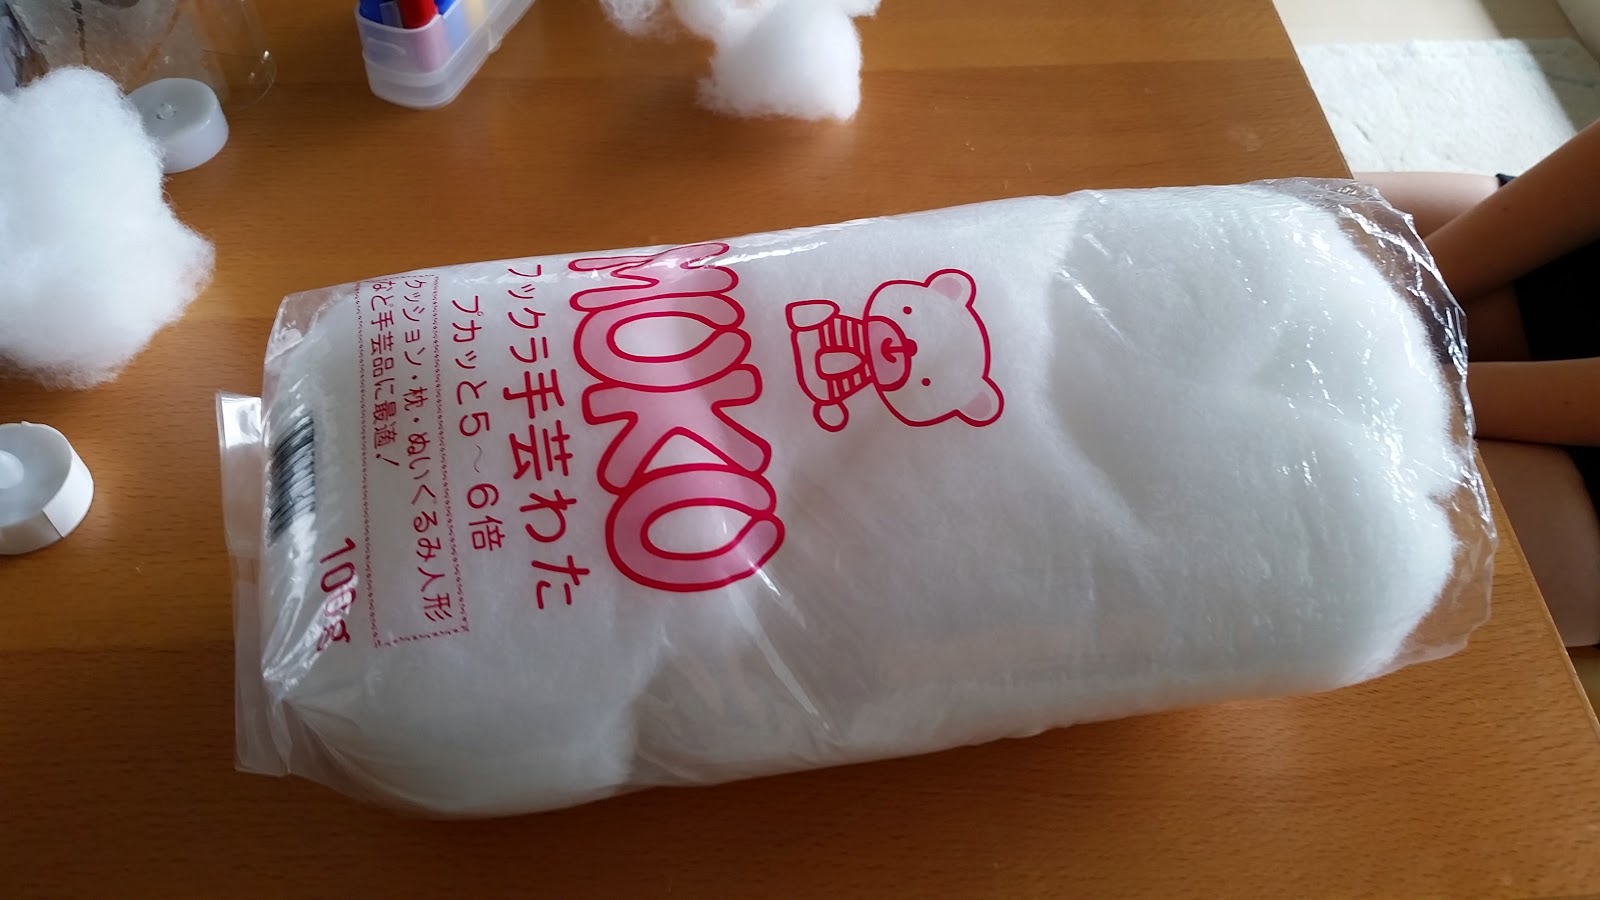
- Filling/ stuffing. Craft shops have this, as it is commonly used for stuffing for soft toys etc.
- Double-sided tape and/ or glue. (If using double-sided tape, make sure it is the same width as the side of the tea lights you are using, or cut it down to size)
- Scissors and string (if you are using only glue, you won’t need these).
- Black modelling spray paint. I used GW Chaos Black.
2. Construction!
- To measure the length of double-sided tape to go around the tea light, wrap the string around the tea light. Cut the string where it meets.
- Use the string to measure-off lengths of double-sided tape (x1 for each tea light obviously)
- Wrap the double-sided tape around the edge of the tea light.
 |
| Wrap the double sided tape around the edge of the tea light. You can see that the tape is about the same width as the tea light. |
- For the top of the tea light, add glue, as below. (If you don’t have glue, cut small strips of double-sided tape down to size and put them on the top.) Doing this will mean your filling is more securely attached to your tea light later.
 |
| Put glue (or small strips of double-sided tape) on top of the tea light. |
- Tease out your stuffing into large blobs. Experiment with the shape. Some people glue balls of cotton wool together, but I just teased out some shapes from big pieces of stuffing.
HINT: I found one good effect was for taller “clouds” was to twist it round and up, so that it looks like a vortex of smoke and flame.
- Peel off the backing on the double-sided tape and attach the stuffing on top, pushing around the base firmly. Also press down on the top of the tea light so the stuffing gets attached there. (If you are using glue rather than double-sided tape, search on YouTube to find some examples of how to attach!)
 |
| Tease out the stuffing into the size and shape you want. |
NOTE: Before attaching/ gluing stuffing to the tea light, poke a hole for the tea light in the bottom of the stuffing and try a dry fit!.
3. Painting
- Spray the stuffing black, lightly at first. As you spray towards the top of the stuffing, use lighter and lighter passes from further away, so the top of the smoke is grey, rather than black.
- If you prefer a darker look (thick black smoke) then spray more black at the bottom of the stuffing, as this is where the thicker smoke will look best (in my opinion!)
OPTIONAL: Some people drybrush orange or yellow paint on the bottom of the stuffing, but after seeing how it looked with the tea light on, I didn’t think this was necessary (although it might look better).
 |
| After spray painting black |

To see how they look on the table, here is (very!) short video!

They also look OK on buildings (this was my first ever scenery, a bunker…)

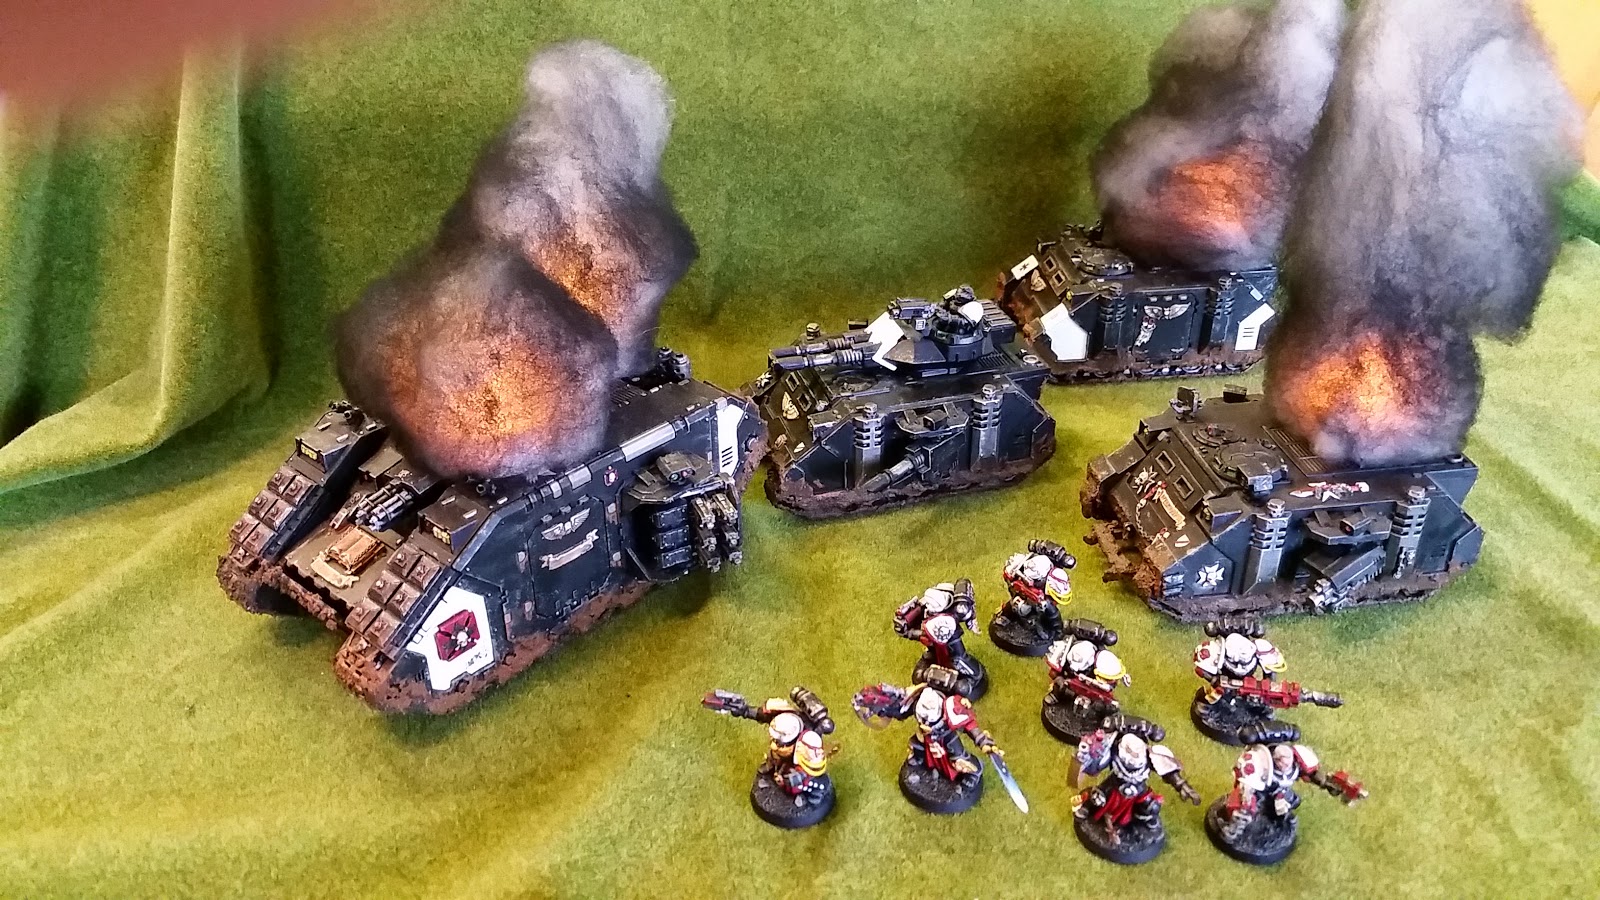
BONUS TIP: If you can’t get tea lights, just spray the stuffing following the steps above. You can easily attach it to vehicles by either just dropping them on top, or removing a turret and wedging in the bottom of the stuffing (the darker part).The photo below used just spray paint and stuffing, but it still looks good IMHO!
 |
| Smoke effects, no tea lights inside! |
Let me know your feedback!Cheers,Squeek