Today we have a tutorial with four easy painting hacks that can be used to paint Chaos Marines and more! Get the whole tutorial here!
Here are four easy painting hacks that can be used to make your Chaos army look sick on the battlefield!
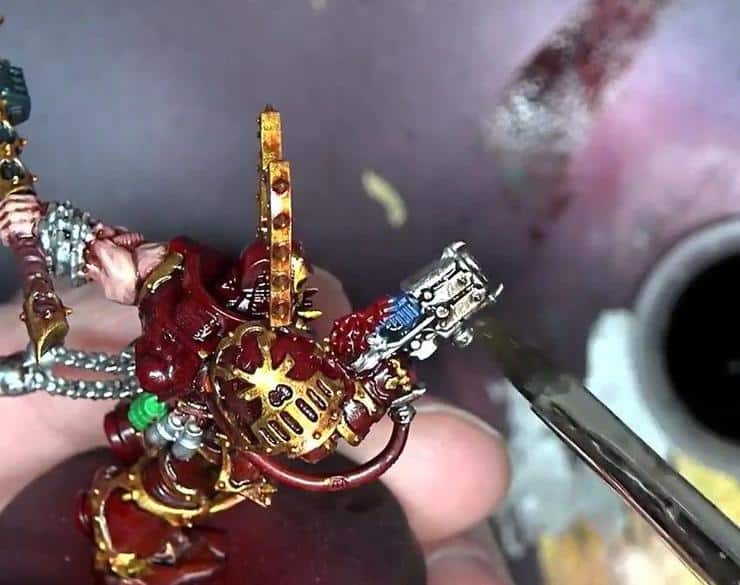
Step 1: Now that we have all of the metals base coated, we are going to go in and do some washes. First we will start with washing the gold with Reikland Flesh Gloss from Citadel. We go through and hit around all the rivets and other areas we want to add the wash to. A lot of time and care is taken to make sure the wash stays where we want it and doesn’t pool anywhere. Make sure to add multiple coats to achieve the exact effect you are looking for.

Step 2: Now that all of the Reikland Fleshshade has dried we are going to wash the silver metal parts with a 50/50 mix of non gloss Agrax Earthshade & Nuln Oil with a splash of Reikland Fleshshade. Make sure to thin the wash with a 50/50 mix of water and Future to give it a little pop. Now this mix will be applied to all of the silver parts.
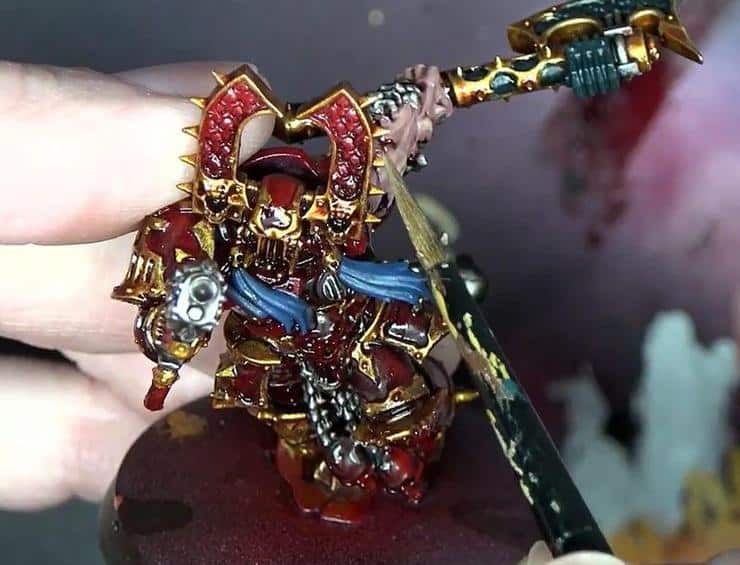
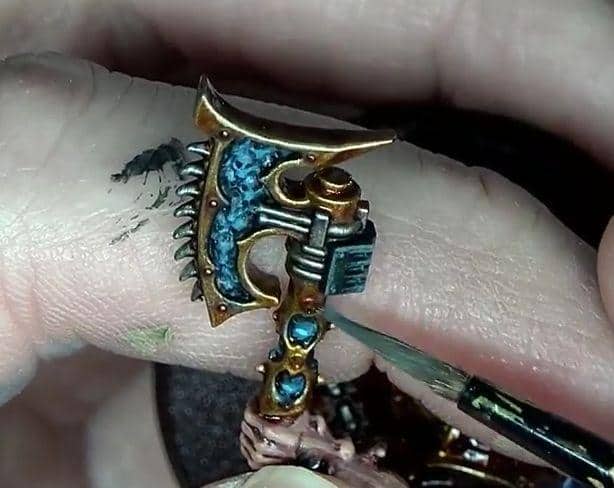
Step 3: Model Air Aluminum from Vallejo is now used to edge highlight all of the silver metal. Then just drag the tip of the brush across the high points of the chains and other silver metal parts.

Step 4: Then use Liberator Gold from Citadel to highlight all of the sharp edges of the gold trim to really make it pop.
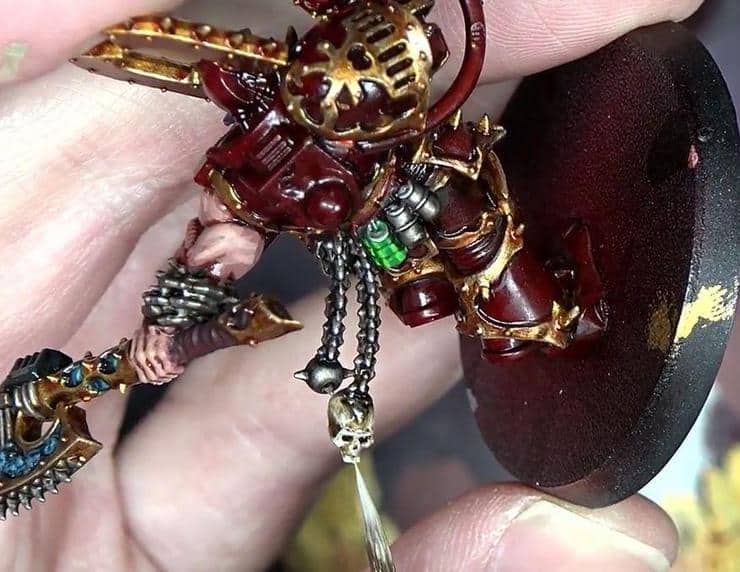
Step 5: Now that all of the highlighting of the silver and gold has been done we need to paint in the skull at the ends of the chains. We are wanting to build it up to a nice base coat of P3 Menoth White but we will be starting with a couple of nice coats of Karak Stone from Citadel since we are painting over such a dark area. After the Karak Stone has been applied and looks pretty solid we apply Menoth White to bring the skull up to the base coat we are looking for.
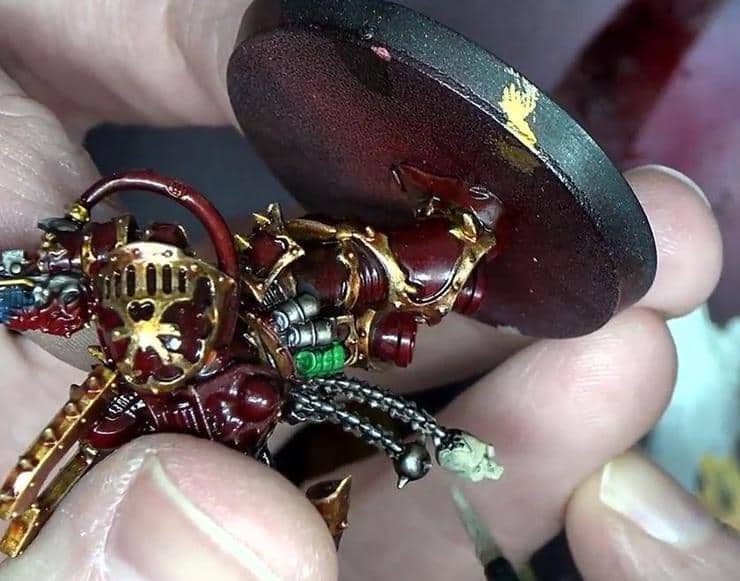
Step 6: After the base coat on the skull is solid we go in with some Agrax Earthshade Gloss from Citadel and apply a nice even coat making sure to dab off any wash that is pooling where we don’t want it.
Step 7: After the Agrax Earthshade Gloss completely dries we come back in with some Menoth White and Menoth White Highlight and work both of them in on all of the raised edges until we get the effect we are looking for.
Step 8: Now come back with the Agrax Earthshade Gloss and add a little Future Floor Wax and water to make a glaze. The glaze is then applied to the entire skull to blend our hightlights down so they aren’t as harsh. This same technique will be applied to every piece on the model that is bone.

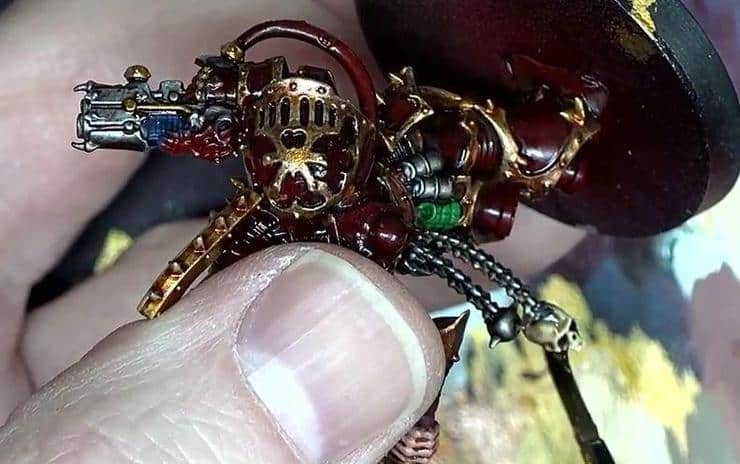
Step 9: Next up is to paint in all of the armour joints and grieves with Tire Black from Secret Weapon Miniatures.
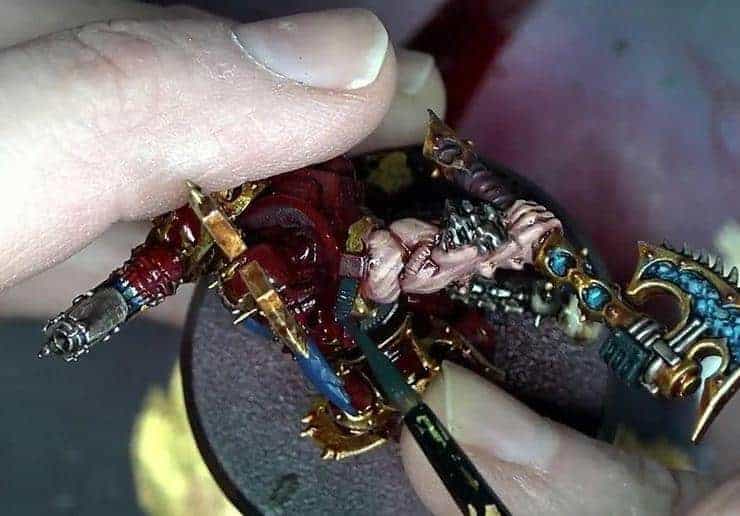
Step 10: After all of the areas have been base coated with the Tire Black it needs a little highlighting. For this, we will use Rubber Highlight from Secret Weapon Miniatures as a semi drybrush to really make it pop.
Step 11: Lastly we are going to take a little Nuln Oil from Citadel, thinned with our Future Floor Wax and water mix, to make a nice glaze and just wash it over all of the areas we just hit with the Tire Black and Rubber Highlight.

Check out the whole tutorial video and catch every step right here!