 This post has been sitting in my archive for far too long. I am not going to pretend it is new work – it has been up on my Instagram for some time but I thought I would show you some WIP photos and talk through some tips on making what is a very large project manageable.
 Three Knights is a decent amount of work – but to be fair, you pretty much have an army once you are done. To keep me motivated and to make the project achievable, I broke it down into stages:
- The Metal Skeletons
- Panel Work
- Bases
- Weaponry
This approach will save you time and will help you get Three Knights above table top quality quickly and efficiently. It won’t feel like it as you go – but trust me when you reflect, you will have saved yourself some serious time. There is also a uniformity you can’t replicate from doing 1 then adding 2 later on… Take the pain and work in multiples….read on!
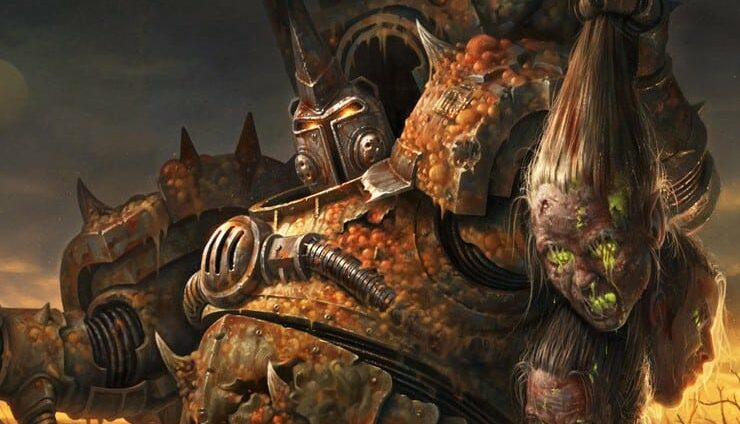
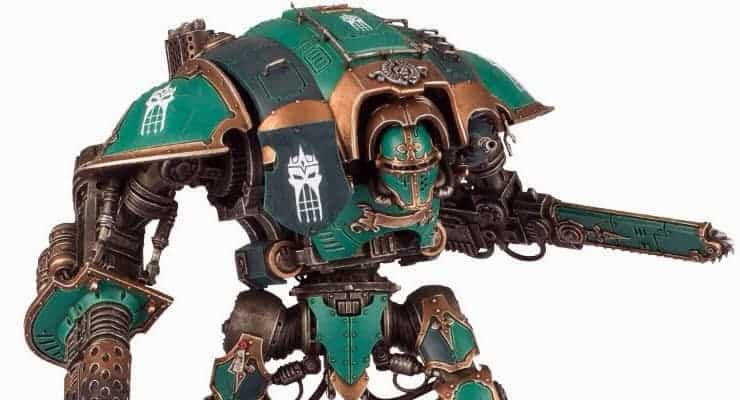
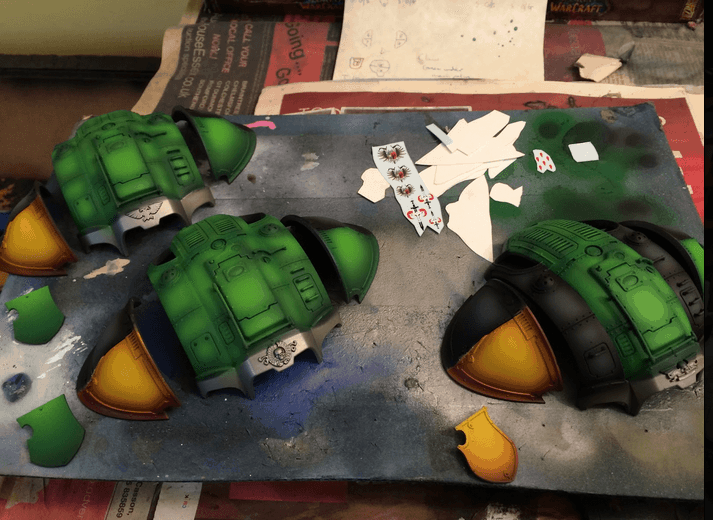
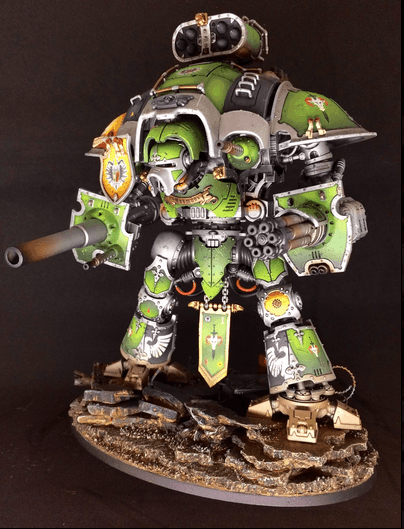
 1. The Metal Skeletons
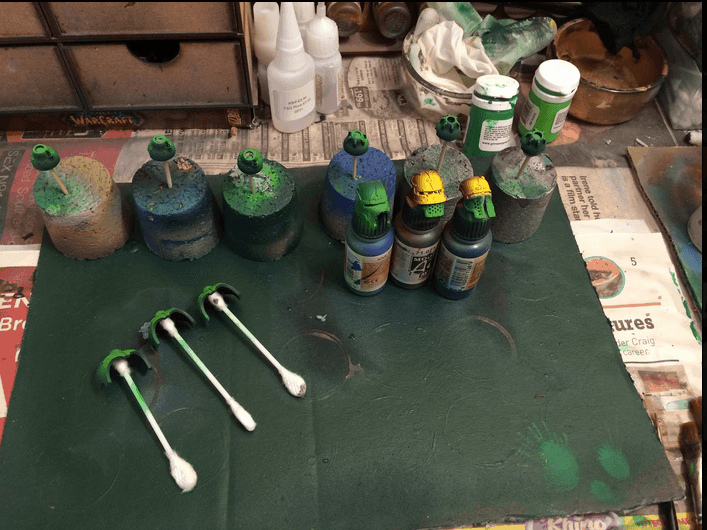
 Oh yeah, dry brush the exhausts a gold, then airbrush highlight with brown and black to get some exhausts effects. A light drybrush of silver on the edges over the black for the true OCD subscribers… guilty!
 2. Panel Work
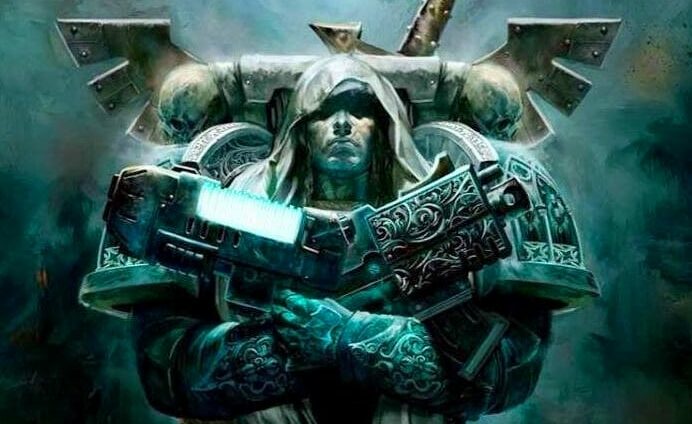
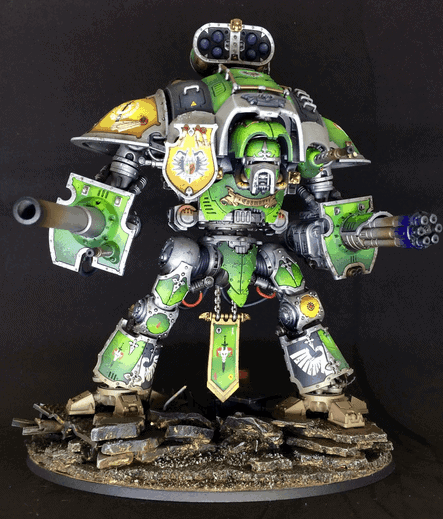
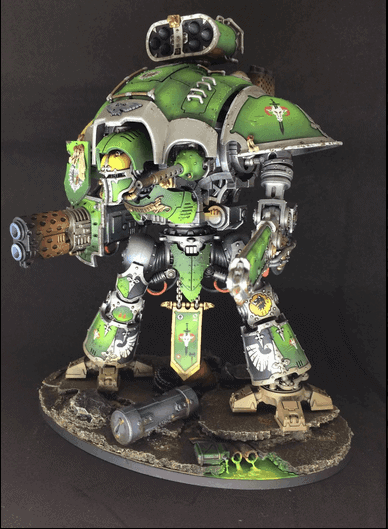

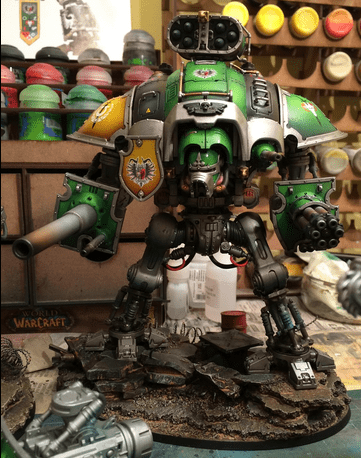
This model is a real treat for smooth transitions and airbrush contrasts. Pick 3 colours….split them into 3 transitional colours (light, dark and mid-tone) and have at it! Lighter toward the top of the panels, darker near the bottom and around the joints.
- VMA Black, Black with white, Black with more white.
- Army Painter Dark Angel(?) Green, P3 Iosin Green, P3 Necrotite Green.
- VMA Burnt Umber, VMA Golden Yellow, GW Flash Gitz Yellow, GW FG Yellow with some Bleached bone – Not white! Use any off white for a better finish.
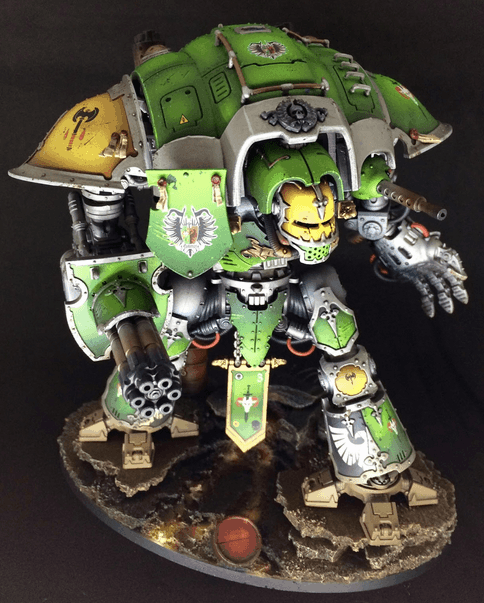
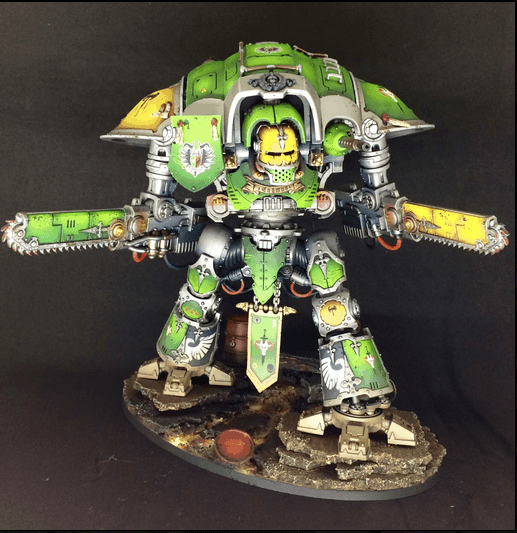
 3. Bases
 Heat effects: Yellow over red airbrush – Orange Glaze to finish. So, so easy. Almost feels like cheating…
4. Weapons
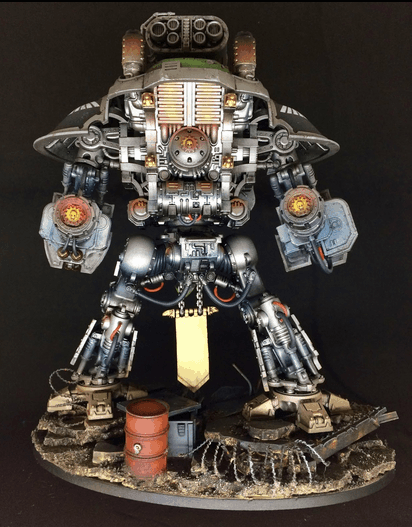
Army painter silver, same wash and shade as the skeletons and then some finer panel work. Magnets in all the arms padded out using some Vallejo Squeezy putty/filler. Final weathering done with a sponge – use the highlight colours and then go over some (not all) of the highlight colours with sponged Typhus Corrosion. Some edge highlights in the central regions where the eye will fall and that’s it done!
These are great models and allow a whole host of different techniques to be played with as you go. Because they are so big you can effectively practice on these and take them to smaller models in due course. These are easier than some of the smaller stuff!
Don’t be put off; get organised, break the project down, cheat wherever possible (spray cans, washes, and glazes) and enjoy being creative with the bases/poses.
Message me with questions @heavytankbuilder on Instagram.
 What kind of “cheats” do you use when it comes to painting your armies? Let us know in the comments below!
 Keep up with the Heavy Tank builder on his blog, and Instagram!