 Making custom bases can seem daunting, but is pretty easy. In five steps, this tutorial goes through an easy way of creating Aztec style bases.
While there are many great companies that pre-make awesome resin bases, such as Gamer’s Grass and Elrik’s Hobbies, sometimes you cannot find the design you want or that matches the theme of your army. Making custom bases is the way to go in these cases. Sometimes, though, it is hard to get a start or know what steps to go in to get that desired custom base look. These five easy steps will help you remember and get you on that path to glory! For the full video, scroll down and press play below!
Editor’s Note, Vallejo doesn’t seem to make the pumice anymore, so we started using Liquitex Resin Sand, and it works BETTER in our opinion! You can get it here:
Step One – What do you need?
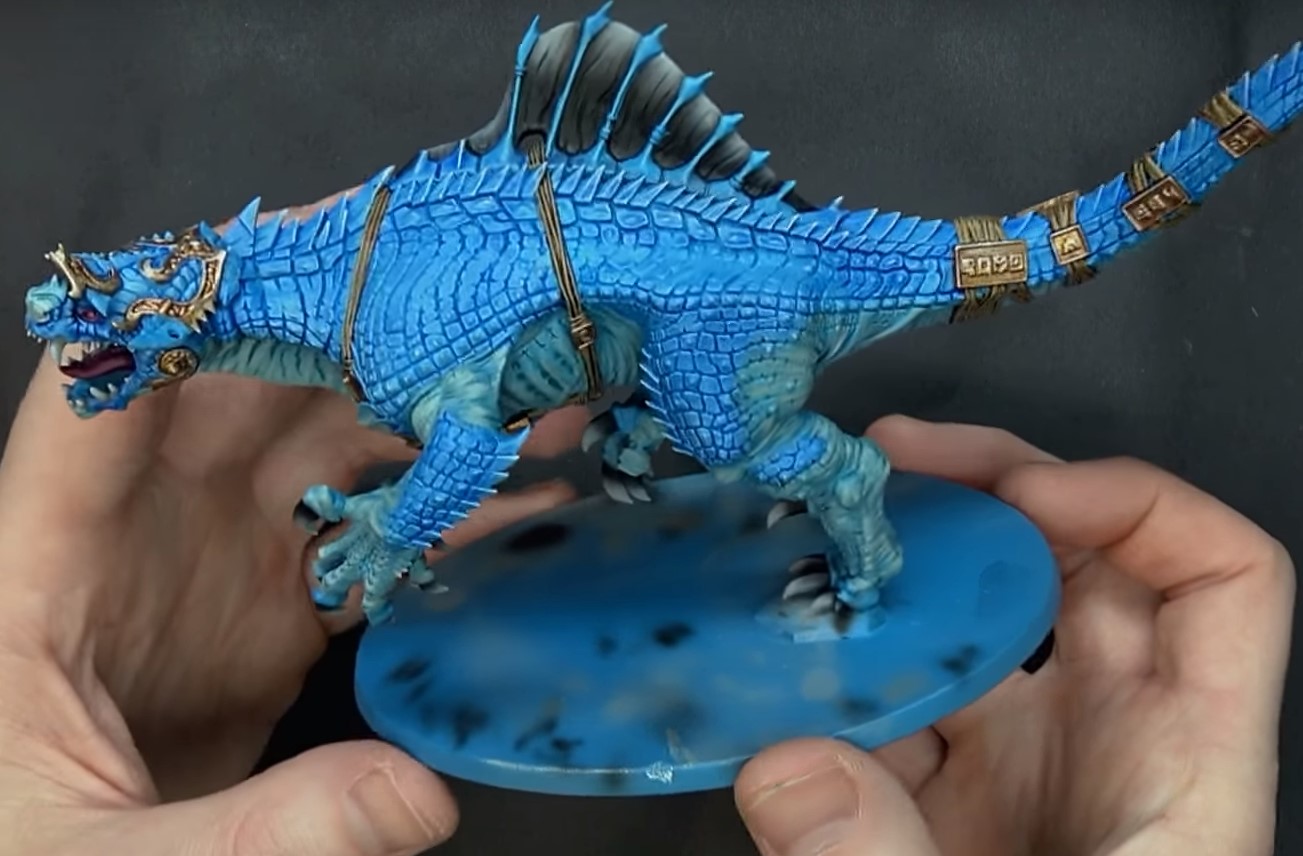
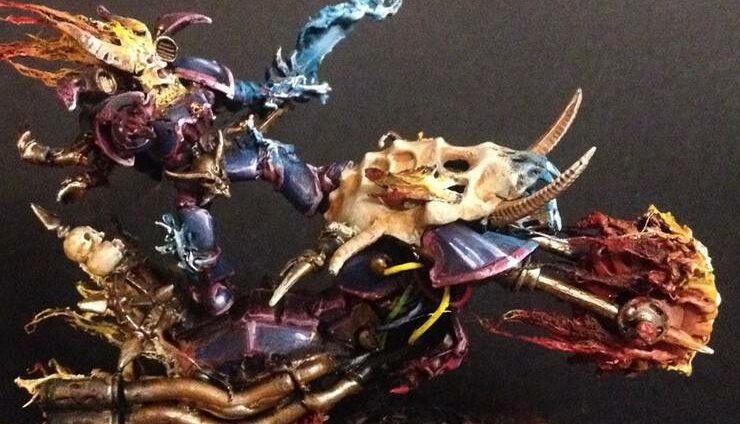
With the model we want based, the Aztec-style theme is what we want to move forward with. This model will be easier to transfer to a new base, rather than building and painting everything on the current base he is painted on. As well, we want to match some of the elements from the model itself, such as the runic features from the tail wraps. How do we start this process? Start by setting aside the items you think you may need!
Select the pieces of material you want to use for your base and trim them out. For this base, we will be using the Shattered Dominion Basing Kit from Games Workshop for some extra flare. As well, Green Stuff World has some fantastic rollers that add great texture to green stuff and, in this case, we will be using the Aztec Print Roller. Other materials used will be cork, cut cork pieces from previous projects, coarse pumice, clippers, glue and a hobby knife.
Step Two – How do you want it?

Starting with a new base, arrange the pieces you want onto the base itself. Dry fitting items to the base first helps you decide the composition and how the basing items will look best with the model. This can change, so don’t be afraid to set aside items you feel might not fit at this point. In this case, the cork is put aside, since the base pieces offer a great depth and detail, so the cork might not be needed. Carefully begin to glue down the starting base pieces. A great way to be sure everything will fit well is to mark out on the base where the model’s feet will be going. This may save you headaches later on when attaching the model to its new home.
Step Three – Slather it on!
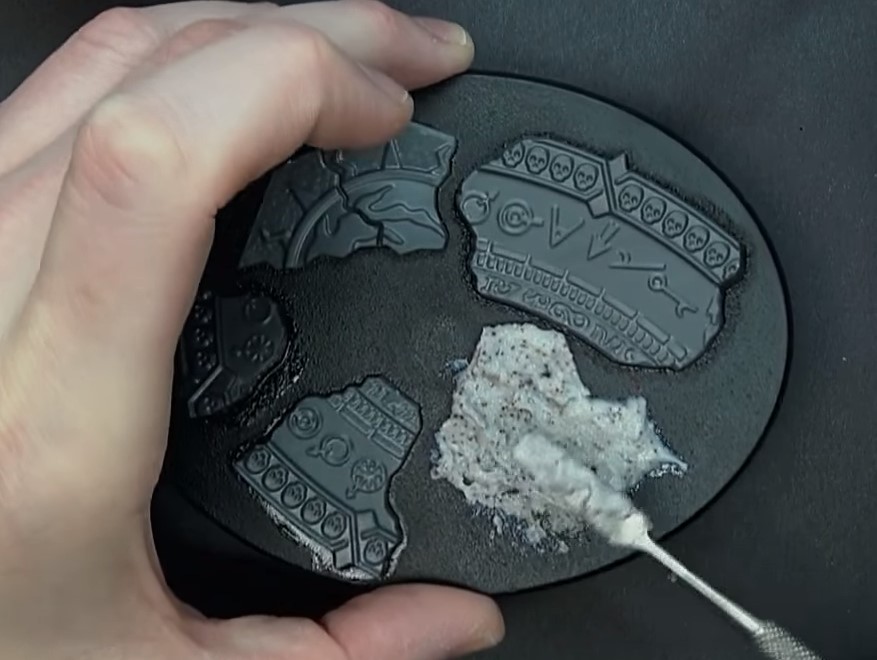
Let the base pieces dry and start applying pumice to the base. Using a ladle, apply the pumice onto the base slowly, pushing the texture around until it is flush against other pieces and fits the base elements desired. Pro tip: when storing pumice, keep it in an airtight ziploc bag, or in as airtight a place as possible, to help prevent it from drying out. Pumice likes to dry out quickly, so storing it as such prevents it from getting too dry and becoming unworkable. Also, if the pumice you are using isn’t as chunky or textured as you want, add some sand (or kitty litter) into the mixture to up the coarseness. The pumice won’t shrink too much when dry, so getting it exactly where you want it is very important.
Step Four – Push it around!
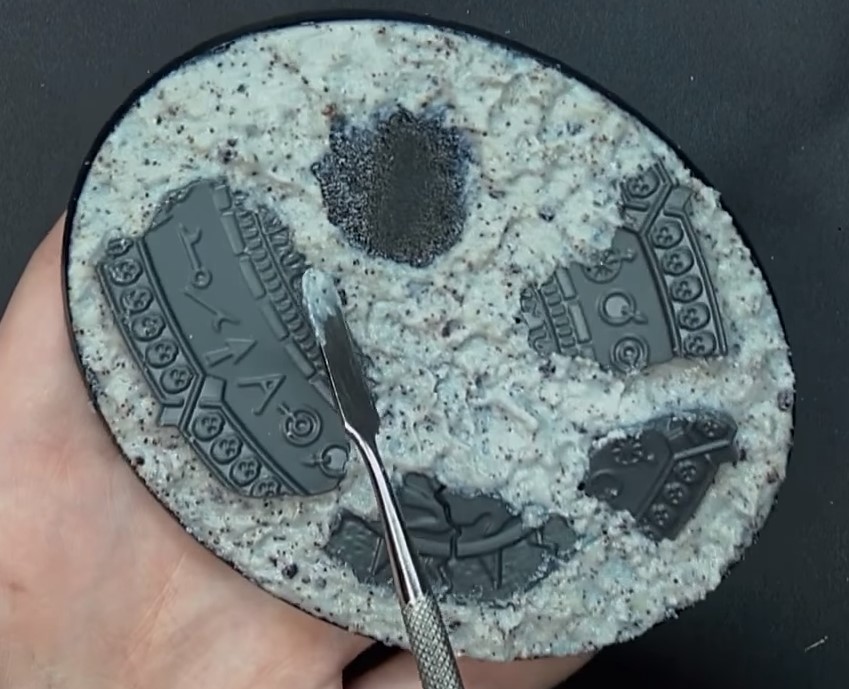
Be sure to remove pumice from the spot indicated before is clear of pumice, so you can glue the model to the base. Before the pumice dries, you can adjust the texture to create ridges and mounds, as well as clearing unwanted texture from the other basing elements. During this step, be sure your base edge is clear and smooth.
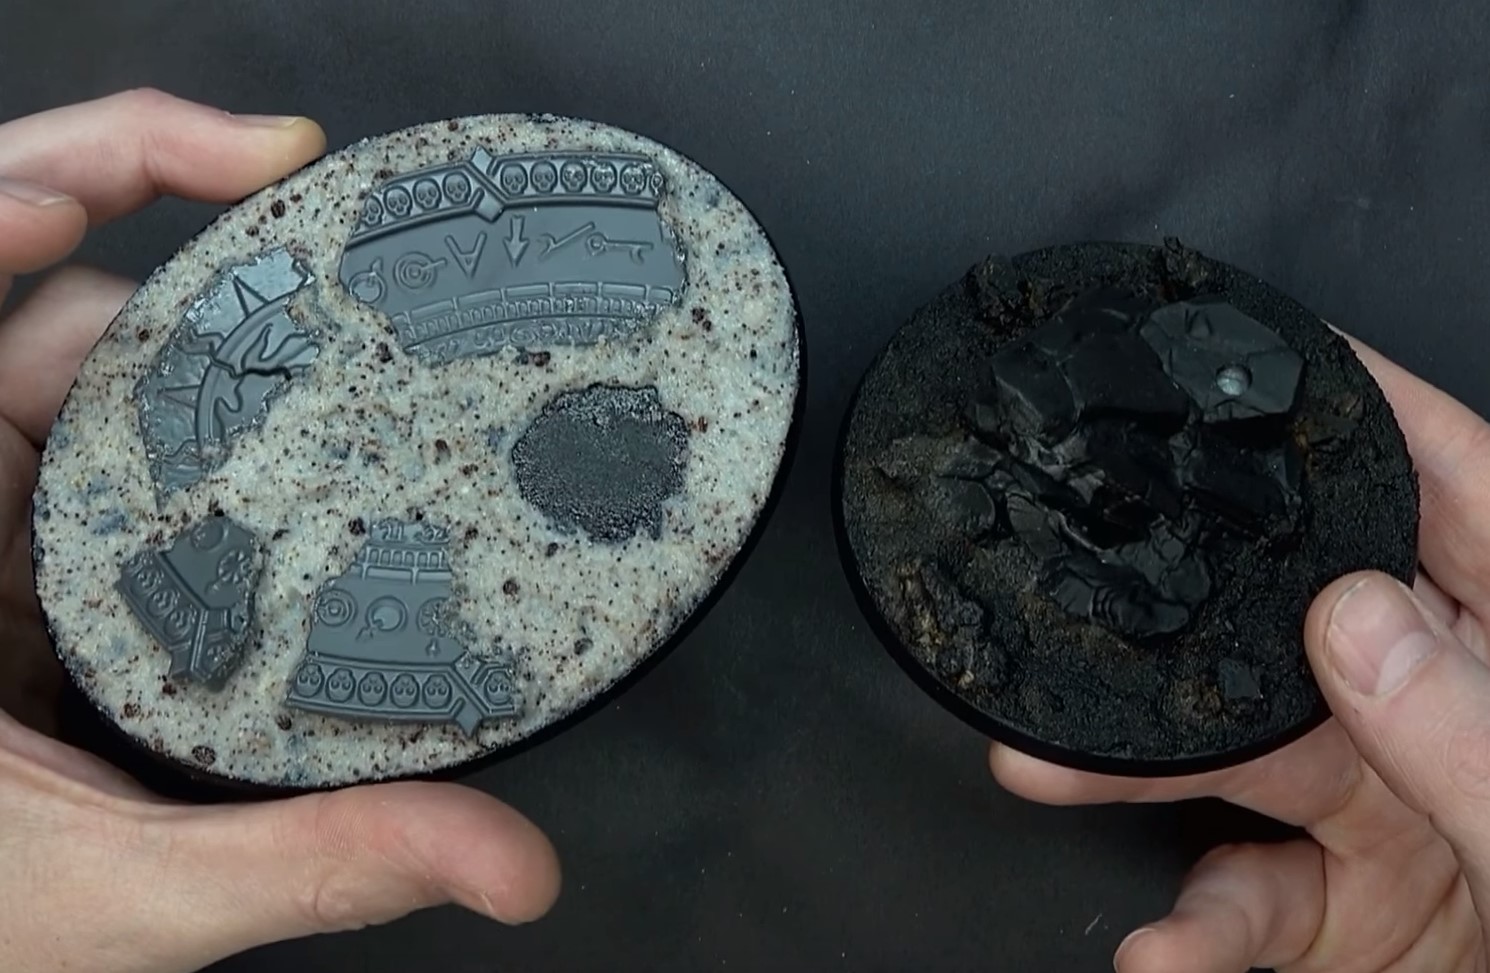
Step Five – Prime it up!
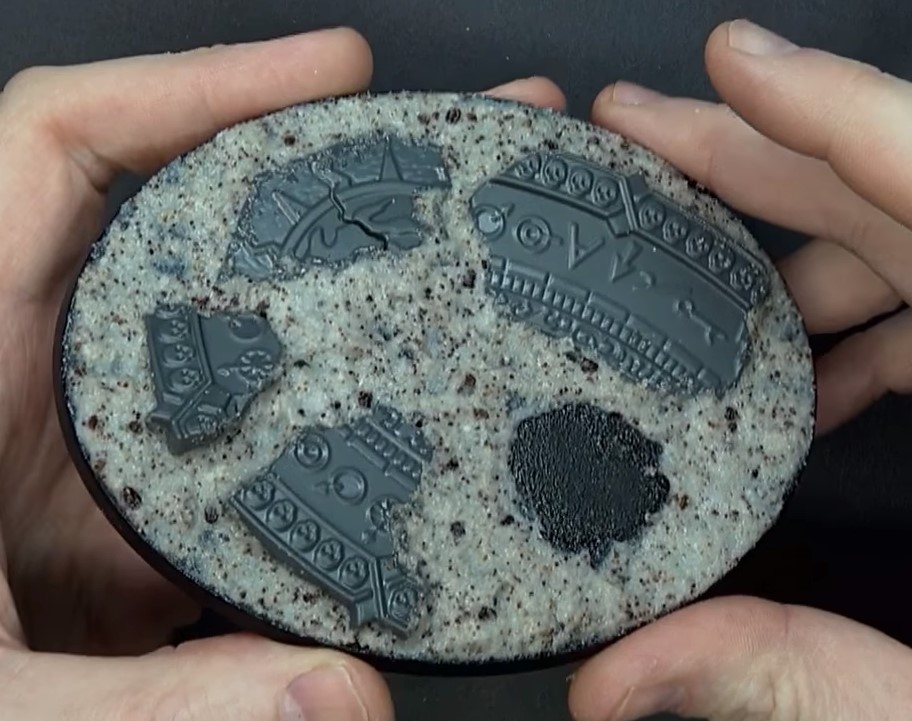
Once the pumice is completely dry and cured, the entire base can be primed and set up to be painted. Painting is the final step, and will be a feature in another video.
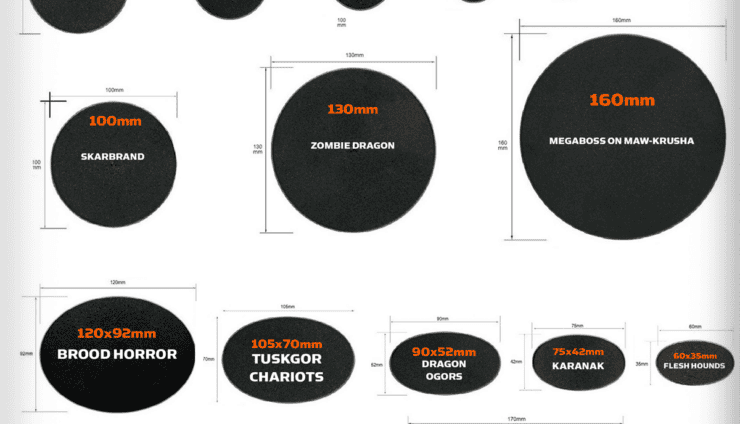
That’s it! Five simple steps to getting various custom bases. You can use different pieces and materials to get the texture and desired effect on the base, including replacing the GW product with custom made green stuff using the Green Stuff World rollers, or even using only cork to create mounds of rocks. These five, easy steps can be applied to bases of any size and can help you create a great, custom look for your models. Stay tuned for a great way to paint up these custom bases and add the final touches!
To see the entire process pre-painting, be sure to press play on the video below!
You can also support us on Patreon and get ad-free access to the site, plus a ton of minis that helps support some of the best creators out there! This post contains affiliate links, as an Amazon Associate Spikey Bits earns from qualifying purchases.