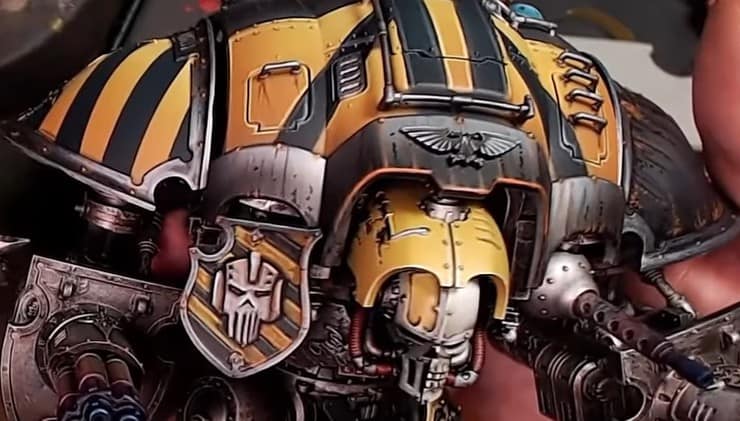
Create some amazing effects on your models with crisp clean lines using masking techniques. Take a look at how easy they can be!
Painting chevrons on models can be easy when you utilize masking techniques and an airbrush. You can, of course, use the same techniques with a paintbrush, but it will take longer.
Take a look at this quick tutorial and then be sure to watch the entire video below to see how easy it is to section off your lines!
Hobby Hacks: Masking Your Model for Crisp Lines
First, start with a black primed model. Using Tamiya 6mm Masking Tape, measure out and line up the tape in the shape you want. To get the tape flat, use a secondary tool to carefully push down on the tape against the ridges. Go carefully on this step so you do not remove any of the black paint.
Then, cross over with the next piece of tape to form the shape you want. Keep going until the trim is set up as you desire.
Do all the pieces of masking tape at once so you can airbrush all at once.
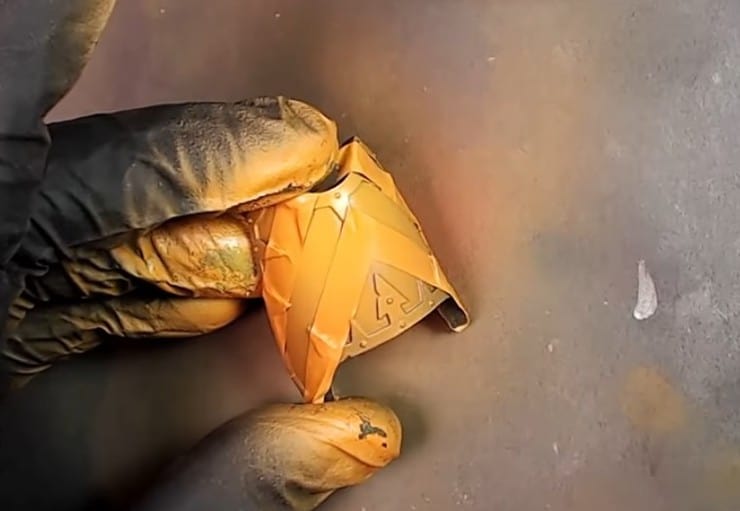
To get the yellows built, start with a light brown/orange like Bogrin Brown by P3. Using a thin mix, spray along the open parts to get a base layer down.
Do not build up too much at once, or the color will seep under the tape. Apply several coats until the orange is built up. Mix some Flash Gitz Yellow by Games Workshop into the leftover orange and spray along the orange to feather in the midtone. Finally, go to pure yellow paint.
Once the yellow is set up, add a little white to pop some highlights.
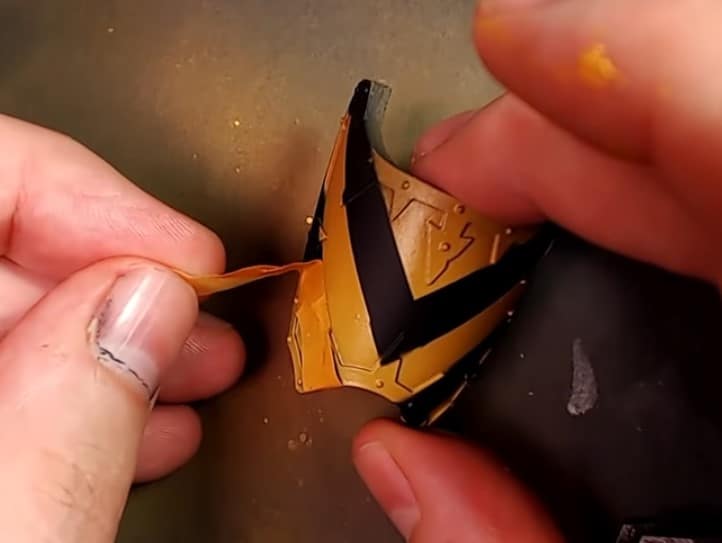
Once the color is as bright as you want, slowly peel the tape off. If any parts need to be cleaned up, use a brush and carefully apply black where color has bled over. Finally, paint the trim once the items are on the model.
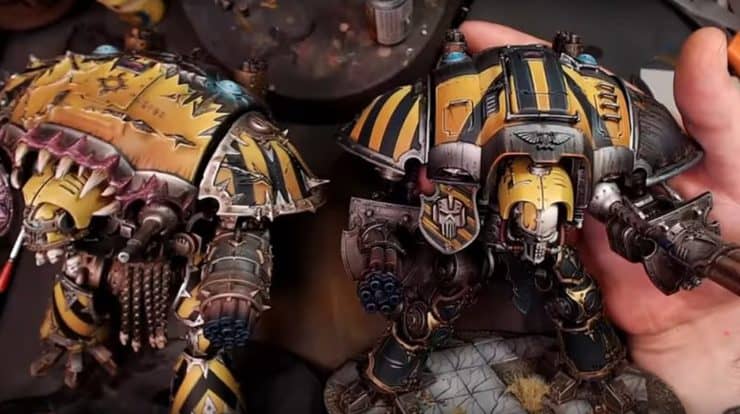
There you have it! This is a very easy technique that can be done using masking tape and some patience. Again, this can be done via paintbrush but will take a little longer between layers and transitions.
Be sure to check out the entire tutorial, including the painted trim, by pressing play on the video below!
