 Kenny with Next Level Painting is hooking us up, once again, with a sweet painting tutorial. This time around, it’s for Salamander Space Marines!
Kenny has done all types of painting tutorials, but today he’s gonna give us the rundown on painting Salamanders well and efficiently. He’ll give us his personal advice and some tips along the way to getting a crispy fresh salamander marine ready for tabletop.
The three Army Painter paints we are using on our base coat are Crypt Wraith, Jungle Green, and Greenskin.
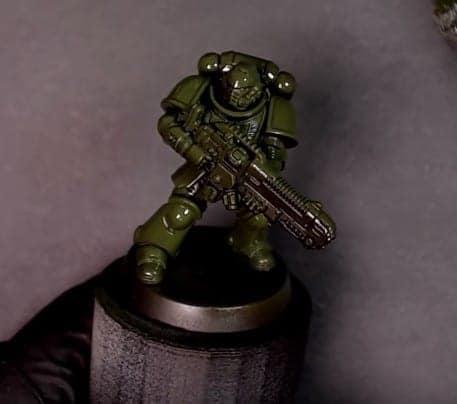 Start with a flat black primer coat, and follow it up with our darker green as a first coat. This takes a few light layers, so take your time.
 Following fast behind that, we can hit it with three more coats, slowly transitioning to the lightest green and mixing a tiny bit a Moon Dust in on the last coat. It is important to remember that with each coat you want to cover less and less of the model always aiming top-down to give the effect of glow and shadows.
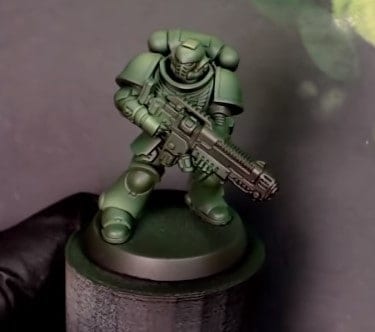
If you find the yellow from the Moon Dust is a little too obvious, you can take some more of our light green and add more flow improver and water than normal to make it extremely light. Make one last pass to saturate the yellow a little bit and get the shading just right!
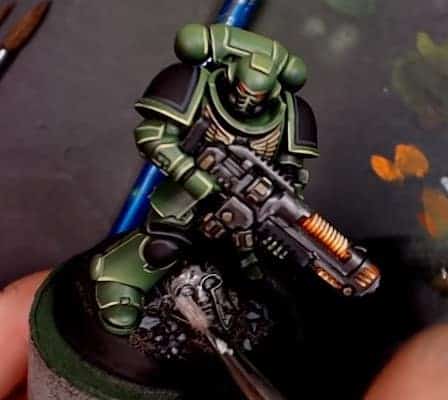
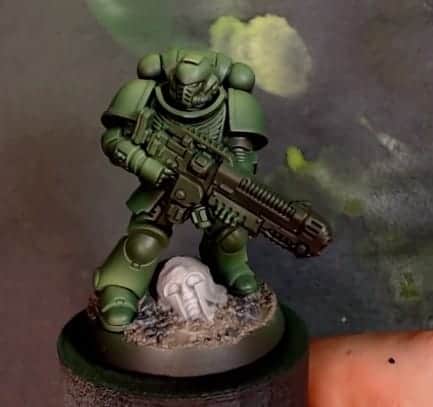 Kenny took advantage of the drying time by adding his basing. Just a simple mix of texture paint on the base plus a piece of stone to give it some character.
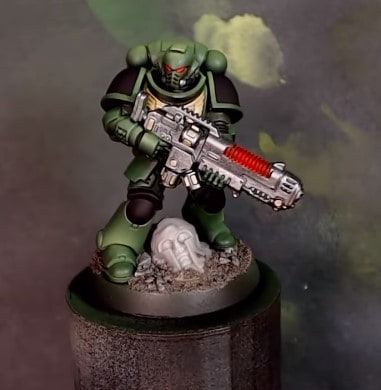 After the model is dry, Kenny jumps on it and does all the details in one swoop! Black knee pads and shoulder pads, Silver gun with red plasma, gold chest, and red eyes.
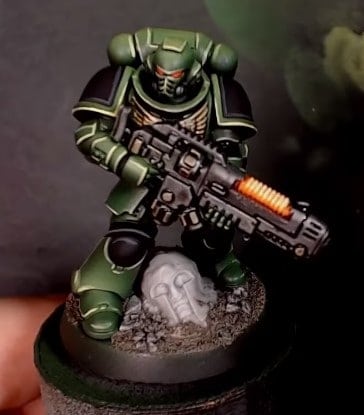
 After the base coats for the details are done we move onto the tracing of the plates. Take the yellow and light green from earlier and mix them 50/50. Don’t worry about all the lines, just hit the sharp edges.
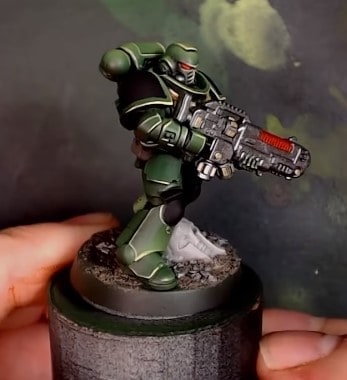
 Up next we are touching up our plasma gun. This is relatively easy and doesn’t require any science of thinking. We are going to go from our red base to orange, to yellow, to white. All we have to do is make sure to keep our coats thin and progressively get closer and closer to the top leaving previous layers showing through to get a nice heat effect.
Kenny does a quick grey lining over the pads in this step.
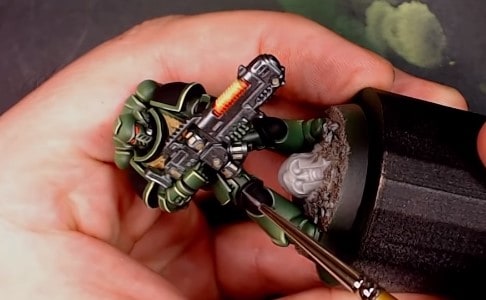
 Here we take our dark tone Army Painter wash and hit up the gun’s metal, his chest, and the pouches.
 Next use Mr. Hobby multi black oil wash, that you can pick up from Spraygunner, and cover the whole base, no priming needed. Also, throw some of the wash on his eyes and face. Then, highlight the lines on the plasma gun with a silver.
 Lastly, up hit the base with a quick and easy white dry brush on the rocks and statue piece. That’s it, our model is done and it took less time than you might think. Salamanders truly are Secretly easy!
You can support Kenny on his Patreon page, and stock up on all the great Chaos gear over on his Heretic Swag store.
This post contains affiliate links, meaning that Spikey Bits will earn a commission if you click through and make a purchase.