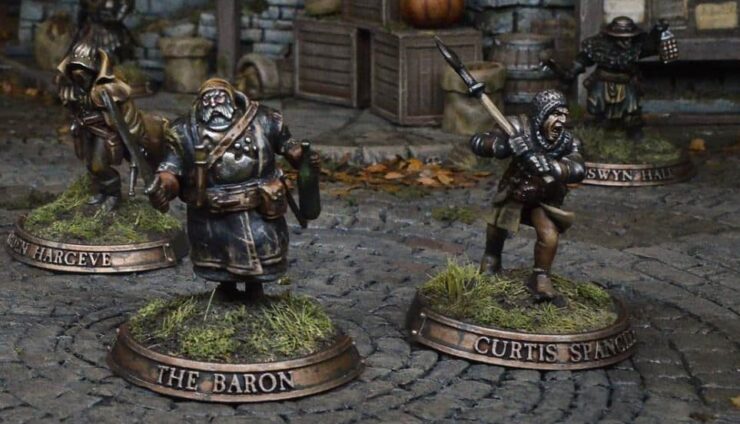
Rob has been talking about Magnet Baron for a while now when it comes to his magnetic needs. They have great quality stuff that even can match or be cheaper than Amazon sometimes which is actually impressive.
Get your magnetization kits from Magnet Baron
Of course, there are other options, but these are a great product and absurdly well priced for what we as hobbyists use.
How to Magnetize The New GW Flying Stand Stems

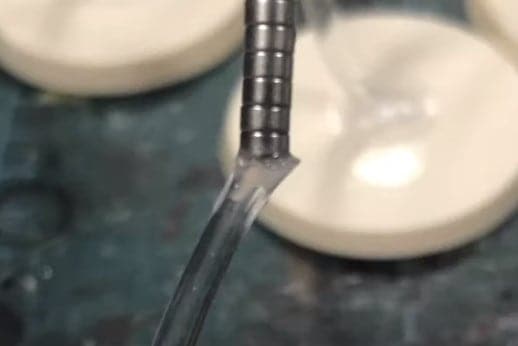
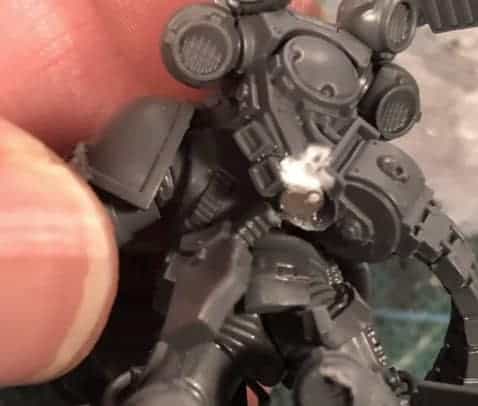
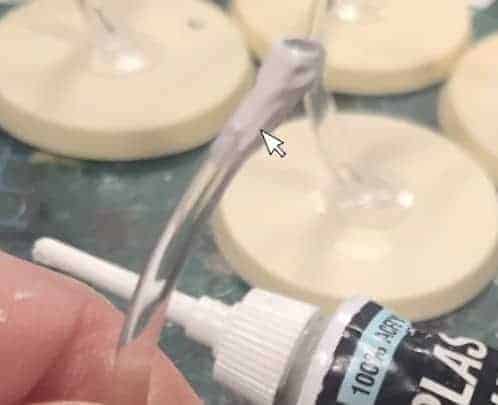
Step four is crucial. Be sure to reinforce the magnet and flight stand connection. Rob uses Plastic Putty here and highly recommends it. Be sure to let it completely dry before moving on.
Step five is the final step. Now you can make sure the polarity is correct and place the model on the stand. Assume all is well you should take some sandpaper to the putty to make sure it will take paint correctly when the time comes. Rob prefers to paint his flying stands, so after sanding down the putty, he’ll primer the stands black to be less noticeable.
And that does it for this one! Be sure to watch the video below for Rob’s full breakdown! Patreon supporters of Spikey Bits get models like this each month shipped to them.
This post contains affiliate links, as an Amazon Associate Spikey Bits earns from qualifying purchases.
