 Learn how to get your Deathwing Blade Guard battle-ready with this miniatures painting tutorial from Wyatt at Jack of Clubs Painting.
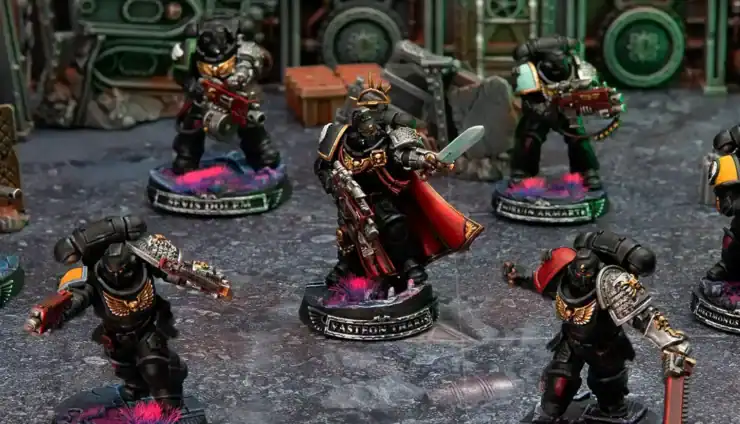
Jack of Clubs Painting is a regular here and today he’s giving us some advice on quickly getting your own Deathwing Bladeguard ready to throw-down.
Follow along with the video for a detailed tutorial to get these minis done fast, or take a look at our highlights from the video below.
Painting Deathwing Blade Guard Miniatures Tutorial
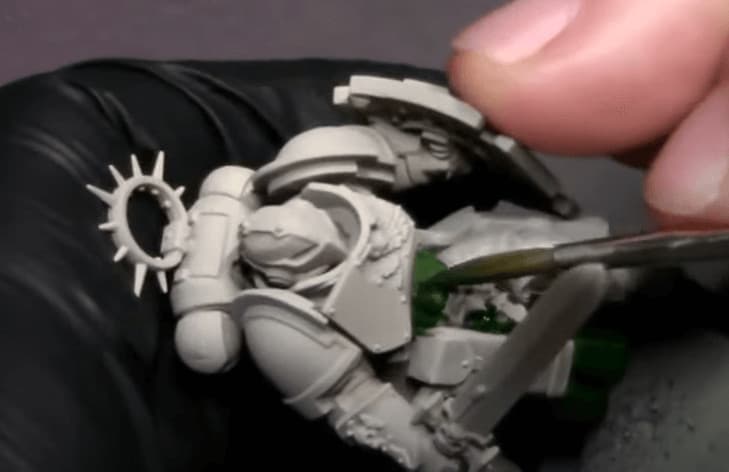 Start off with a Stynylrez red-brown primer. Once that is fully dry, put some Pro Acryl Golden Yellow in your airbrush and apply a heavy application. Cover the model almost fully from an above angle. Do a similar step with Pro Acryl Olive Flesh, but a slightly less dense coat. Finish this stage off by applying Pro Acryl Green Black to all the cloth areas of the model.
This can take up 3 coats so don’t get discouraged.
Base Coats
 Next, he breaks out Scale 75’s Copper and hits the insignias all over the model. Make sure to get good coverage here so it will pop once the model is finished. After that, use Pro Acryl Dark Golden Brown to basecoat all the pouches and holsters. Next, he is going to make a black rubber color by mixing Pro Acryl Blue Black, Soylent Green, and Black, use this to hit all the armor joints and any areas you deem necessary. This is a very dark color over the armor and should only take one coat.
Washing And Decals
 Hit the entire model with a coat of Satin Varnish to seal everything in and protect it. Once that dries we move on to decals. To help with the decals he uses Micro Sol as an easy way to apply them. Brush the solution across the decal and let it sit for a few seconds until the decal is fully wet. You can use whatever decals you want here, just be sure you let them dry fully before moving on. Once all your decals are on hit the whole model with a gloss varnish. He hits all the crevices with it to really help the detail stand out. Just be careful to not let the spray pool in any particular spot.
Then let the model sit for at least 30 minutes before moving onto the next step.
 Final Touches
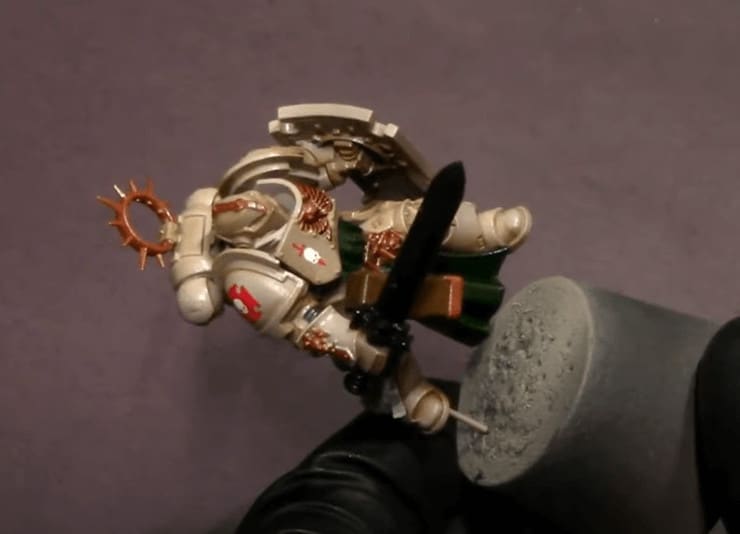
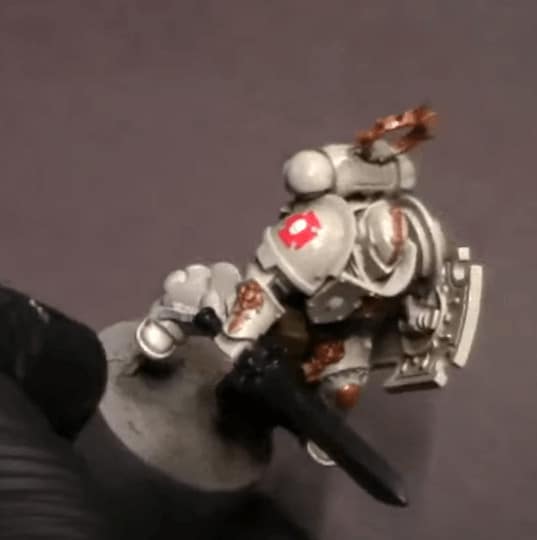
The next wash uses AK Wash Exhaust and the Odorless Thinner. He uses a “pin wash” here. Taking tiny amounts of the wash and running it over most of the model to give the armor darker Deathwing feel. Then he uses a black wash to run over the cloth and green parts of the model. He then hits some edge highlights, basically, anywhere you feel like you need to. He then finishes the model with a Matte Varnish to seal the paint in and keep everything safe.
This model is now battle-ready, but he does note if you want to spend more time you can always give the weapon a power sword look to it when you have more time.
 With that, the model is looking battle-ready and you can feast on your ten extra VP’s! If you want to learn more from Wyatt’s insight, watch the full video! And if you love his work, check out another great set of painting tips here.
Follow along with the latest from Jack of Clubs on YouTube or LIVE on Twitch four nights a week!
This post contains affiliate links, as an Amazon Associate Spikey Bits earns from qualifying purchases.