Learn how to paint Crimson Fists with brushes only in this easy painting tutorial from Lil’ Legend Studio- check it out!
Lil’ Legend Studio has a ton of great painting tutorials and they are always easy to follow and get your minis on the table with awesome quality.
This time around though, we’re focusing on getting your Space Marine army ready for the tabletop, even if you don’t have an airbrush! Let’s check it out!
How to Paint Crimson Fists With Brushes Only Tutorial
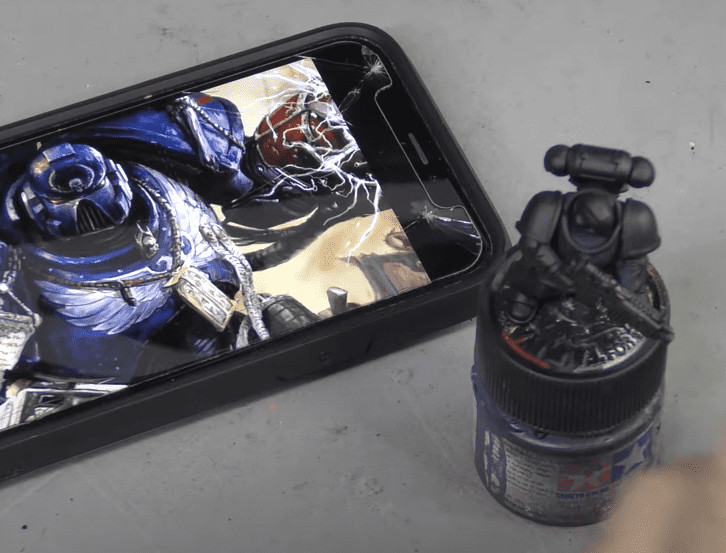 As you can see, he sprays it black, but just with a spray can. He also has a reference to go off, which is always helpful!
Step 1:
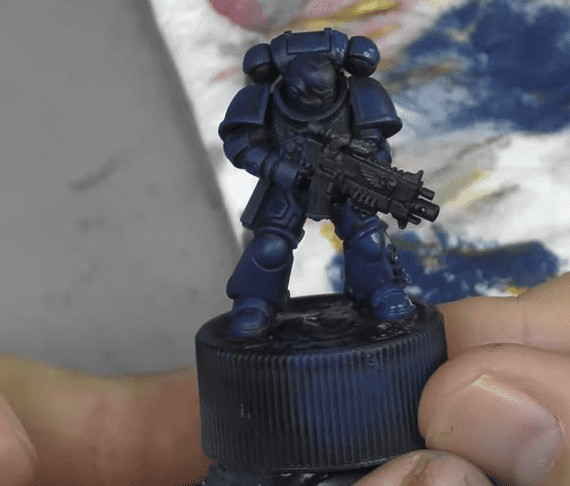 To start, he takes Kantor Blue, which is a very dark blue, and dry brushes all of the armor with this. Just be sure to get a fairly big drybrush here as there needs to be a decent amount of paint. He just sweeps it along the lines of the models with the contour of the armor.
He covers pretty much all of the armor here, just leaving a little bit of the black underneath. He’s actually showing two different techniques here, so on the right side, he’s going to use the same color, but not drybrush it, and just covers the entire model.
Step 2:
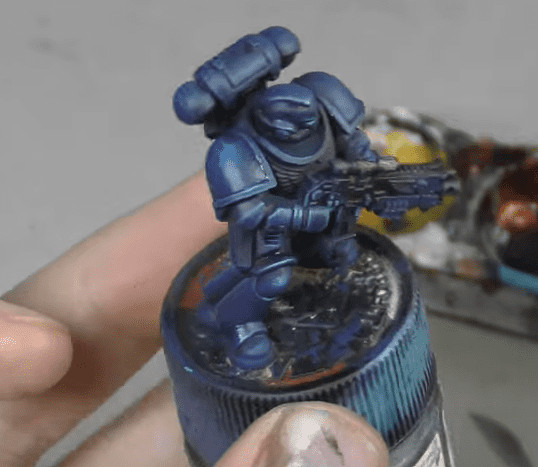
 Now onto some highlights, just be sure to let your mini dry before moving to this. For this, he mixes Kantor Blue with Blue Green from Vallejo. For the first highlight, he does it more with the Kantor and slowly moves up to the Blue-Green.
Take your smallest drybrush and get most of the paint off and just hit some edge highlights on the armor. He also dry brushes things like the shoulder pads. As you move up in color, he even adds a little white as well and does another highlight dry brush like before.
Make sure you take your time here and just do a few thin layers. To finish it up, he moves from the drybrush and does a traditional edge highlight.
 That was all on the left side (whichever method you pick, obviously do the whole mini that way). Now for the right side, he starts by running Nuln Oil over all the cracks and such to bring out the shadows. He then takes Lahmeian Medium and does this on the edges of the shoulder pads and such, this will actually help you in later stages.
Step 3:
 Now, when you drybrush things, they can sometimes look a little chalky. To get rid of that, he takes Drakenhof Nightshade and does a quick wash on all the highlighted areas, this will bring the colors together and make them look more natural. Once that is done, he goes back and does a final top edge highlight, where the color almost becomes pure white.
Step 4:
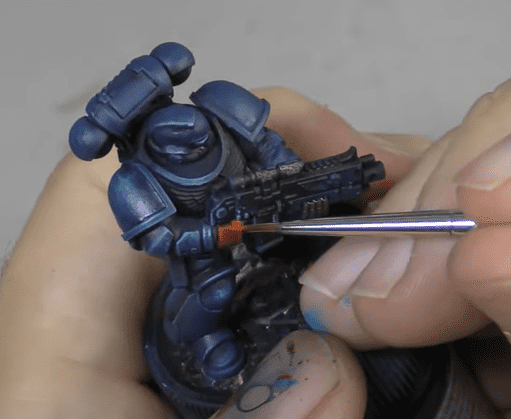 Now for the red fists, er… crimson ones. He starts with Khorne Red and does a base layer on the hands. Just be careful here because you don’t want to ruin the blue. He also does the eyes with the same red here. Next, he moves on to Carroburg Crimson and does a top-down brushing of it. Then, he goes back to Khorne Red and just hits the edges of the fists in a fat-wide highlight. Next, he moves to bright orange and hits some very small edge highlights to finish it off! At this stage, he also goes back to the right side of the mini and edge highlights the mini the same way he did on the left side.
Finished Model:
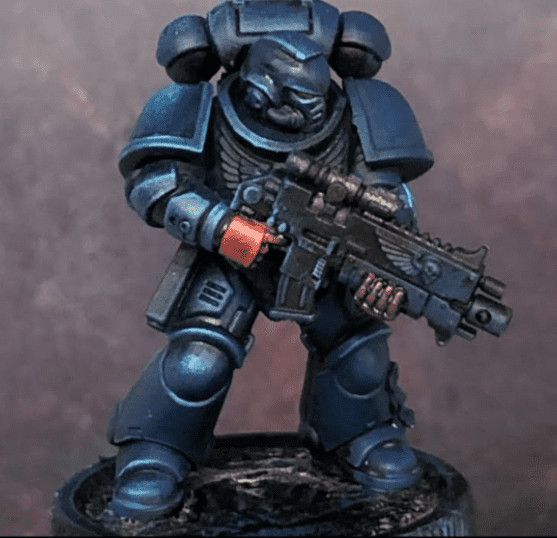 Overall this took him about 25 minutes, so not bad at all to get some great-looking marines!
Follow Lil’ Legend Studio Here to Learn More!
What’s your favorite way to paint Crimson Fists?
Let us know in the comments of our Facebook Hobby Group, or our new Discord server, and make sure you enter the latest monthly giveaway for FREE today!
Get ad-free access to our hobby videos, a monthly drop of miniatures, and support some of the best creators out there for as little as $6 a month on Patreon!

This post contains affiliate links, as an Amazon and eBay Associate Spikey Bits earns from qualifying purchases.