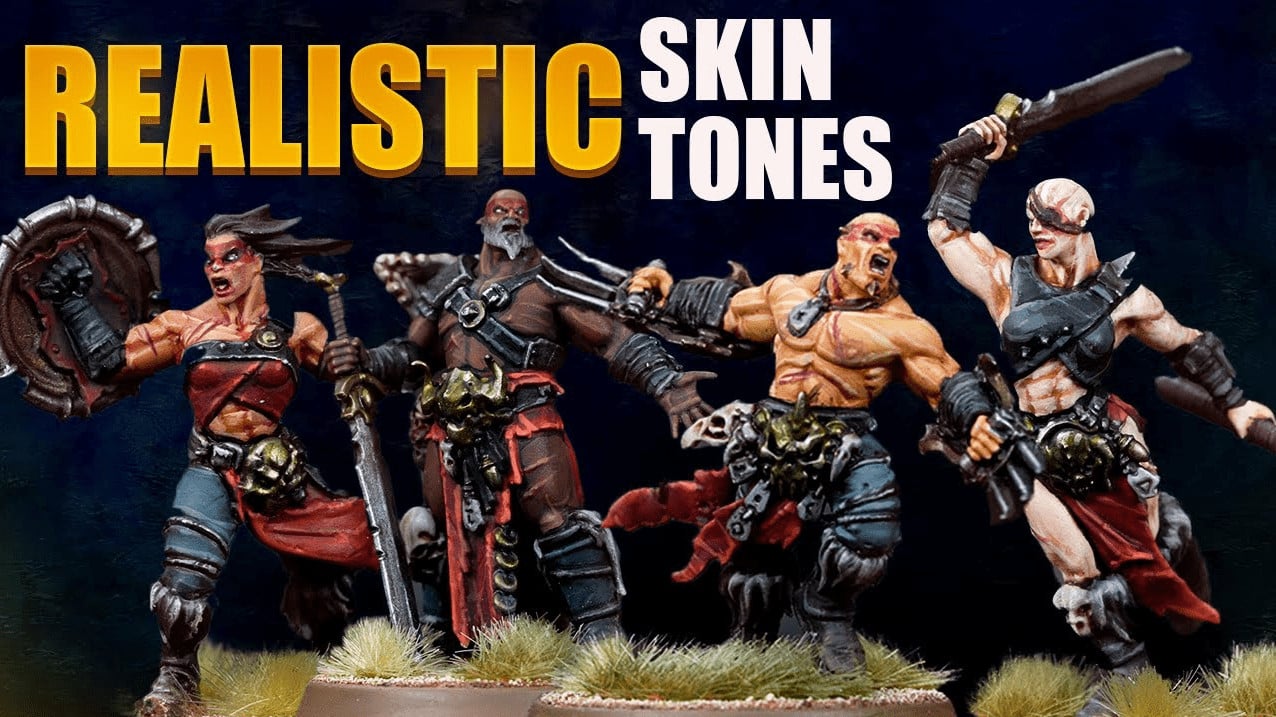
 Learn how to paint realistic skin tones for Warhammer fast with this excellent tutorial from Peachy and the Painting Phase.
Peachy has joined the Painting Phase, and not only do they make excellent tutorials on YouTube they also have great talks with some of the biggest names in the hobby as well! Plus, they have a really cool Patreon, so if you want to show some extra support and get great rewards, go check that out by clicking here!
This week, we’ll look at how to quickly paint four different skin tones that look great on the tabletop! Let’s see how to do it.
How-To Paint Realistic Skin Tones for Warhammer: Peachy Painting Tutorial
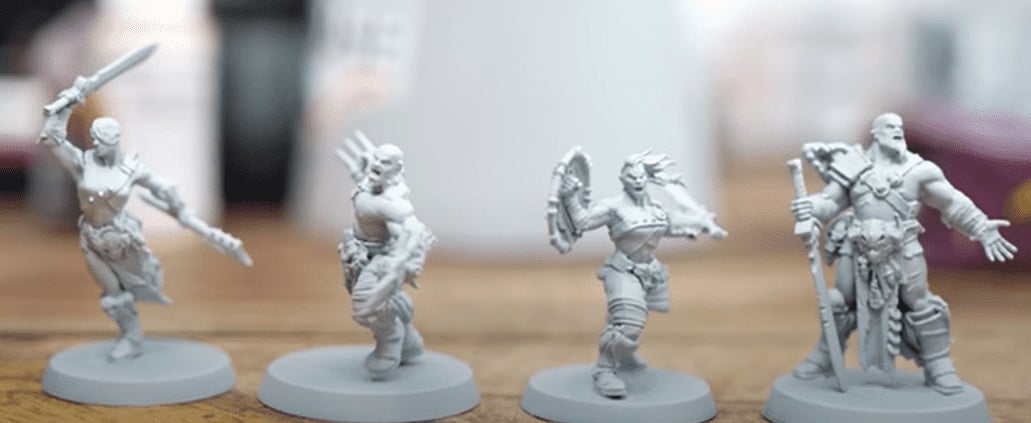
Style 1: Light Skin Tone
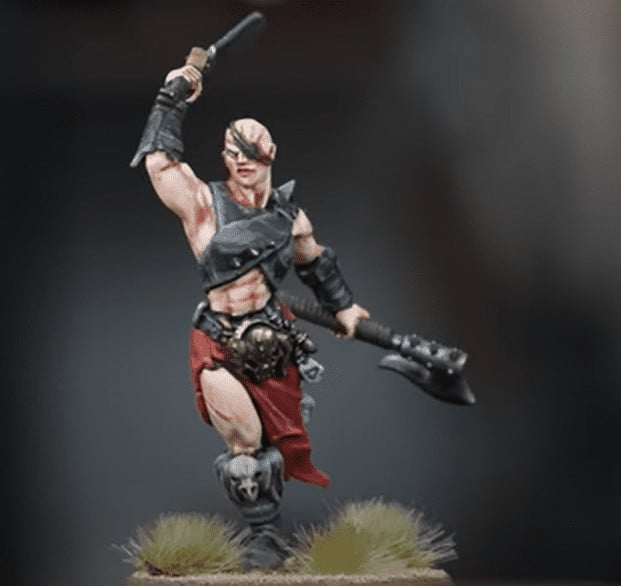
Once dry, he comes back with the Basic Skin Tone and picks out the raised areas like cheekbones, abs, etc. After that, he returns and does a final coat of watered-down Guilliman Flesh.
To finish off the skin, he uses Luminous Flesh and picks out the final highlights on raised areas.
Style 2: Olive Skin Tone
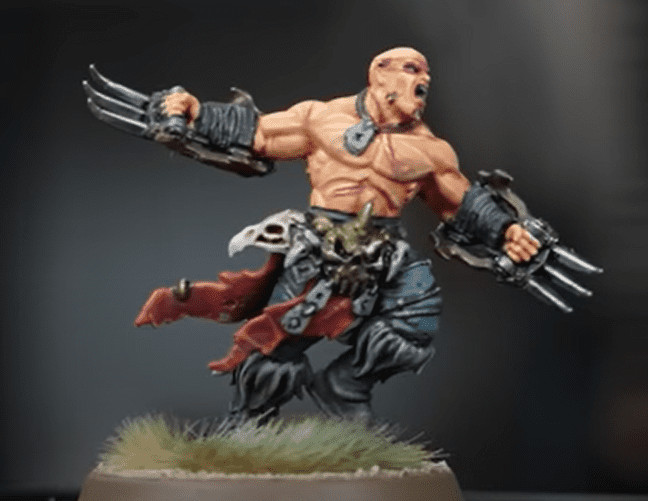
Once dry, he comes back with the Tan Yellow and picks out the raised areas like cheekbones, abs, etc. For highlights, he uses Radiant Flesh and picks out the most raised areas, and even highlights some of the muscles to make them pop and even a vein or two.
Style 3: Tanned Skin Tone
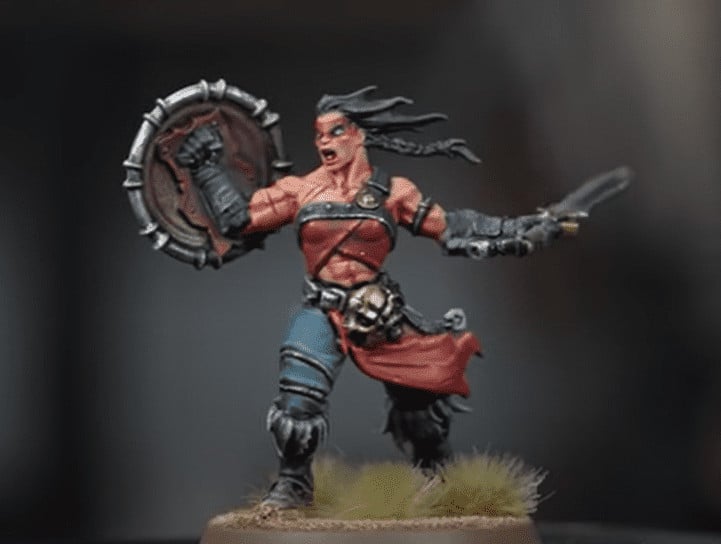
Once dry, he returns with the Cork and picks out the raised areas like cheekbones, abs, etc. Then Peachy uses Tan Yellow and hits the most raised areas for highlights.
Style 4: Dark Skin Tone
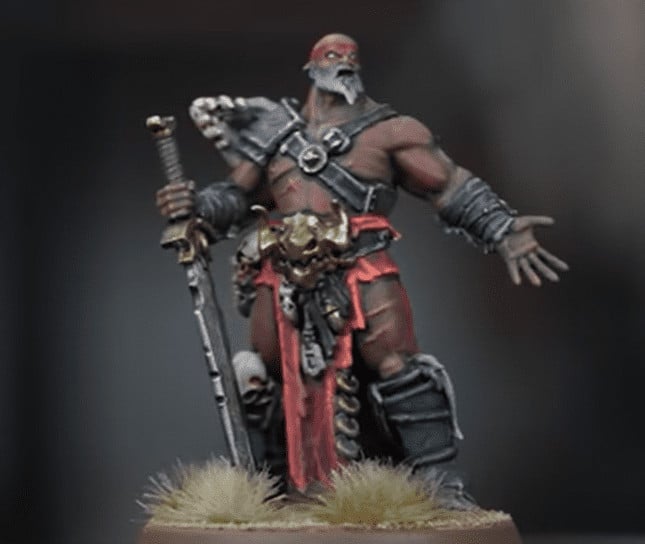
To help tie those colors together, he uses Noble Skin and does a thinned-down wash over the entire model. For highlighting, he mixes Basic Skin Tone and Mahogany Brown in about a 50/50 mix and highlights all the raised areas.
Taking it a Step Further
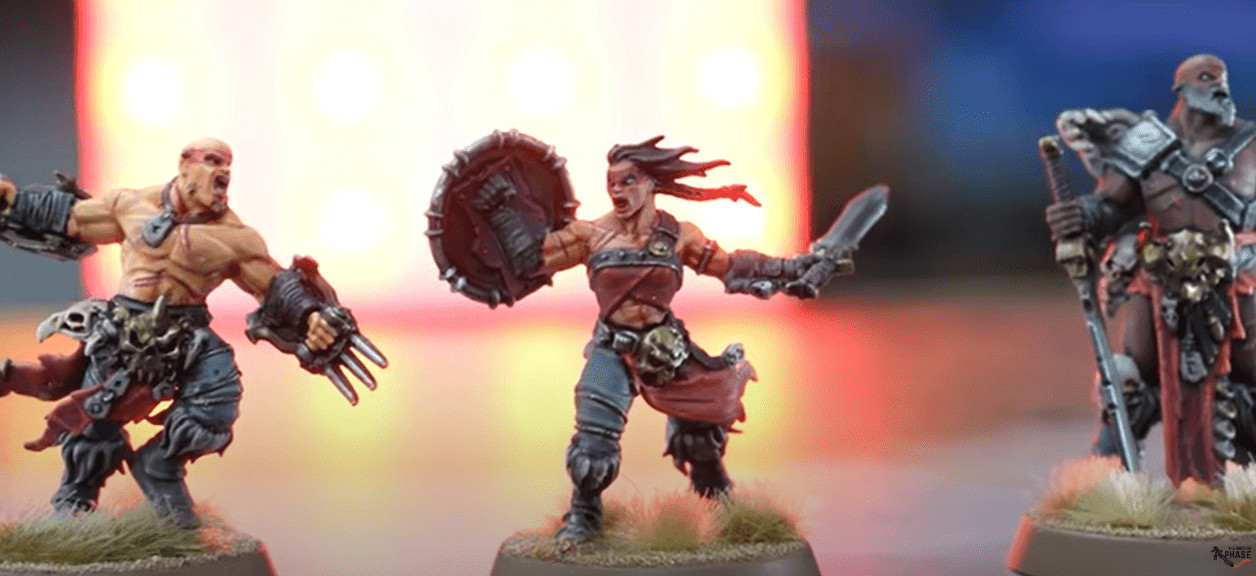
Be sure to watch the video below for all the details!
Click Here To Follow Painting Phase on Patreon or YouTube
What do you think of this how to paint realistic skin tutorial by Peachy and the Painting Phase?
Let us know in the comments of our Facebook Hobby Group, or our new Discord server, and make sure you enter the latest monthly giveaway for FREE today!
Get ad-free access to our videos, a monthly crate of miniatures, and support some of the best creators out there for as little as $6 a month on Patreon!
This post contains affiliate links, as an Amazon Associate Spikey Bits earns from qualifying purchases.


