Today The Army Painter walks us through 5 Speedpaint tips and tricks to make your models look great in no time- check it out!
The Army Painter is known for having some of the best and most affordable paints on the market! But they also have an extensive collection of painting tutorials and paint guides- like this one on getting your minis looking great with Speedpaints.
Their tutorials are perfect for getting your models on the table and looking dope. If you want to see everything The Army Painter has released and their other painting tutorials, check them out here.
As a note, all the paints and tools used in this video will be from them, and you can pick up all the colors and Speedpaint here. Let’s see how to do it!
5 Speedpaint Tips & Tricks: Army Painter Tutorial
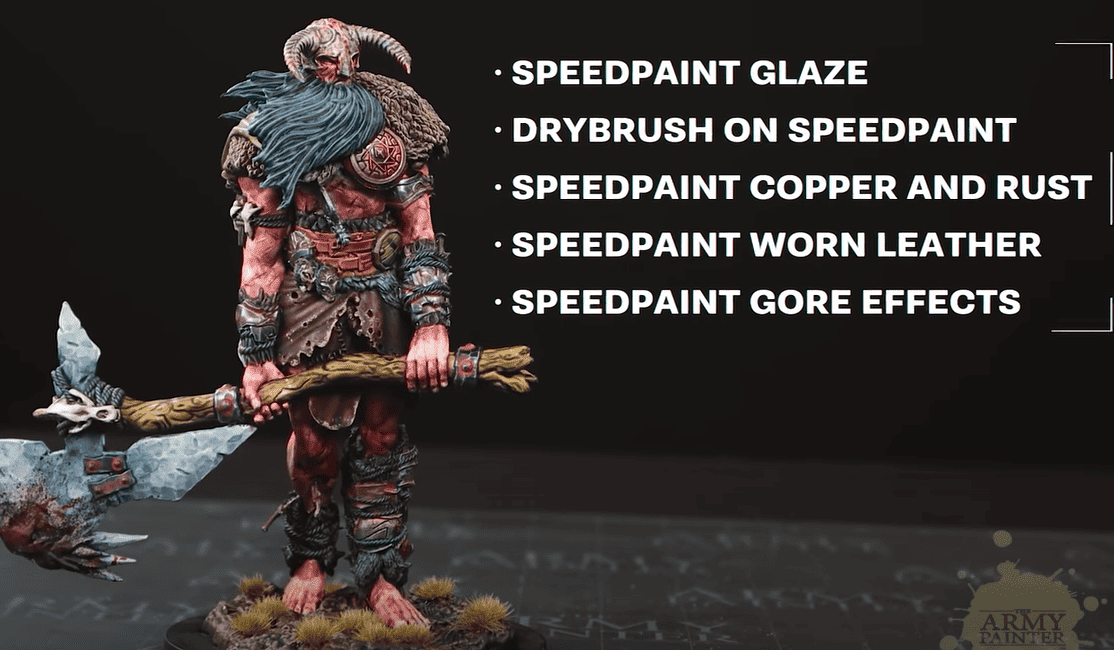 These are the five tips we will cover today, so if you’ve had questions on any of the above, this will be the tutorial for you!
Speedpaint Glazing
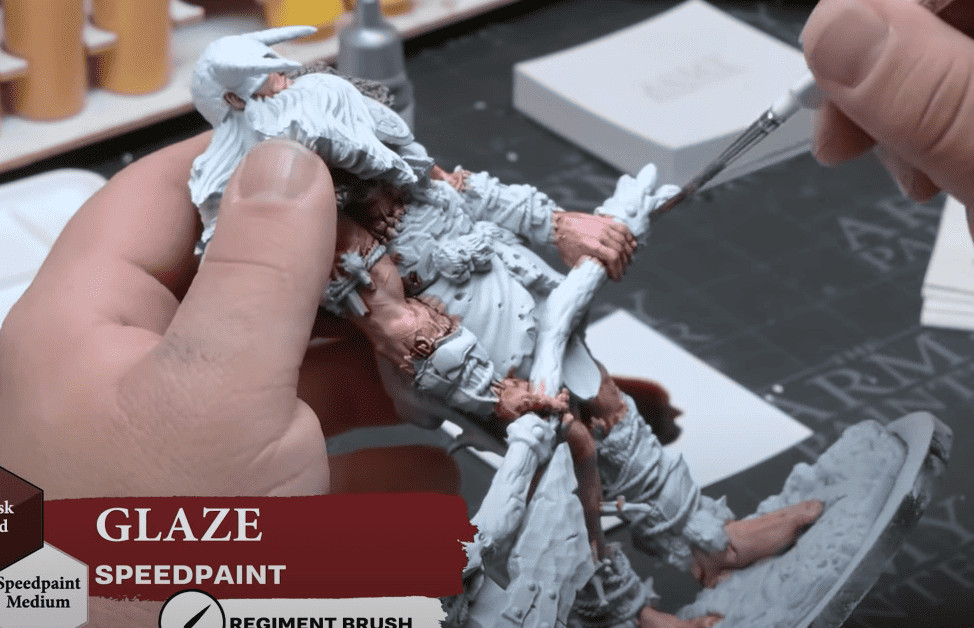 Glazing is a way to add depth to a miniature with a very light and almost translucent layer. To start, he mixes Aged Hide with Speedpaint Medium and applies it all over the skin. By mixing the medium in, you make a very quick glaze. Once dry, he mixes Speedpaint Medium with Dusk Red and hits all the giant’s muscle areas.
For Speedpaint glazing, they recommend doing 1 part paint to 4 part medium for all your glazing. Considering the new Speedpaints dry even faster, you can apply the layers quickly. One last tip here is to feather all the colors together, as this will blend your colors.
Drybrushing on Speedpaint
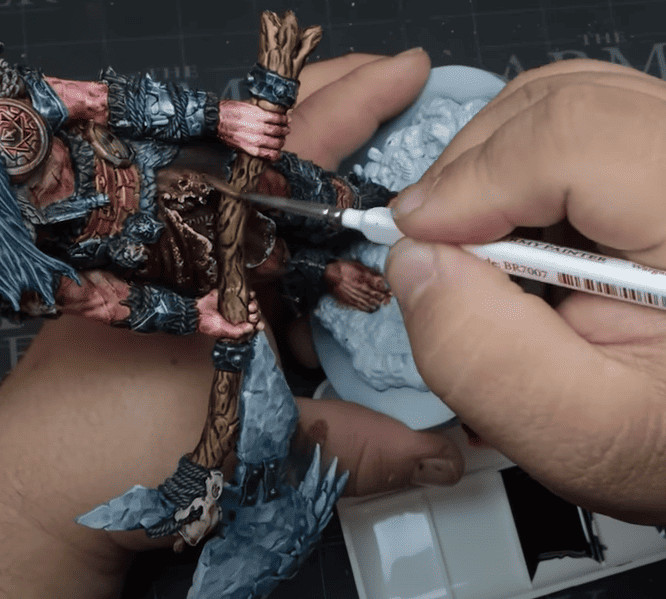
 Apply a base coat of your choosing, which works excellent for fur, as the paint will naturally be deeper and darker in the recesses. Then pick an acrylic color of your choice and do a light drybrushing on the raised areas; with the natural effects of the Speedpaint and a single drybrush, you can get a ton of depth. It’s really that easy to get a great effect!
Speedpaint Texturing
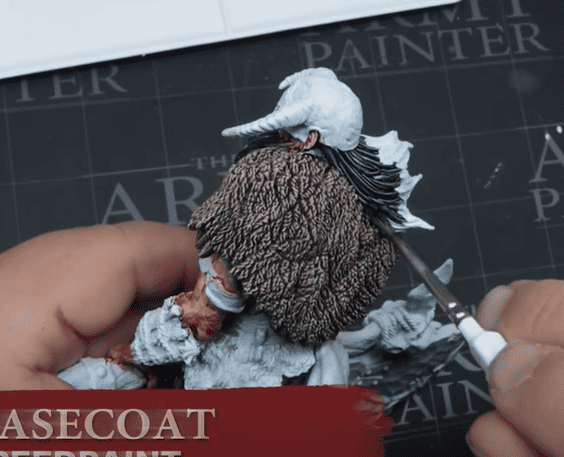
 Again, he starts with a basecoat of Satchel Brown. Once dry, he takes a sponge and stipples on Banshee Brown to the edges of the cloak to make it look worn; just be careful not to put too much paint on so you don’t hit the non-weathered areas.
Then, he does a glaze over top of the stippling with Aged Hide, and there you have it, super simple but great-looking leather!
Speedpaint Metal FX
 We’re going for a rust effect here, starting with the new Brazen Copper Speedpaint applied all over the helmet. Once dry, apply a Plasmatic Bolt glaze over the copper tone in a focused wash. For the rust, you start with a silver base and od the same method but this time with Dry Rust.
Speedpaint Gore FX
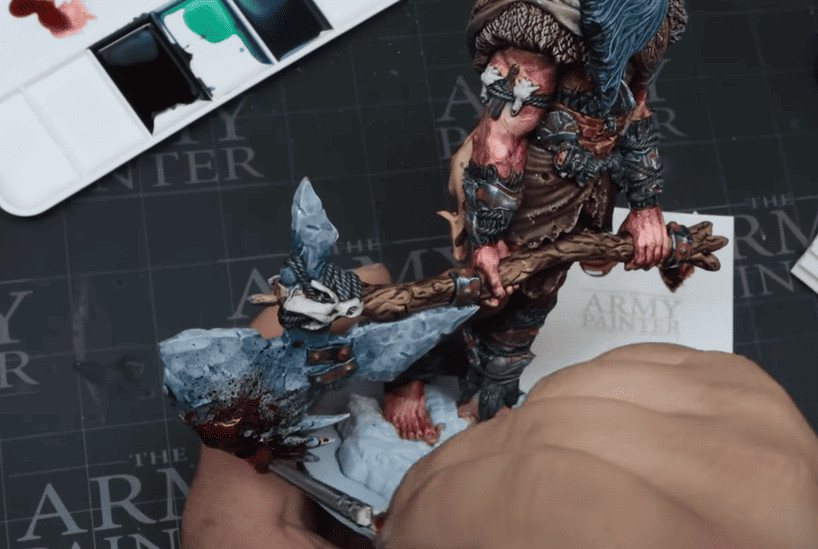 For the blood effect, he mixes Murder Scene with Slaughter Red, then takes an old brush and dips it in the mixture. He then flicks the paint from the bristles to the weapon; this will get you a more realistic effect than just painting. Then, take the same brush and stipple the color where you want it.
Finished Model
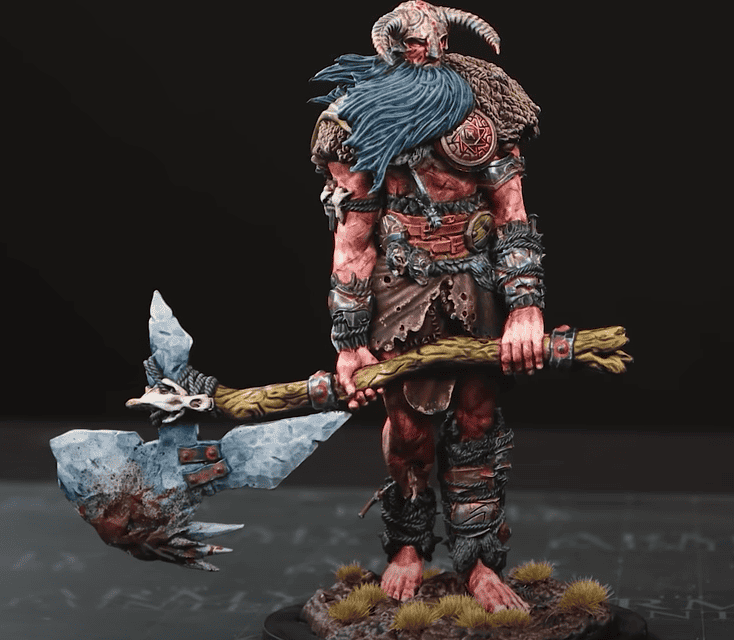 Here’s the finished model using a bunch of Speedpaint techniques!
Be sure to watch the video below for all the details!
Click Here to Get Your Speedpaints!
Be sure to follow The Army Painter on Youtube for more great content like this.
Will you try these new tips and tricks next time you paint?
Let us know in the comments of our Facebook Hobby Group, and make sure you enter the latest monthly giveaway for FREE today!
Get ad-free access to our videos plus a ton of miniatures, and support some of the best creators out there for as little as $6 a month on Patreon!