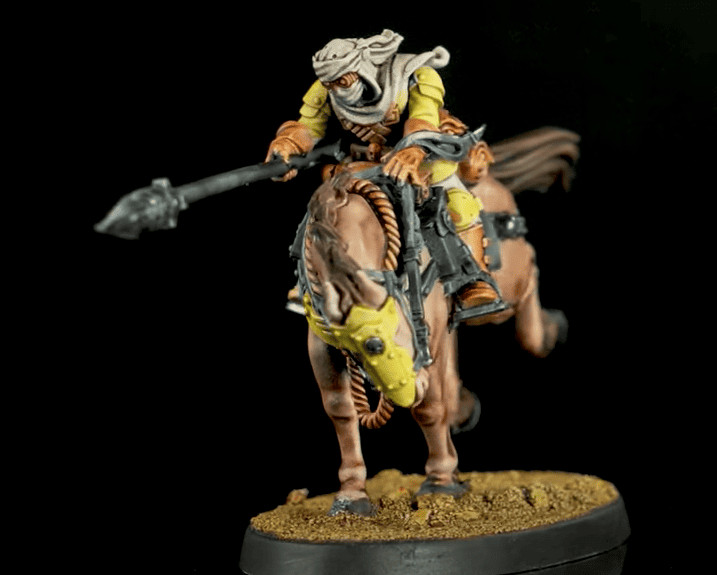
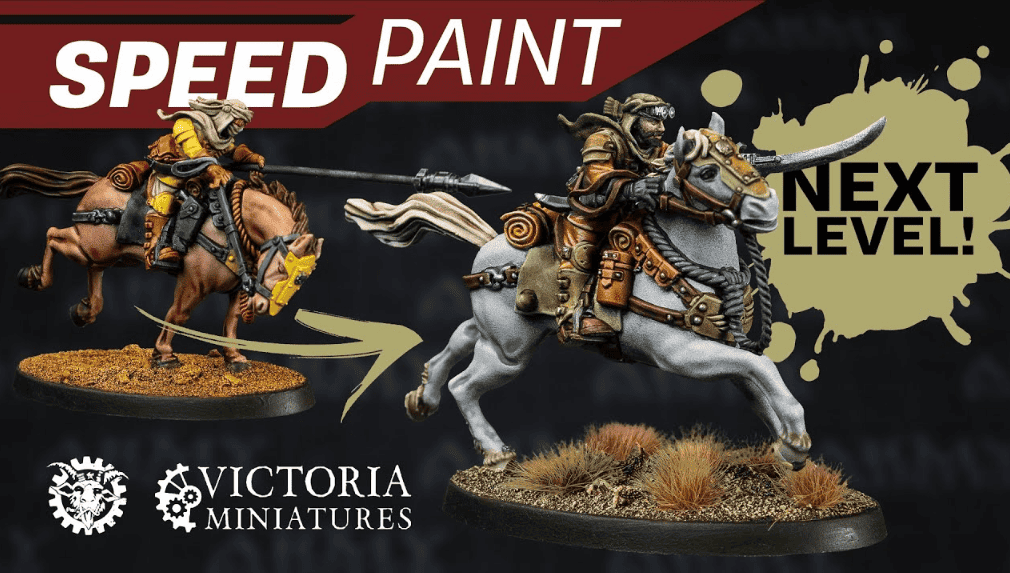
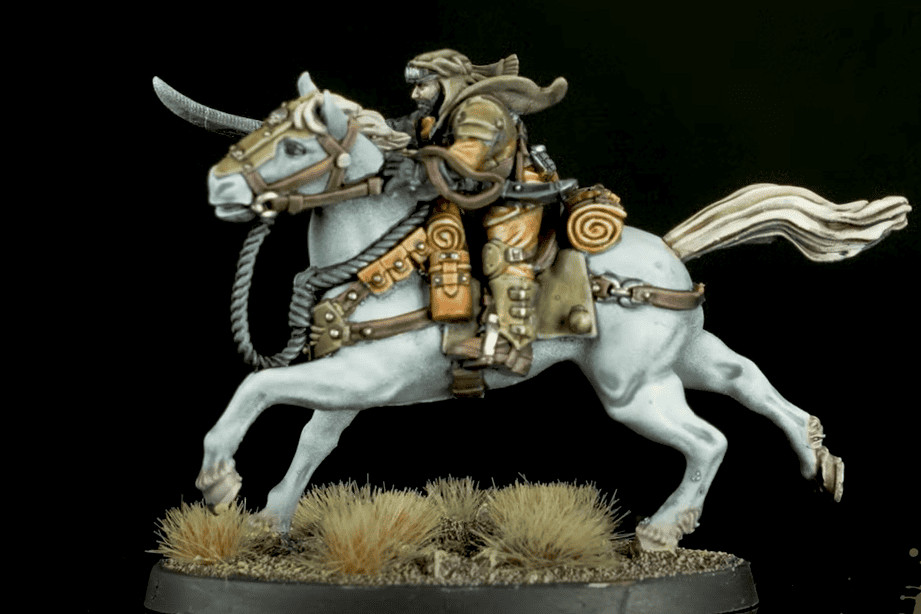
 This time around, the Army Painter gives tons of tips on painting Rough Riders and uses the awesome Victoria Miniatures models!
The Army Painter is known for having some of the best and most affordable paints on the market! But they also have an extensive collection of painting tutorials and paint guides- like this one on getting your minis looking great with Speedpaints and more.
Their tutorials are perfect for getting your models on the table and looking dope. If you want to see everything The Army Painter has released and their other painting tutorials, check them out here.
As a note, all the paints and tools used in this video will be from them, and you can pick up all the colors and Speedpaint here. Let’s see how to do it!
Painting Rough Riders: Army Painter How to Tutorial

Step 1:
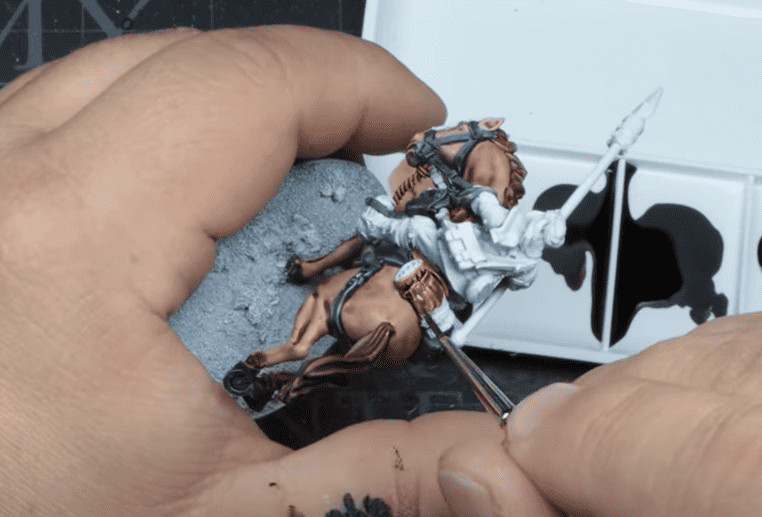
Step 2:
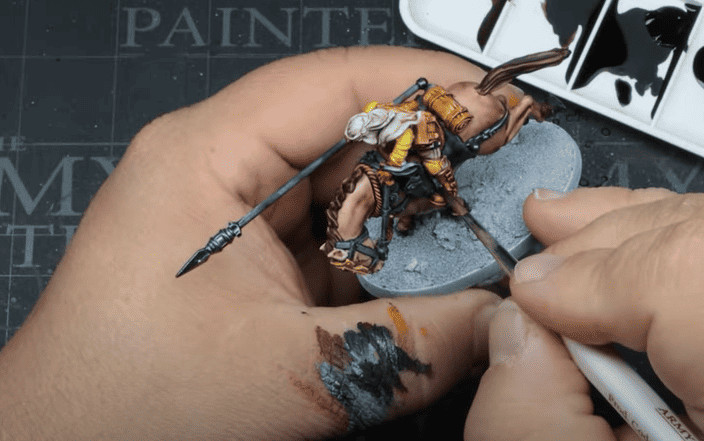
Step 3:
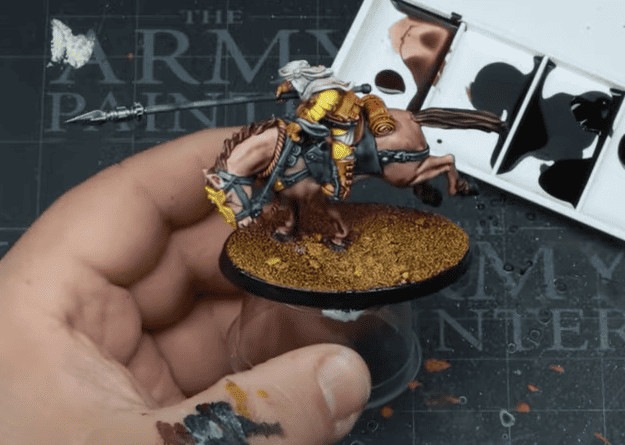
Tabletop + Standard
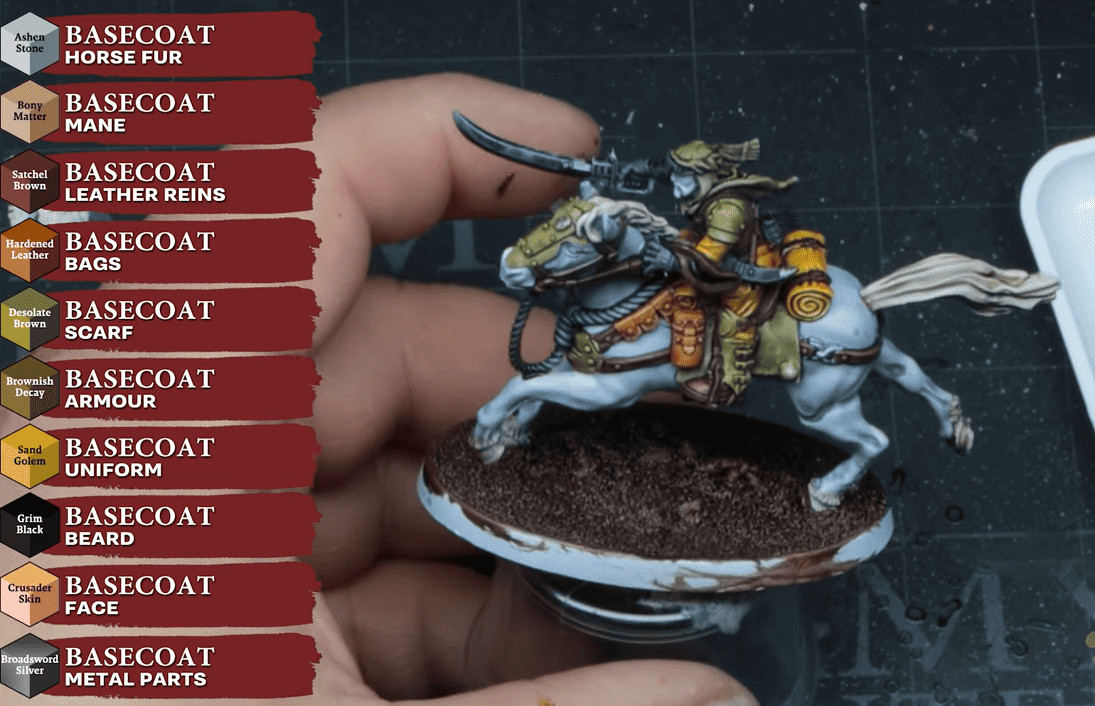
To start highlighting, he takes Necrotic Flesh and hits all the armor with some simple edge highlights. They recommend using a wet palette when highlighting, as it will keep them the same consistency. To highlight all the packs, he uses Arid Earth and does another simple highlight. He then repeats that process with Scaly Hide for the green areas and Troll Claws for all the leather bits. Finally, for this step, he highlights all the brown parts with Tanned Flesh and the grey parts with Uniform Grey.
Next up is some washing. He starts with Dark Tone and uses it to pick out the rivets and other details. To work up the details in the face, he works up the dark areas with black and then Barbarian Flesh to highlight it. For the base, he drybrushes the whole thing with Troll Claws and paints the rim black. To finish off the base, he takes some tufts and places them around the base where he feels they look good!
Finished Models
Be sure to watch the video below for all the tips!
Click Here to Get Your Army Painter Paints!
Be sure to follow The Army Painter on YouTube for more great content like this.
Will you try these new tips and tricks next time you paint?
Let us know in the comments of our Facebook Hobby Group, or our new Discord server, and make sure you enter the latest monthly giveaway for FREE today!
Click Here To Follow Us On Google News
Get ad-free access to our hobby videos, a monthly crate of miniatures, and support some of the best creators out there for as little as $6 a month on Patreon!
