 Whew, I just finished up painting FORTY Grey Knight Purifiers for my Draigo Beats army, and wanted to share with you all my project log.
You see to keep me motivated, and show a live step by step progression, I posted each step up on Facebook as I went!
The updates even went directly and conveniently to their very own Painting Grey Knights: Project Album.
(If live project updates wasn’t reason enough to follow along on Facebook, our new Hobby Contest / Monthly Give-Away for TWO Dark Vengeance Starter boxes might be!)
Below is basically a brief summary of how I painted the Purifiers with a little video feature at the end showing my Grey Knight army as a whole (and were painted pretty much the same way as these purifiers).
You can see most of the step by step progressions, broken down in greater detail, in the project album itself.

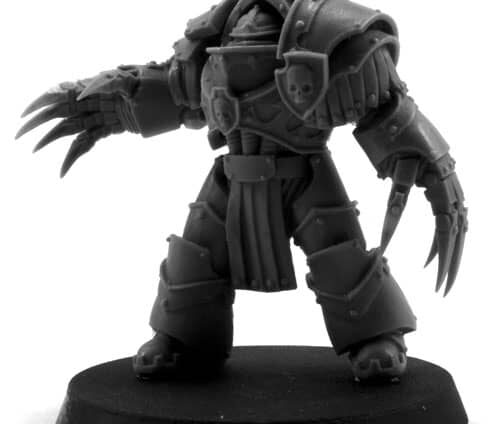
To start off the whole project I assembled and primed the figures in pieces. This helps me use the airbrush to its full potential by not having to go back and clean up messy over-sprays, and mistakes.

I used double sided tape, to affix the shoulder pads, heads, backpacks, and interchangeable weapons to wooden paint “stir sticks”. That makes for an easy hold handle when airbrushing the individual components. (I leaned this trick from Kenny at Next Level Painting).
Next I started in on basecoating and shading the models. I forget the exact formula I used, but it was basically an airbrushed highlight of Boltgun over a black washed Boltgun basecoat.
Then after a quick black glaze I did a light drybrush (for definition) with a lighter metal, a Mithiril Silver equivalent I think.
Then I hit everything with a blue tinted glaze to keep with the Grey Knight theme and pull the work all together.
A big trick to getting these washes and glazes to flow perfect is to matte or satin coat the models before applying washes. It also preserves the airbrush work done to that point as well, which is never a bad thing.
The ‘Eavy Metal painters use the Purity Seal spray because of it’s “satin” finish which helps preserve the true appearance of the paint job in between steps!

The method I used on the shoulder pads I covered in a separate article cataloged at the end of this post below.
After varying the colors used in this method, to white over a blue base I painted the Purifier helmets the exact same way.
The smaller details such as Purity Seals, eyes and gold trim were painted traditionally with a brush and then washed again for depth.
The Purity Seals / Tabard method is also catalogued below for easy reference.
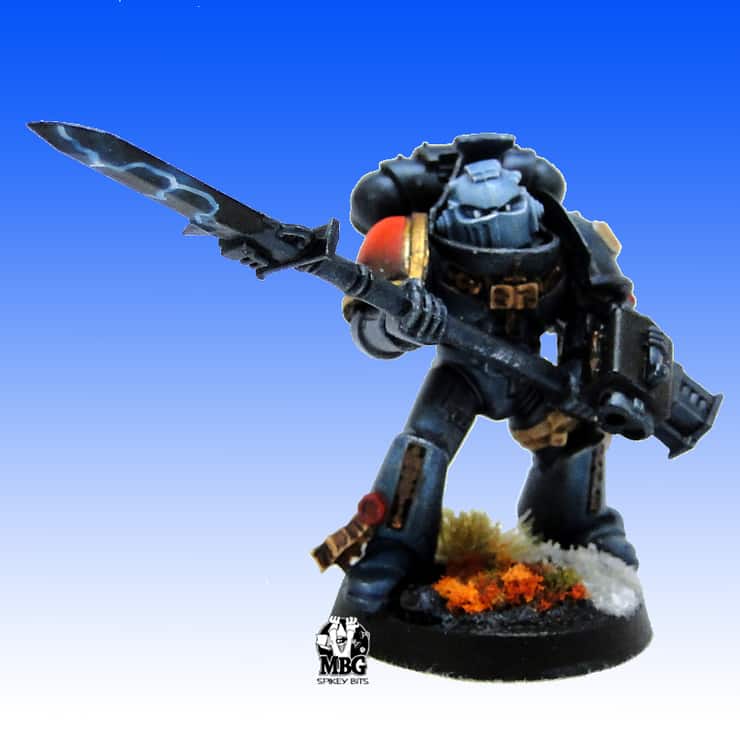
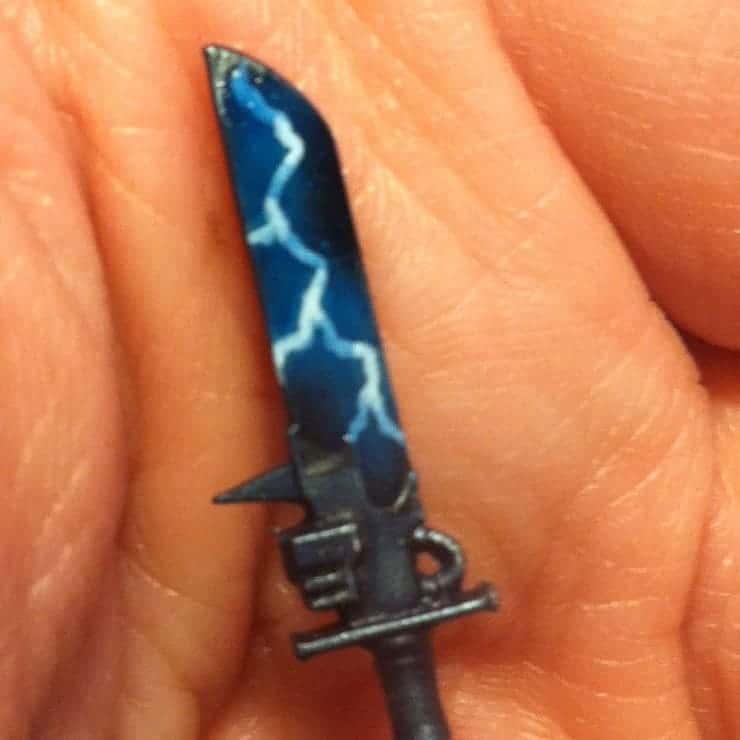
Then I added lightning to the halberds, and red to the Psycannon weapon stocks to complete the models themselves.

After that snow and flock were added to the bases. Then I glued the separate heads, pads and backpacks onto their bodies’ to make the models come to life for the first time!

Next I mattecoated the models again to preserve all the work to that point, and seal snow and flock to the bases.
Once they were dry for the very last (but not least) step, I brushed on glosscoat from Vallejo to the Halberds, Psycannon stocks, and the red tops of the Purity Seals.
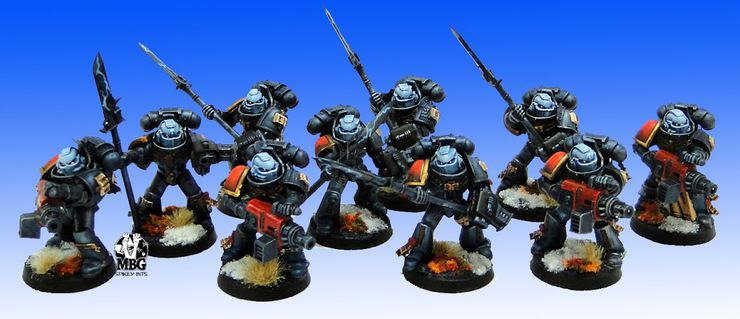
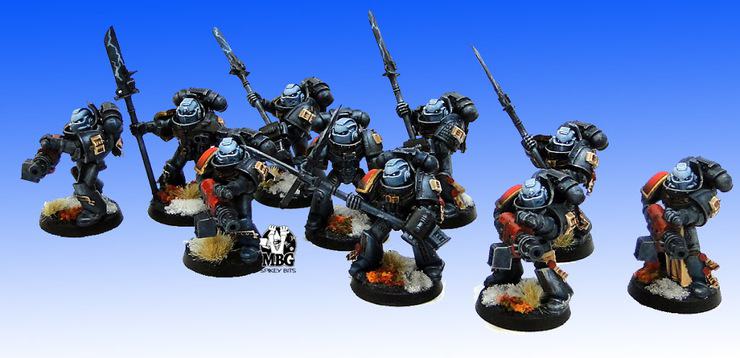
Here’s some close ups of the finished product!

And an overall shot of the final batch of 30 (I did ten first as a “test”).

You can also check out these blog articles on the specific effects I mentioned above, that I used for this project. -Happy Painting MBG
- Easy Purity Seals, and Tabards
- Quick Lightning Effects on Weapons
- Fading Red Shoulder Pads 101
- Snow Effect Bases