The Lord Of Skulls is a spectacular Chaos model for Warhammer 40,000. It’s also a large complex model with many components.
Here are some tips for breaking it down into sections to facilitate easy assembly and painting. I’ll also show you how to magnetize the left arm’s two different cannon muzzles to make them interchangeable.
In order to speed the painting process I sprayed different parts different base or primer colors to save time on hand painting.
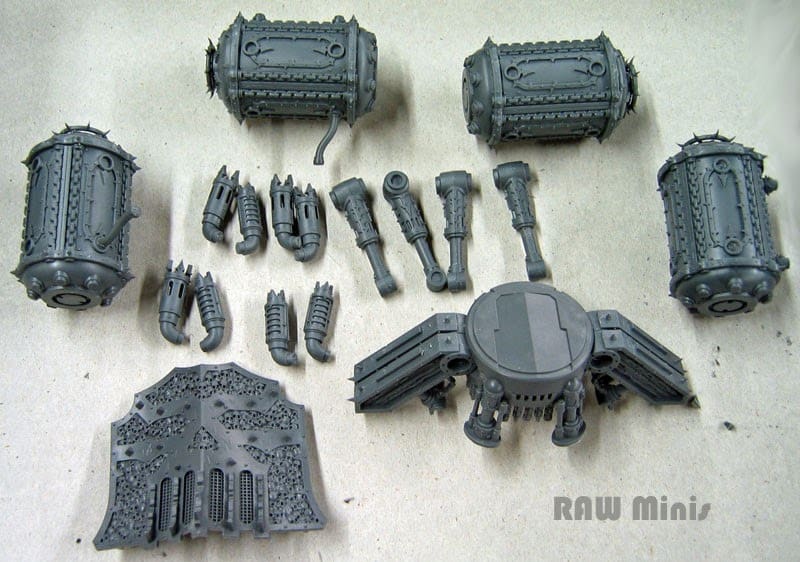
Most of the parts shown in the photo immediately below were sprayed with grey primer because I was planning to paint many of them Citadel Khorne Red. Red of any kind does not go well over white as it can make it look weak or too pink and require extra coats for good coverage. The problem with black primer is that it tends to make red appear very dark which was not desirable in this case. Grey primer gives a nice undercoat while having minimal impact on the look of the base red color to be applied over it.
 |
| Parts to be primed grey and mostly painted Khorne Red. |
The parts shown in the next photo were sprayed with a silver spray paint to save time on hand base coating them. They will remain a metallic steel color during painting. All that needs to be done after spraying is to shade and highlight. Any details on these parts that are not meant to look like steel will be painted right over top of the silver spray in other colors.
 |
| Parts sprayed with a silver base coat. |
Since the cannon on the left arm has two really cool looking muzzles and different rules for each of them I magnetized them to make them easily interchangeable. This process was fairly simple since the parts are relatively small and lightweight.
First I placed a small magnet in the end of the left arm by drilling a hole and using super glue to fix the magnet within it.
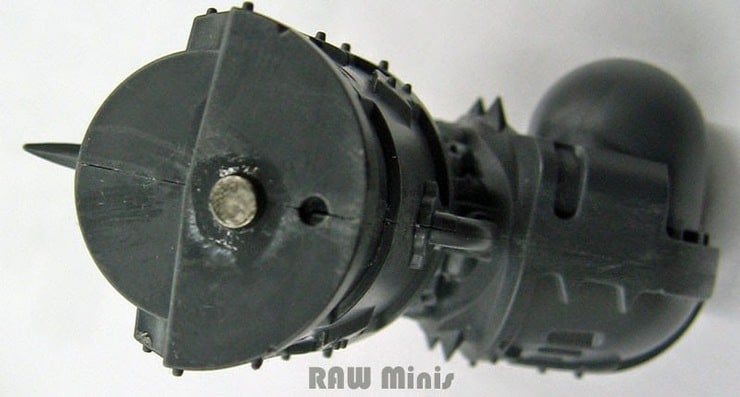 |
| Magnetized cannon arm. |
I then placed magnets inside each of the cannon muzzles. I used scrap pieces of plastic sprue to create mountings for the magnets. I primed these parts black after magnetizing them because they were destined to be painted with metallic steel and brass color paints.
 |
| Magnetized muzzles. |
The Lord Of Skulls model took a while to paint, there are just so many large parts and highly detailed components. In the end I think it was worth it, it’s a fabulous piece. I painted many of the pieces before gluing them together to make it easier to work on them. For example, the torso was painted separately from the chassis, the dozer blade was painted before being glued on, etc.
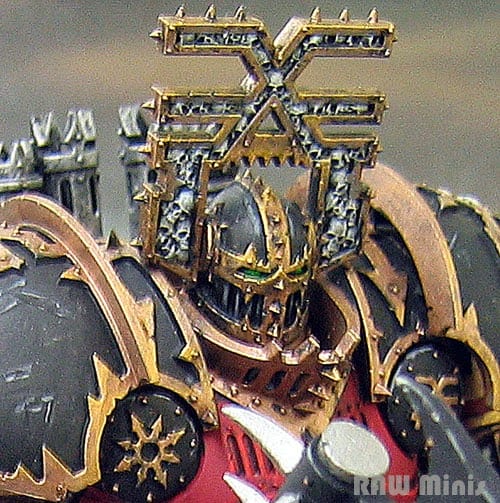
I really enjoy the look of the finished model as it is quite fiendish and sinister. I used black on the pauldrons and head to break up the large amounts of red. Black, red and brass are always an eye-catching color combination and they are iconic Khorne colors.
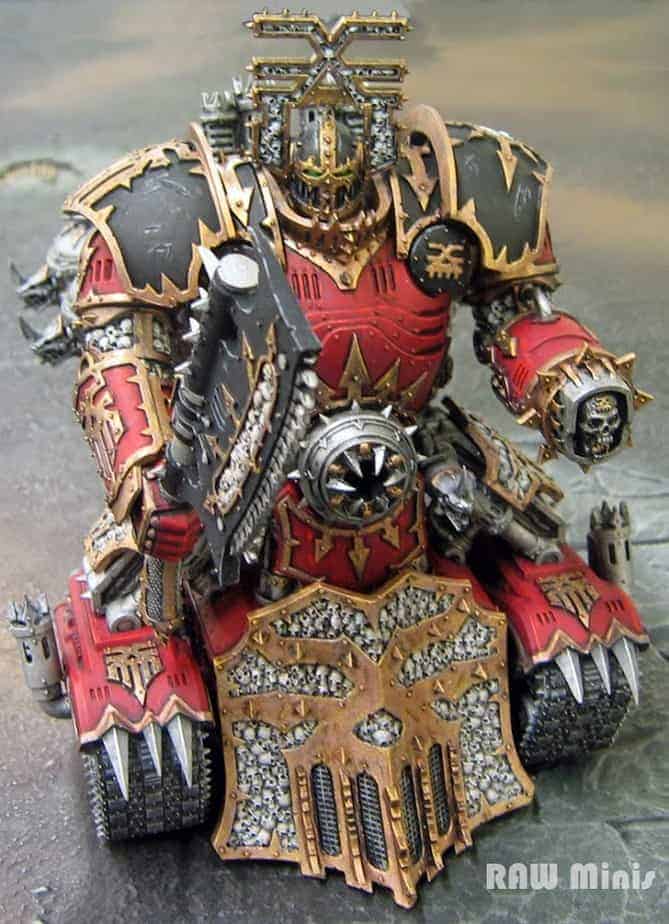 |
| Skulls for the Skull Throne! |
Here’s a side view of the painted Lord Of Skulls. You can see the alternate cannon muzzle on the left arm compared to the previous front view photo. This model took a ton of time to paint and I opted in the end not to paint the rear storage tanks as if they had windows. This saved a lot of time as there are sixteen panels between the four tanks.
It also meant that the only red on the model is on the main focus areas, the chassis and torso. Upon writing this article I’m further considering whether or not I want to paint the tanks as if they have visible blood in them. It’s something I can always revisit in the future, in the meantime I believe I have a finished looking, displayable and playable model.
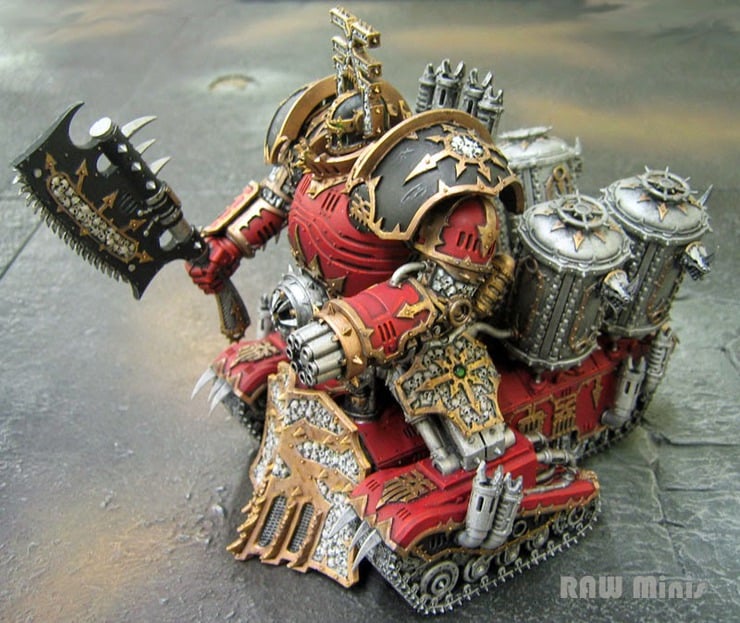 |
| Crush, kill, destroy! Maim, kill, burn! |
I’m currently working on a plasma armed Forgefiend and a few Helbrutes. Service in the name of the dark gods is never done!
