Hobby Basics: Base Coating Like a Boss
Spikey Bits » Hellfire Painting » Hobby Basics: Base Coating Like a Boss
Max Dubois, here with a bro-ginners guide to painting.
In this series, we’ll cover some of the basic steps in miniature painting.
Wether you’re new in the hobby or just want to become a better painter, stick around, this is the place for you!
Base coating, and the importance of a clean base coat.
Base coating is the one true and only basic skill you need to master miniature painting, no matter what anybody else says. If you’ve read any of my stuff, or have met me in real life (dude, congrats!) you know I’m always trying to save time while painting. This is never the step where to do it.
Are you ready? ‘Cause there is some serious knowledge about to be dropped here!
If you are not ready to have your mindhole blown by awesome theory, scroll down there’s a nice step by step.
First of, a base coat is the first color you apply to a surface after the primer. It serves as a foundation or base for all the steps after. Wait, a base coat is the base to painting, noshitsherlock! You got me, you clever beast of a man! It’s that simple. Simple but quite important and that’s why it’s the first article in the series.
If your base coat is crappy, all further steps will look crappy. In most cases, a model that’s only base coated will look better than a model with bad base coating and whatever effects were tried on it.
Now what makes a good base coat versus a bad one? Focus on these 3 points:
- 1- The color is not overlapping on anything. What’s green is green and what’s brown doesn’t have green on it.
- 2- The color is even and no primer is showing through. This is where it can get frustrating with tricky colors like white and yellow. Don’t sweat it, bro, we’ll cover those nasty sons of guns later.
- 3- The paint (the liquid gooey stuff itself) is applied evenly. Thinning your paints is another subject in itself, and is one of the harder lessons out there, so I won’t go into much specifics. If your paint looks like crayola finger paint, you should add a little bit of water. Do this on a pallet of some sort ( Old CD, bathroom leftover tile, allumin…allimani… tin foil) never in the paint pot. Never add water to a paint pot. Ever.
I am a great fan of the airbrush and what it can do speed-wise. However, these 3 points are just as important when using an airbrush, there’s no way around it.
Last in the theory part: layers and coats. You’ll find these terms in every tutorials out there. Some colors cover better ( Green/Brown/Blue) than other ( White/Yellow). You will need multiple coats to get a good even finish. You do this by using the same thinned paint ( not straight out of the pot like a barbarian, it’s sad, I know ) and going over an area when the previous coat of paint is dry. This is important. Don’t work on wet paint, this is frustration in the making.
This is also why doing a bunch of models at the same time works well, by the time you’re painting the others, the 1st one has time to dry.
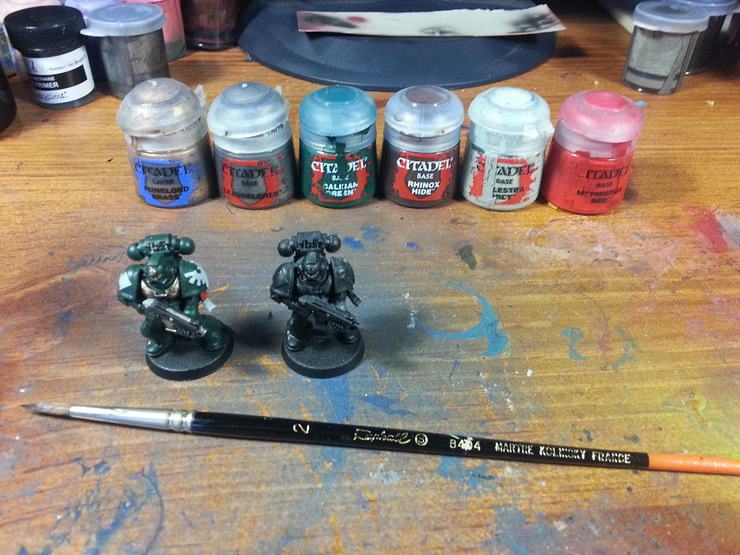
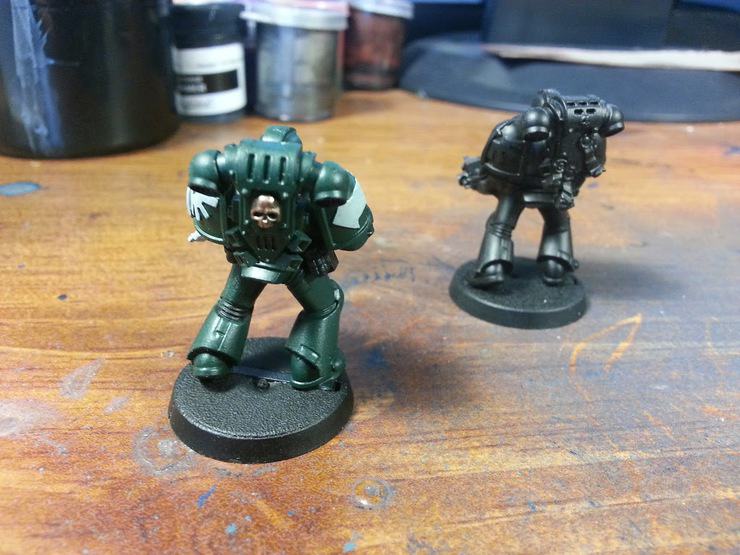
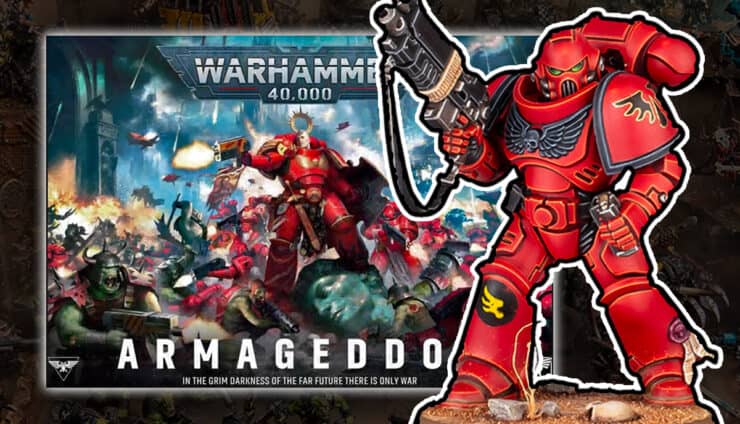
OK, now that we got the theory out of the way, here’s a project for you if you just got into painting. This uses the Games Workshop Warhammer 40,00 Paint Set or you can pick the colors shown here if you have a dark vengeance starter set or some Dark Angels to paint!
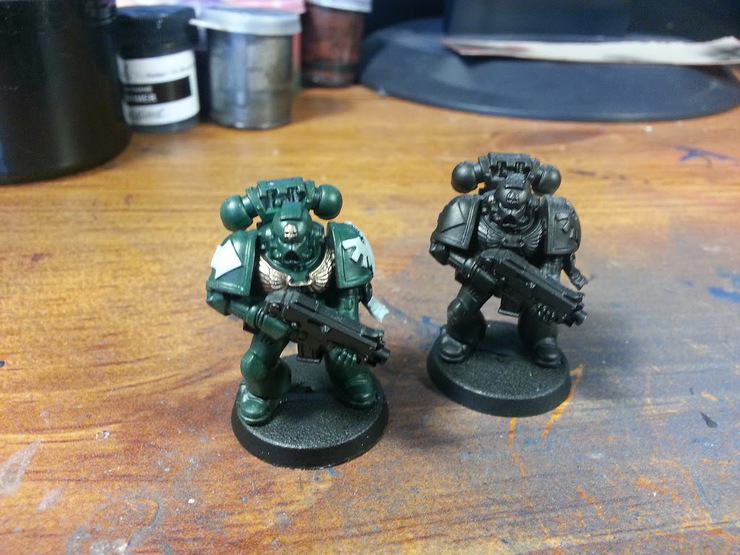
Step1- Start with the green, because it’s the easiest to do first. You can go ballistic here and cover the entire model, as everything will be covered later, don’t worry about overlapping on stuff that won’t be green. What really matters is that the armor is an even green. Caliban Green is pretty easy to use in my opinion; it will rarely need more than 2 coats to get a nice finish.
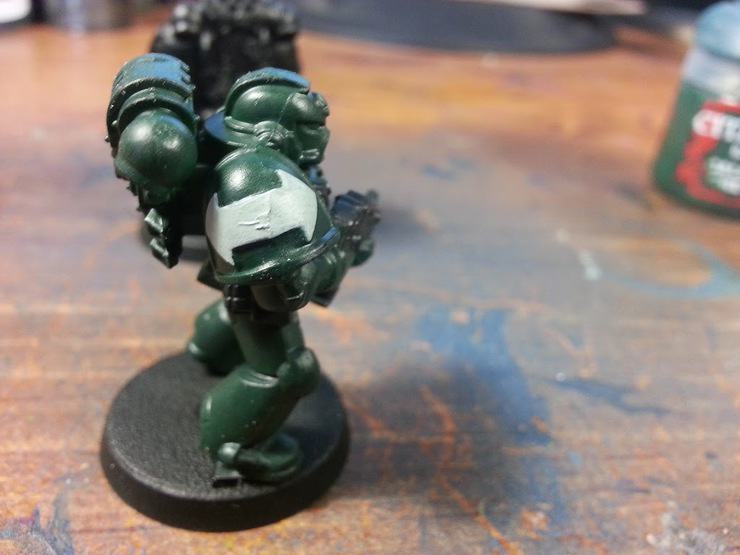
Step 2- Be warned, this is the nasty one. If you ever feel like flipping the table, crack open another beer, and go to step 3, you can come back to this step when you don’t hate your life and the shady grey paint that much.
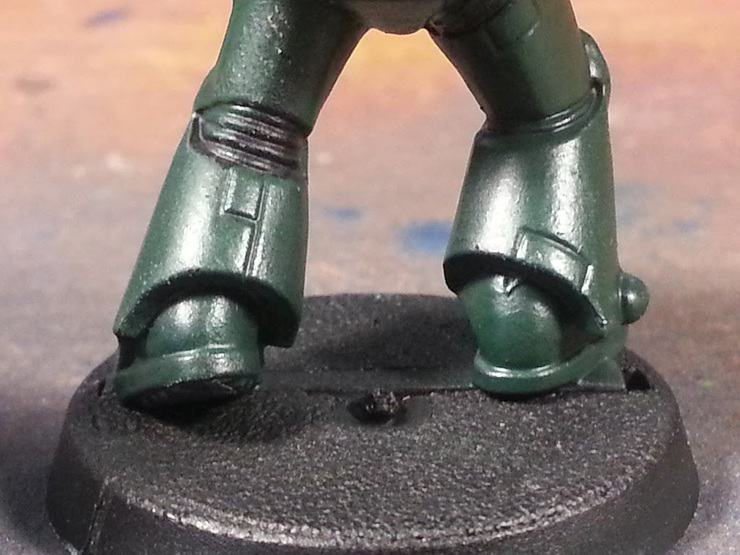
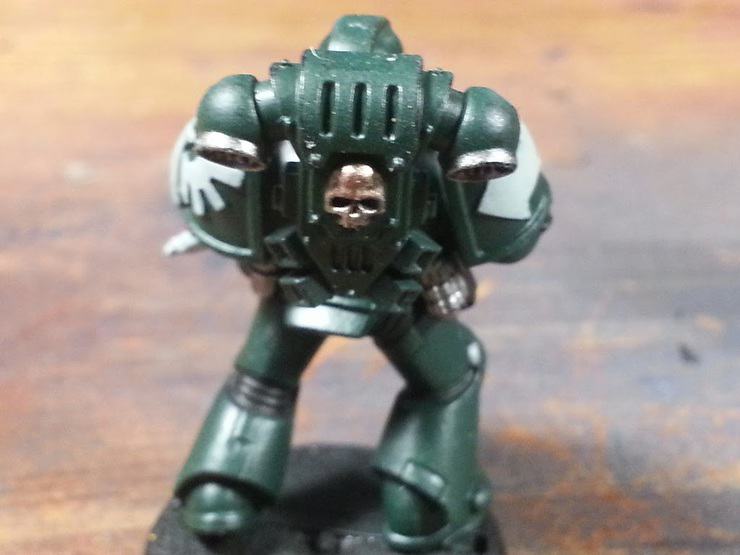
That nasty, nasty grey paint. We’re gonna cover the purity seals and the tactical markings with it. This can take 4-5 coats to get right. At this step, it’s important to be careful about not putting grey on the armor, so you limit the touch ups on the green to a minimum.
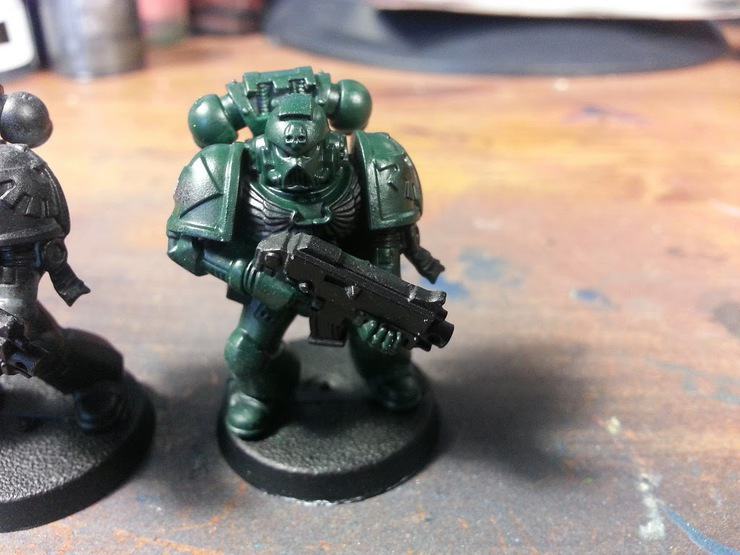
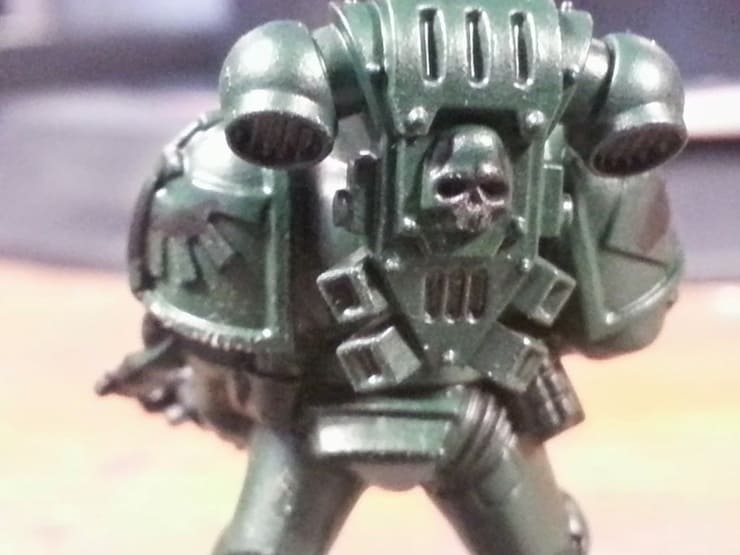
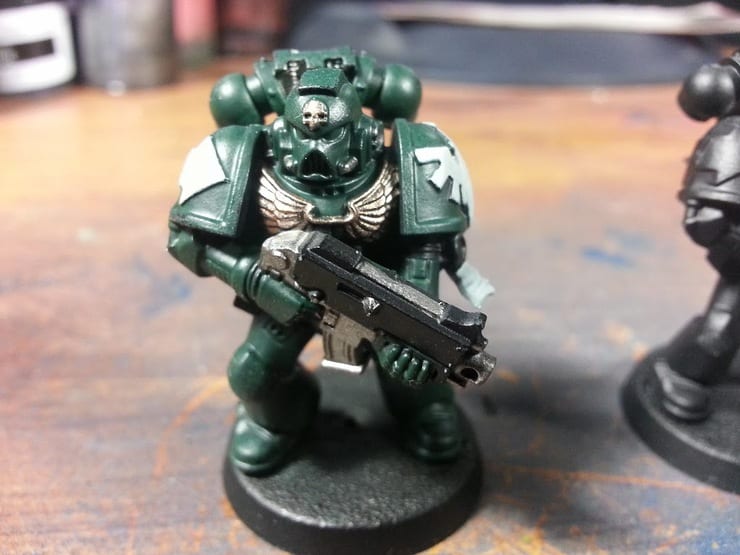
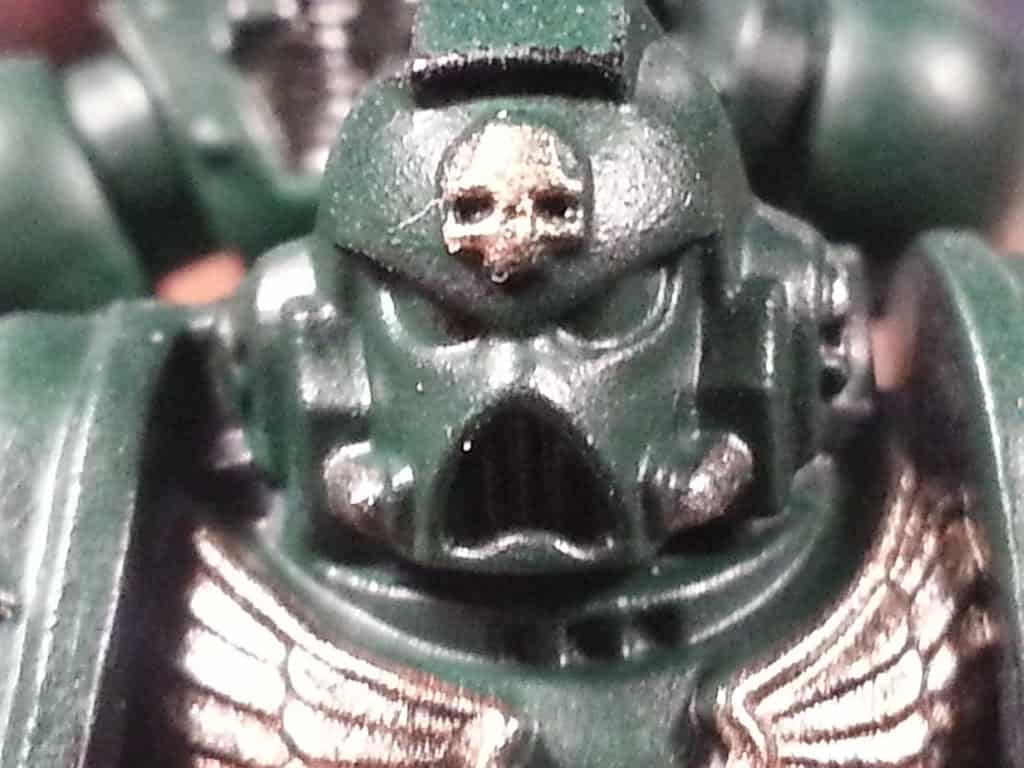
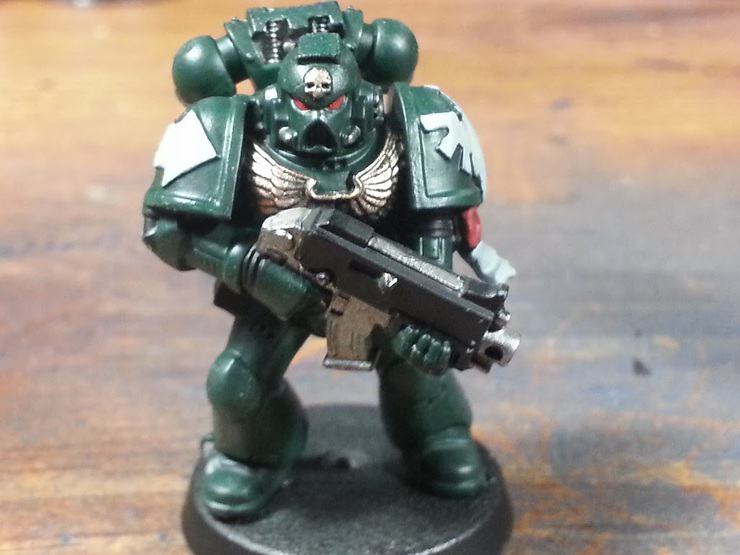
Step 3- I find gold to be easy to work with. I used Runelord Brass here instead of Balthazar Gold ( or the gold that’s in the kit, I don’t have it ) because that’s the color I use on mot of my models. We’re doing the chest piece and the various skulls on the model with gold.
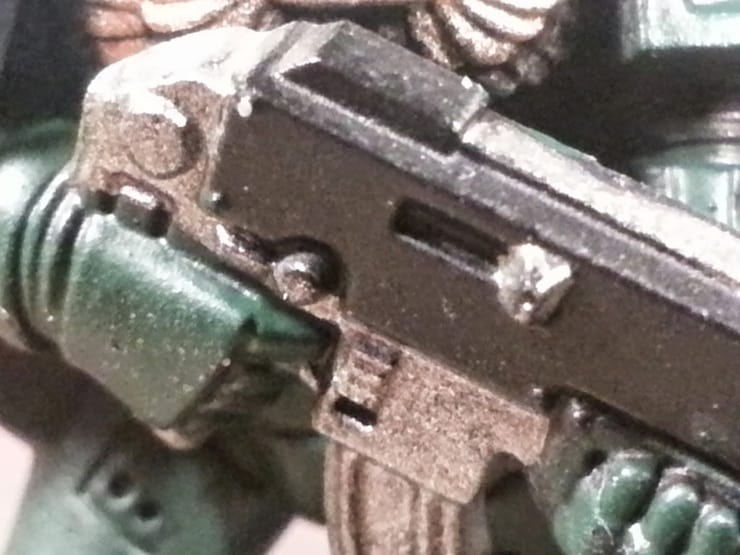
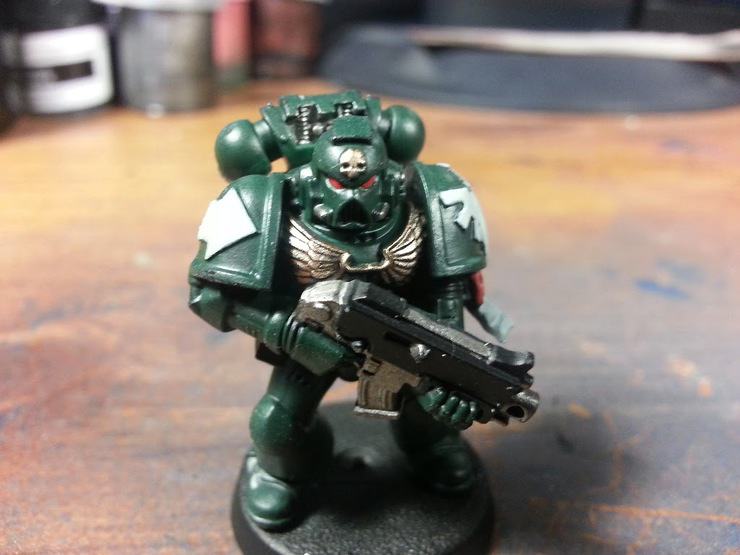
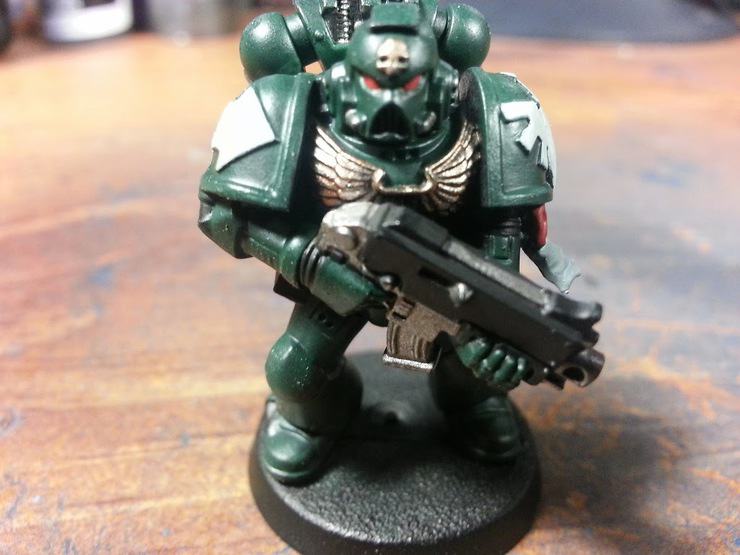
Step 4- Painting the silver parts. As you can see on the picture, I only painted part of the gun in Leadbelcher, but feel free to paint the whole thing silver, it looks just as cool but it’s much easier. Also, some marines have cables or whatnots on their helmets and some have grenades dangling around, do them too.
Take a moment to remember the 3 guidelines here, don’t rush ahead!
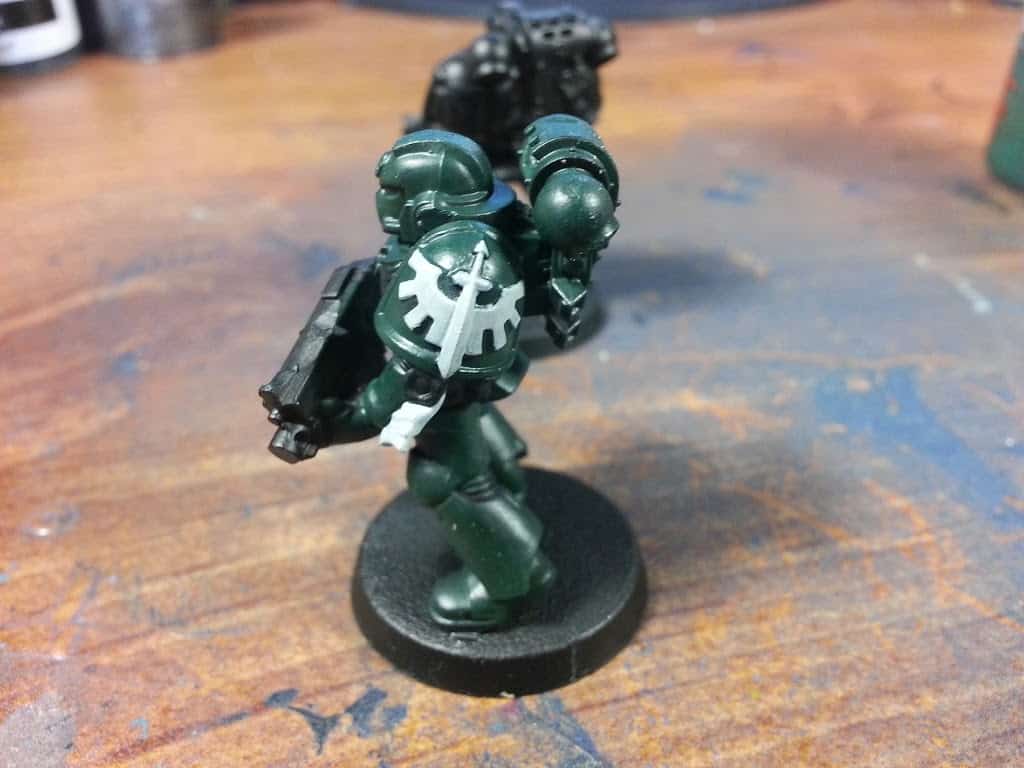
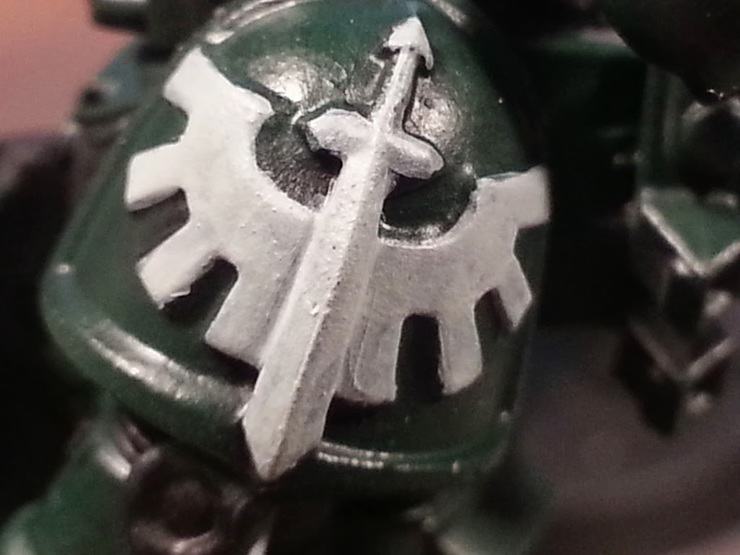
On that last picture you can see the gold on the skull is not even, the green is showing top right, this needs to be fixed!
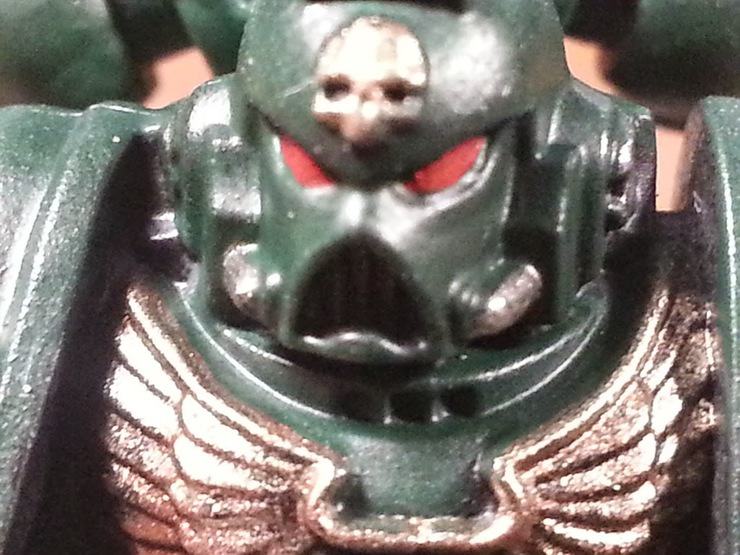
Step 5- Get your super small brush of awesome details, we’re painting red and the eyes. Mephiston red is fairly easy to use, it’s a bright red that covers pretty well. A good trick for doing the eyes is to cover them completely event if it means overlapping on the green first, then correcting with the green. It’s much easier not to get green in the eye than not getting red on the green helmet. Also, you can do the top of the purity seal with red.
Step 6- This is called the MaxHenri Stage, where you paint the black parts. Casing of the gun ( or not if yours is all silver ) and the joints in the armor. If you don’t want to do a fancy base at this point, paint it black, it will look prettier. I’ve never had much success with the Technical primer that’s in the Paint set, I’d rather use Abaddon Black.
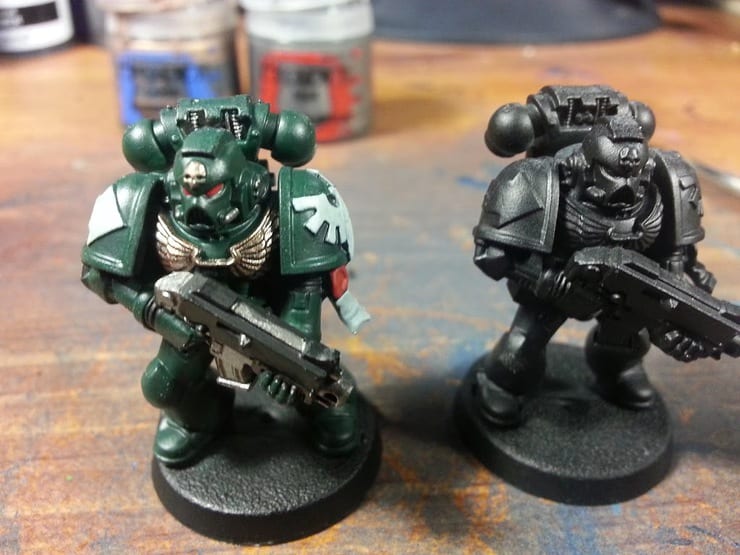
And voila! With some practice, you can easily do 20 models like this in one evening. Now keep in mind, these models are not perfect, they’re base coated. There’s a lot more you can add.
We’ll work on that next time!
Max Dubois is a hobby enthusiast from Quebec. Better known as “that French douchbag” in the tournament scene, he has never lost a game of BeerHammer and writes these articles for the sole purpose of picking up chicks at Starbucks. He also does this.