Max Dubois here with another bro-ginner’s guide to painting. This one is about line painting, which is the best way known to man to get your army from bare plastic to blazing and painted on the table in no time. There’s also a DIY project for you to try out!
First off, what’s line painting. Sometimes called batch painting, line painting is about working on multiple miniatures at one time. By doing a single color on 10 miniatures before moving to the next color, you are able to save quite some time.
Just like using an airbrush, batch painting gets hated on by some, claiming that it’s not the way to get quality models. Man, I love me some haterz. Yes, painting low-quality models in an impressive time is one way this method shines, but it only takes a second when you see armies put together by Next Level Painting or GMM Studios, which are not only high quality armies, but make extensive use of line painting.
When you work on a lot of models at once, you end up knowing where certain areas are. You stop searching for what’s brown, because after the 5 first Imperial guard you know its the boots, the belt, that one pouch and the helmet strap. Besides never waiting for stuff to dry, cleaning your brush, switching paint pots and thinning it down properly, that’s how so much time is saved.
The golden nugget disclaimer: line painting is pretty boring. It takes a while before you see actual results, so it’s easy to lose interest in your project. Here’s the golden rule ( not that golden rule, you perv… ) When you feel like crying because that batch of 50 guardsman is taking forever, whip out Yarrick and work on that pimp for a while. Working on a model you enjoy should kickstart your motivation.
Before moving on with a quick tutorial, here are a couple of pointers to keep in mind when batch painting:
1- Find your sweet spot. There’s a number of miniature out there that’s the max you can handle before it’s too many models. For some it’s 10, some 25, mine is 75. Line painting more than 75 models at once is too much for me. Always go for the max you can do.
2- Touch up at the end. Let’s say you’re done doing the brown and are working on the silver. Every time you notice something that should be brown but isn’t, finish the silver on that dude and put the model on one side. When you’re done with the silver for the whole batch of models, take the brown out and touch up the models you’ve set aside. Then work on another color, and set aside the models that you missed some silver.
3- Write that down. Either in your phone or take pictures of the colors you use. The great thing about line painting is that your army is uniform. If the first 25 have Rhinox Hide boots and the other 25 have Skraag Brown boots, you’ve destroyed your good work.
Try it at home part of the article!
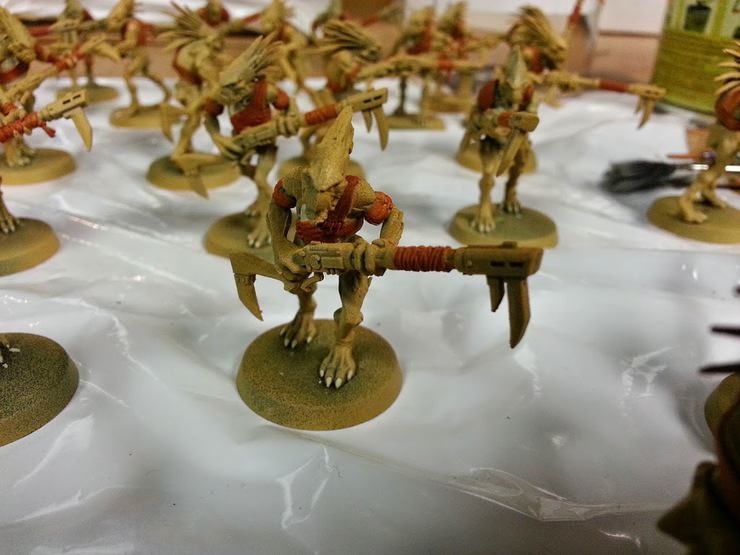
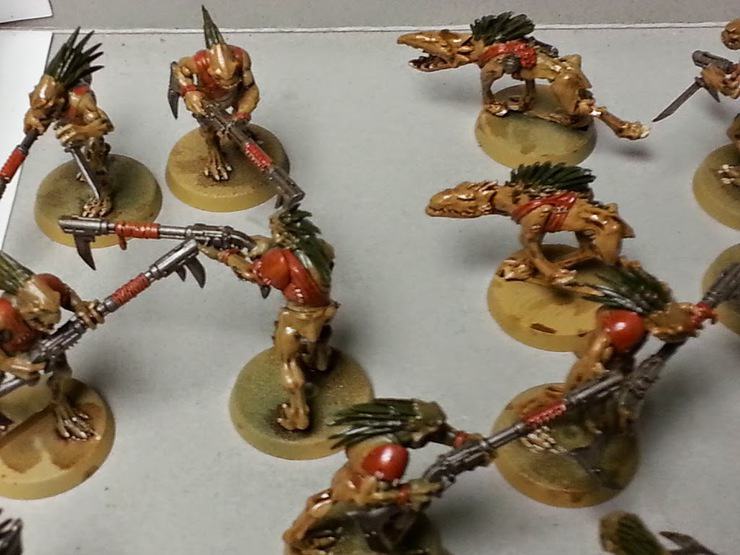
Alright, you’re done with the theory, let’s put that in action. Here’s an army worth of Kroots, 40 plus 4 hounds, that were painted in the most basic tabletop quality possible. Those 44 guys were painted in 7 hours which is roughly 1 hour per night spent in your man cave for a whole week. You can also do this is the span of one week, which is how I did it.
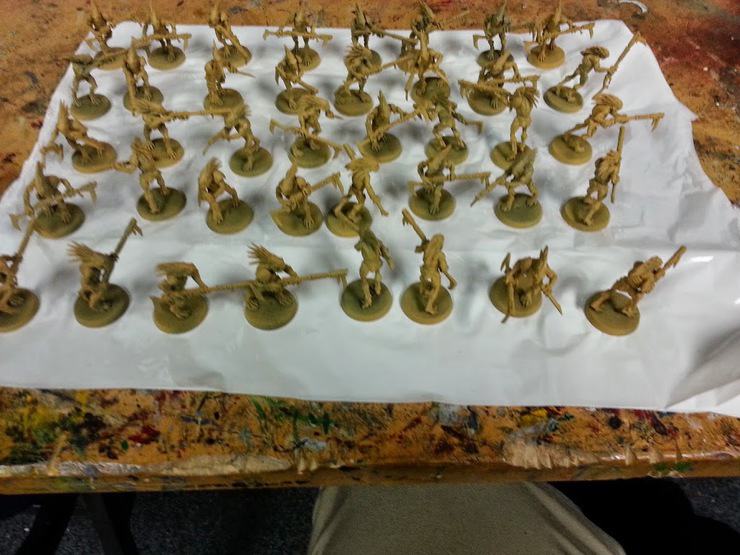
By Friday night, have your Kroots assembled with the mold lines cleaned. On Friday night, prime the whole thing with Army Painter Desert Yellow. This takes roughly 15 minutes to get 2 clean coats on each side and you can do something else like drink, ’cause it’s Friday, while this dries. You’re done for the night, it took 15 minutes.

Sunday: Today’s the day. Sweatpants at the ready, you have 5 hours to spend in your mancave.
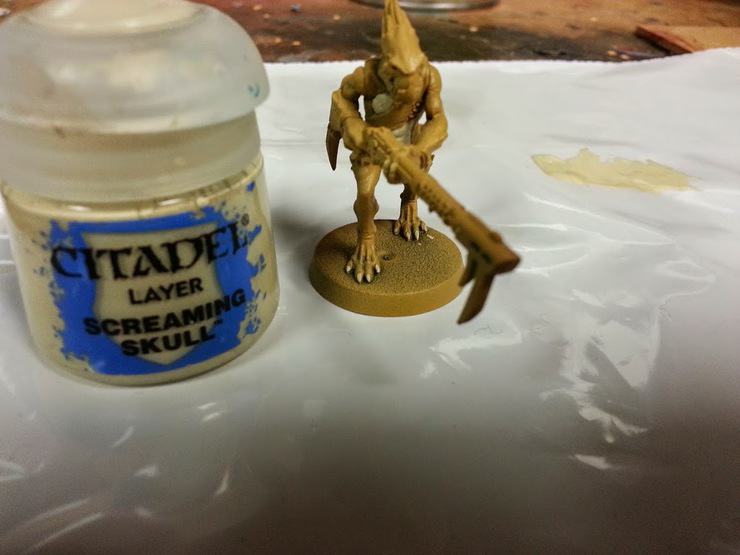

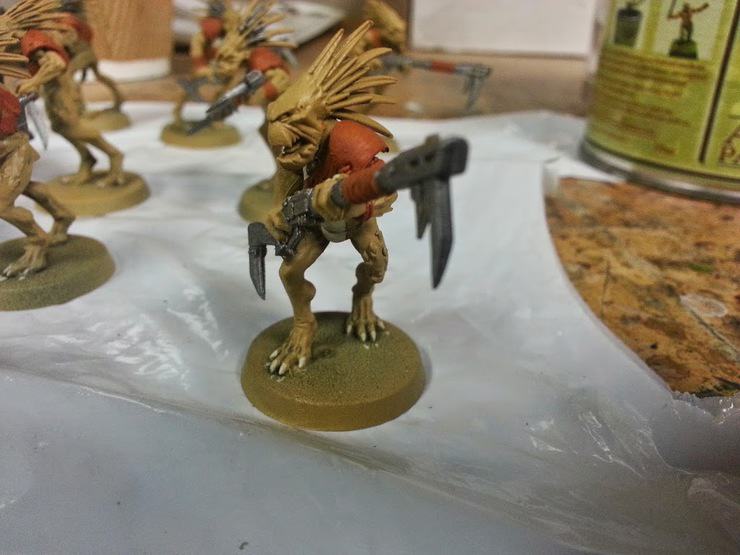
Start with screaming Skull, and paint the Kroot’s belly and the claws on the foot. We’ll do the claws on the hands in a later step. Do all 44 of them before moving to the next step.

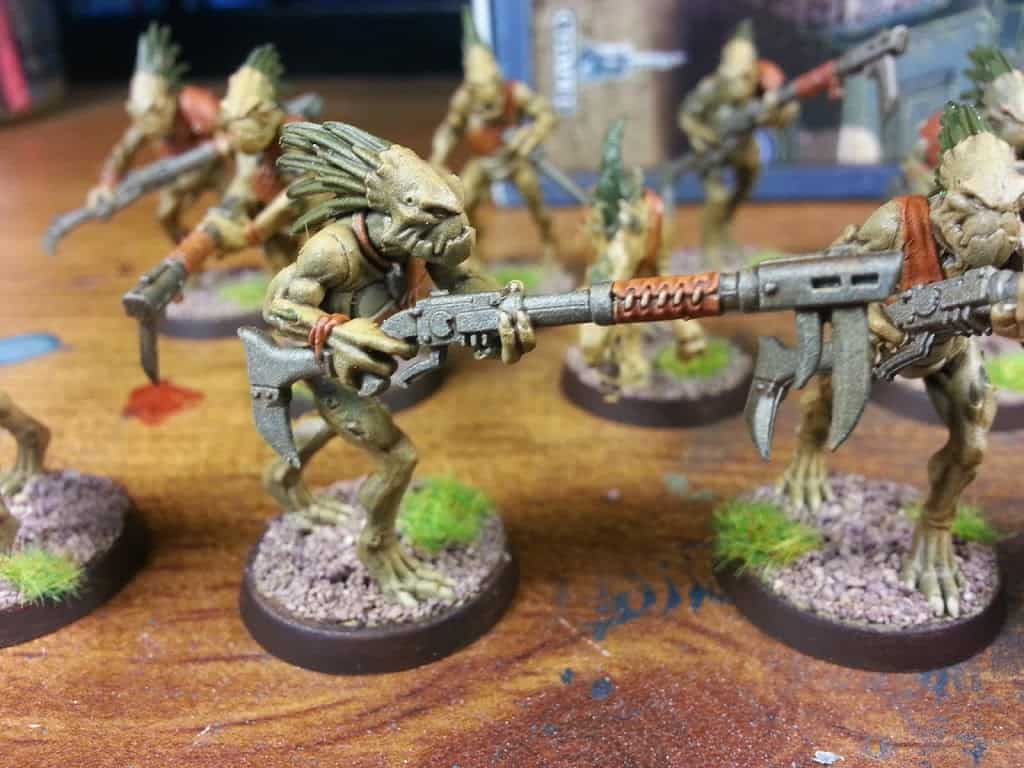
Next, using Skraag Brown, paint pretty much everything that’s on the Kroot. The shoulder plate, the little rag of armor, wristbands, armbands, and the wrappings on the gun.
We are killing it, feel free to take a break at any point, refresh your beer/coffee/beer/water/beer bevrage


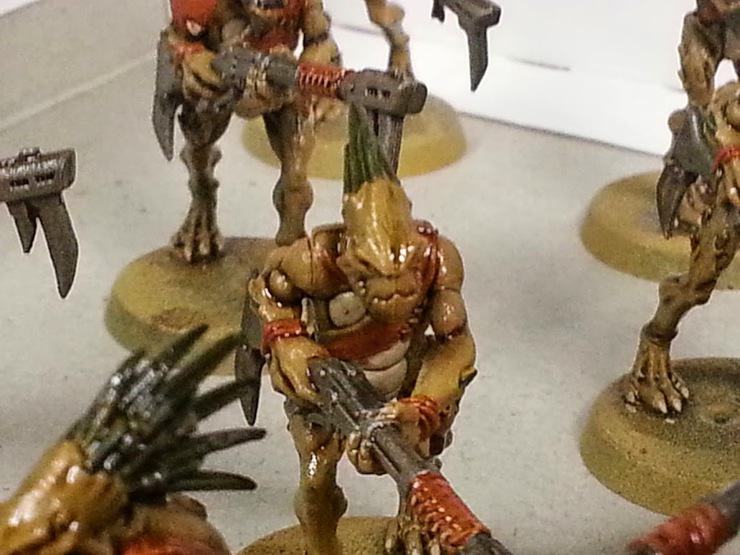
Next on our list is Ironbreaker, which we’ll paint on guns and the jewelry. This step is quite nasty because painting silver over the yellow won’t cover so well. If you’re sick of Ironbreaker, you can do the next step after the first coat of silver and come back after with another coat. Spread the pain.

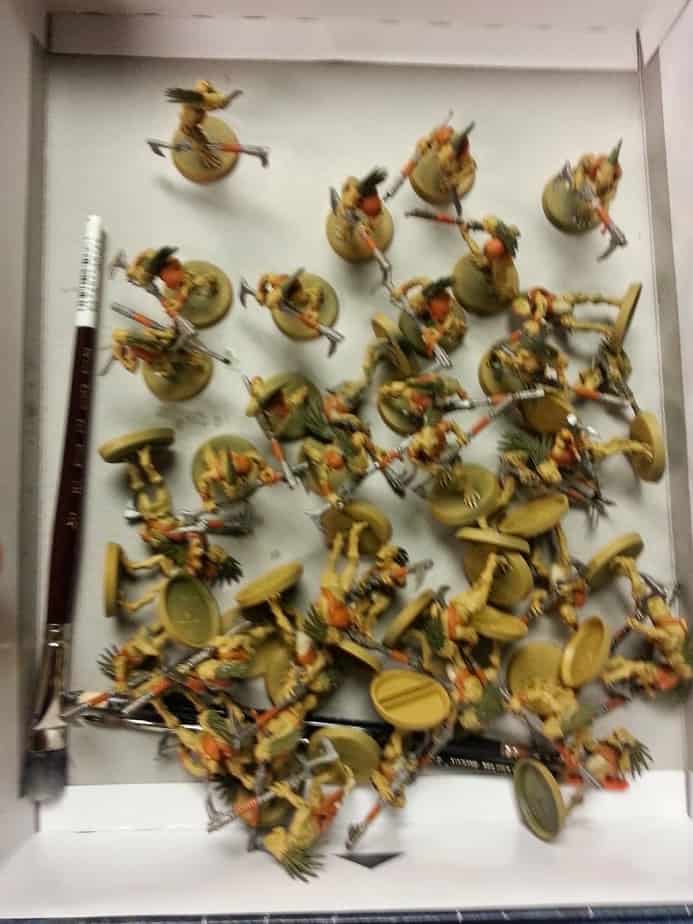
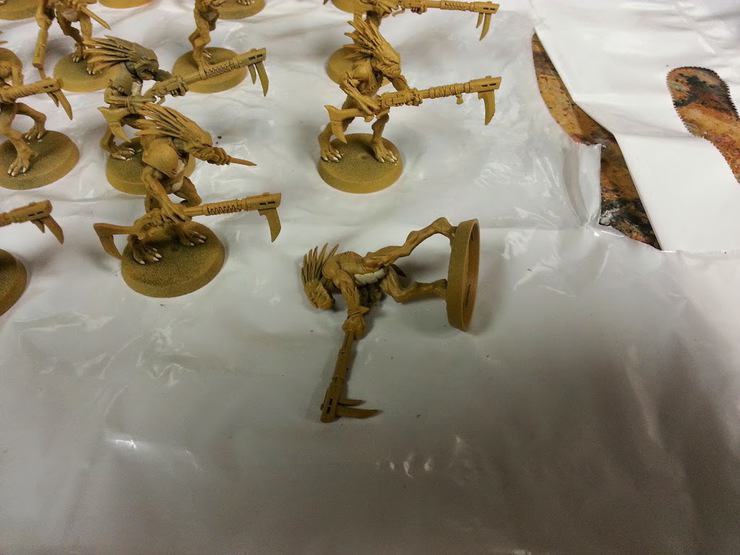
It’s almost over! You can see that I somepoint in the frenzy, I stopped caring about laying them carefully. Grunt’s life. The crest/hair is going to be Castellan Green ( Catachan Green from old GW ) Try not to cover the jewels in the hair that you just painted.
Final touches. Break out the Sreaming Skull again, and go over the claws and the bindings on the rags and shoulder plates. We saved this for last for multiple reasons: Easier to touch up and it doesn’t show that much if you forget an area at this step.
You’ll notice I didn’t bother with the eyes, that’s because the next step pretty much covers it and we’re going for basic tabletop.
Last thing for the day, and this is the only part where timing is important, the next step needs 24 hours to dry before we can do the other 2 steps. Obviously, if you do this on the weekends, it will be no problem, as it will be dry by next Friday, but if you do this in the evening, consider that there will be one day where you won’t be able to work on the unit.
THE ALLMIGHTY QUICKSHADE
This product/technique takes a lot of heat from le haterz, but it’s perfect for our quick gaming models.
Now, rather than just dip the model in the stuff, I prefer to paint it on. It takes the same amount of time, but you get a much cleaner look. Paint over the entire model with Quickshade ( Strong tone, the middle shade of Quickshade ) then set the model aside, not touching another model ( it’s tricky with those long riffles… ) You’re models will look weird, glossy and you’ll probably don’t like them at this point or when they’re dry. Do not worry. It’s all gonna change.
It’s now Sunday night, you did it for this week. Shower and watch football or something, see you next week.

Friday no.2 another 15 minutes task before you head out for the drinking. Varnish the models with Army Painter Anti-shine. I’m pretty sure any matte varnish would do, but I use this stuff on all my models and honestly never tried other varnish since I found it.
Sunday no. 2 Your models are somewhat done, all that’s missing is a proper base. Mine is quite simple, small brown rocks with no painting required and patches of static grass. The edge of the base is painted Rhinox Hide. However you chose to to them, make sure they match the rest of your army.
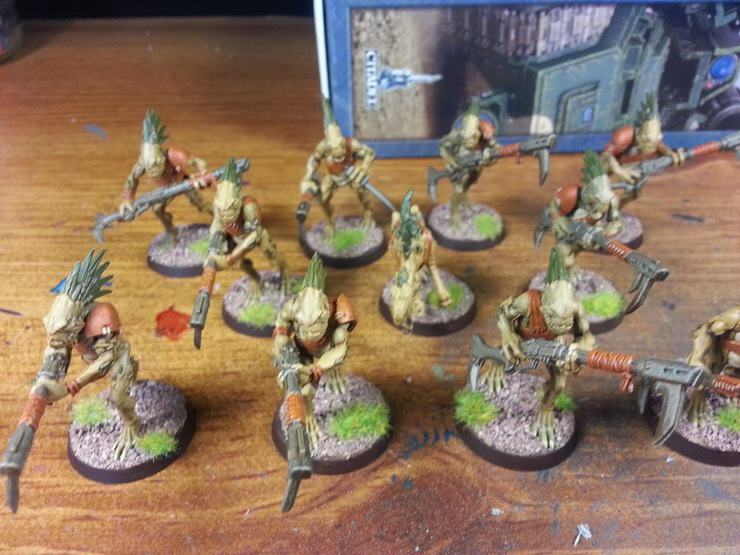
Voila. 7 or so hours, 44 grunts ready to outflank the battlefield!
Max Dubois is a hobby enthusiast from Quebec. Better known as “that French d-bag” in the tournament scene, he has never lost a game of BeerHammer and writes these articles for the sole purpose of picking up chicks at Starbucks. You can find more of his work here.