Hey everyone, I’m Dave from 13th Company Painting making my BIG Spikey Bits debut! Today, I’d like to show you a technique I’ve been using to quickly and easily paint terrain, that I think give some great results!
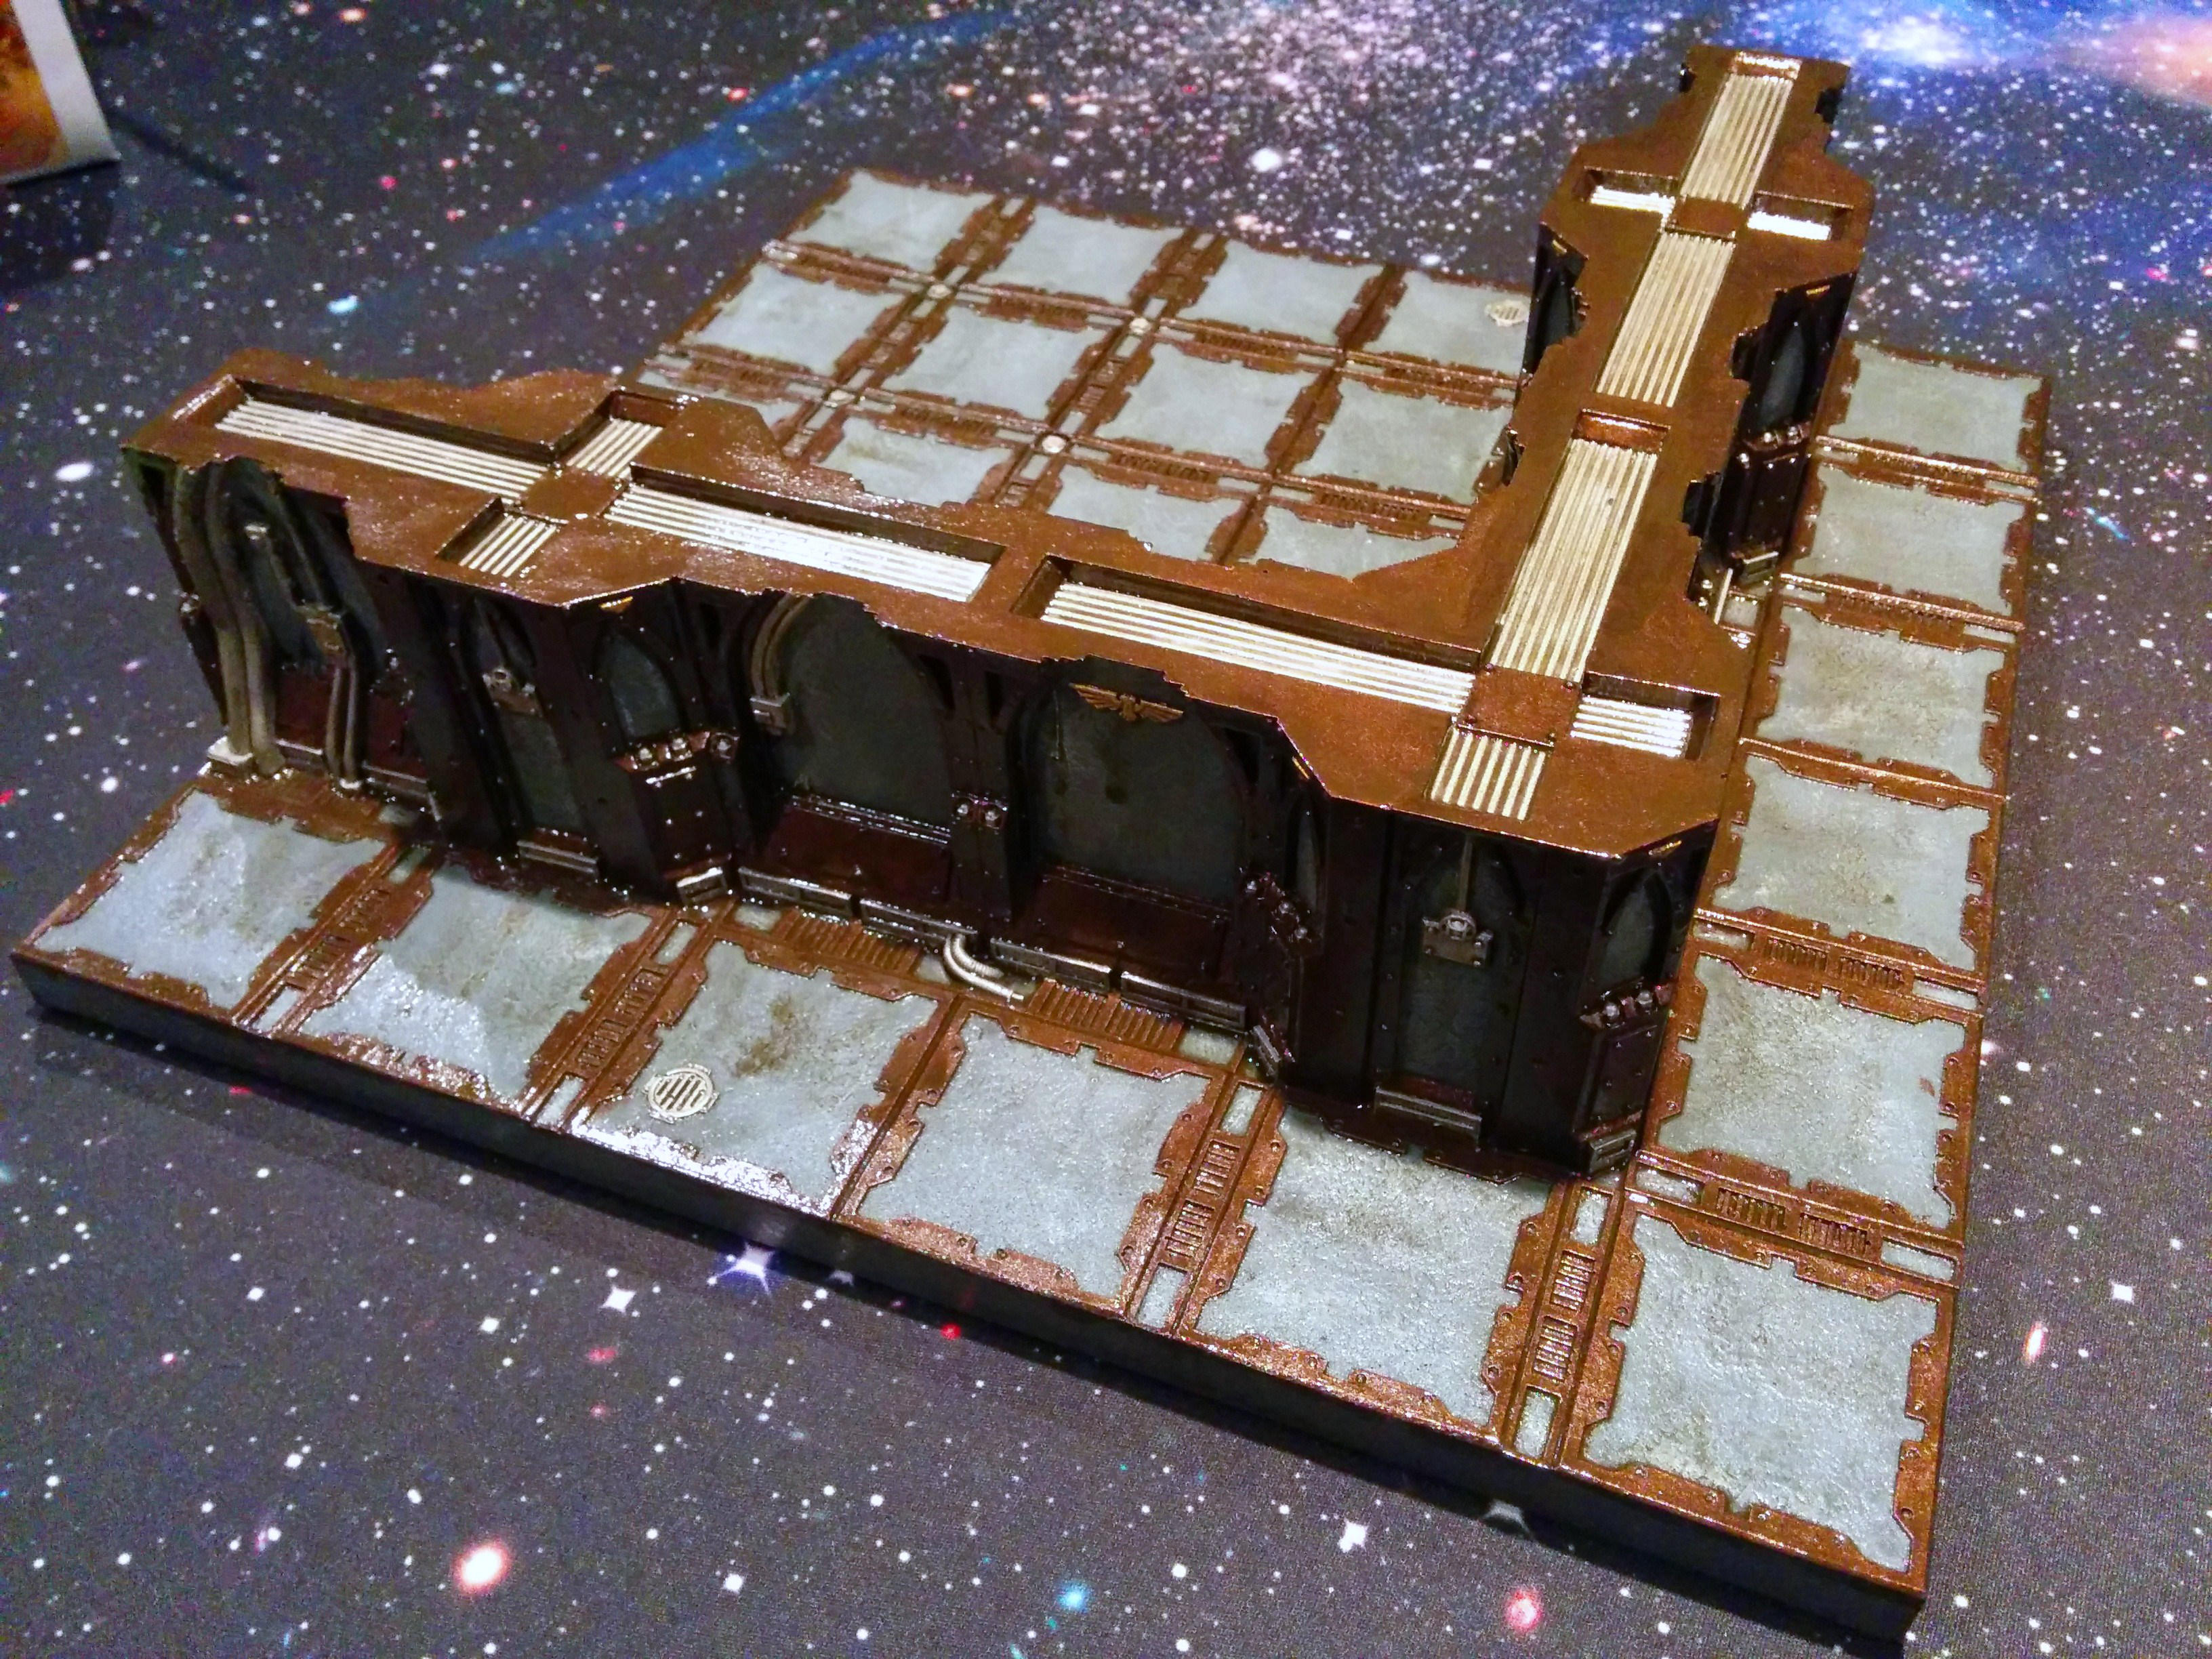
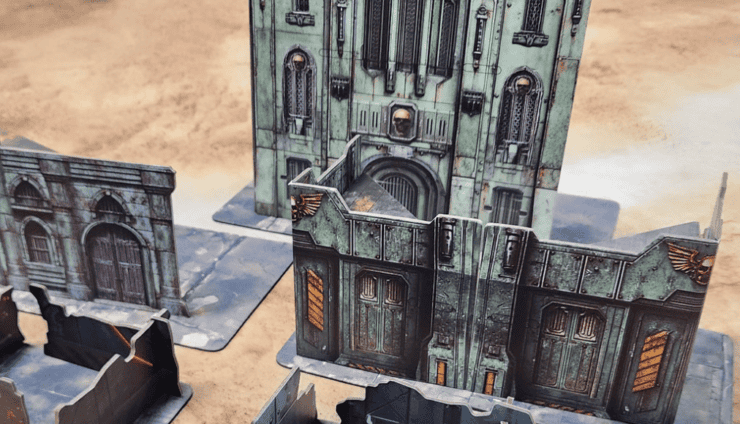
In this tutorial, I’ll be showing you how I painted some of my Zone Mortalis boards, but the technique is really usable on any terrain.
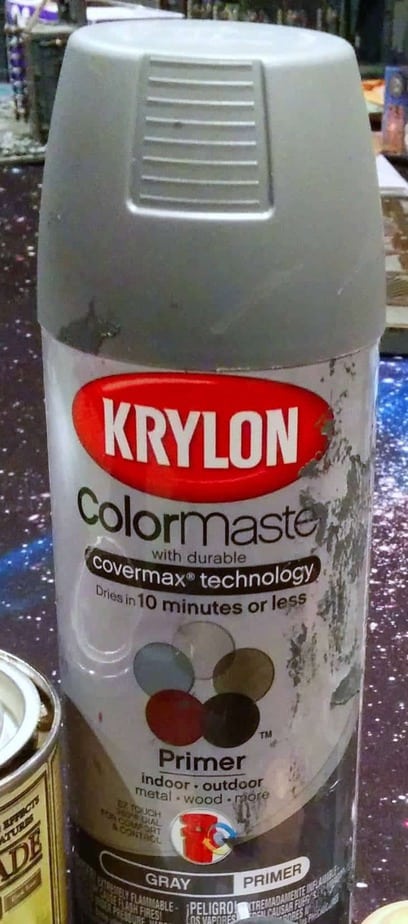
First, I spray the tile with Krylon ColorMaster primer, in gray.
For terrain, I find that an aerosol primer works better than the Vallejo airbrush primer I use for my models. It’s way cheaper, of course, and tends to offer a tougher coating, in my experience. This is important, since models, dice, templates and the like are often being dropped, scooted or placed on terrain. The Krylon ColorMaster tends to be strong, but not so thick as to obscure details. Here’s what a tile looks like primed:
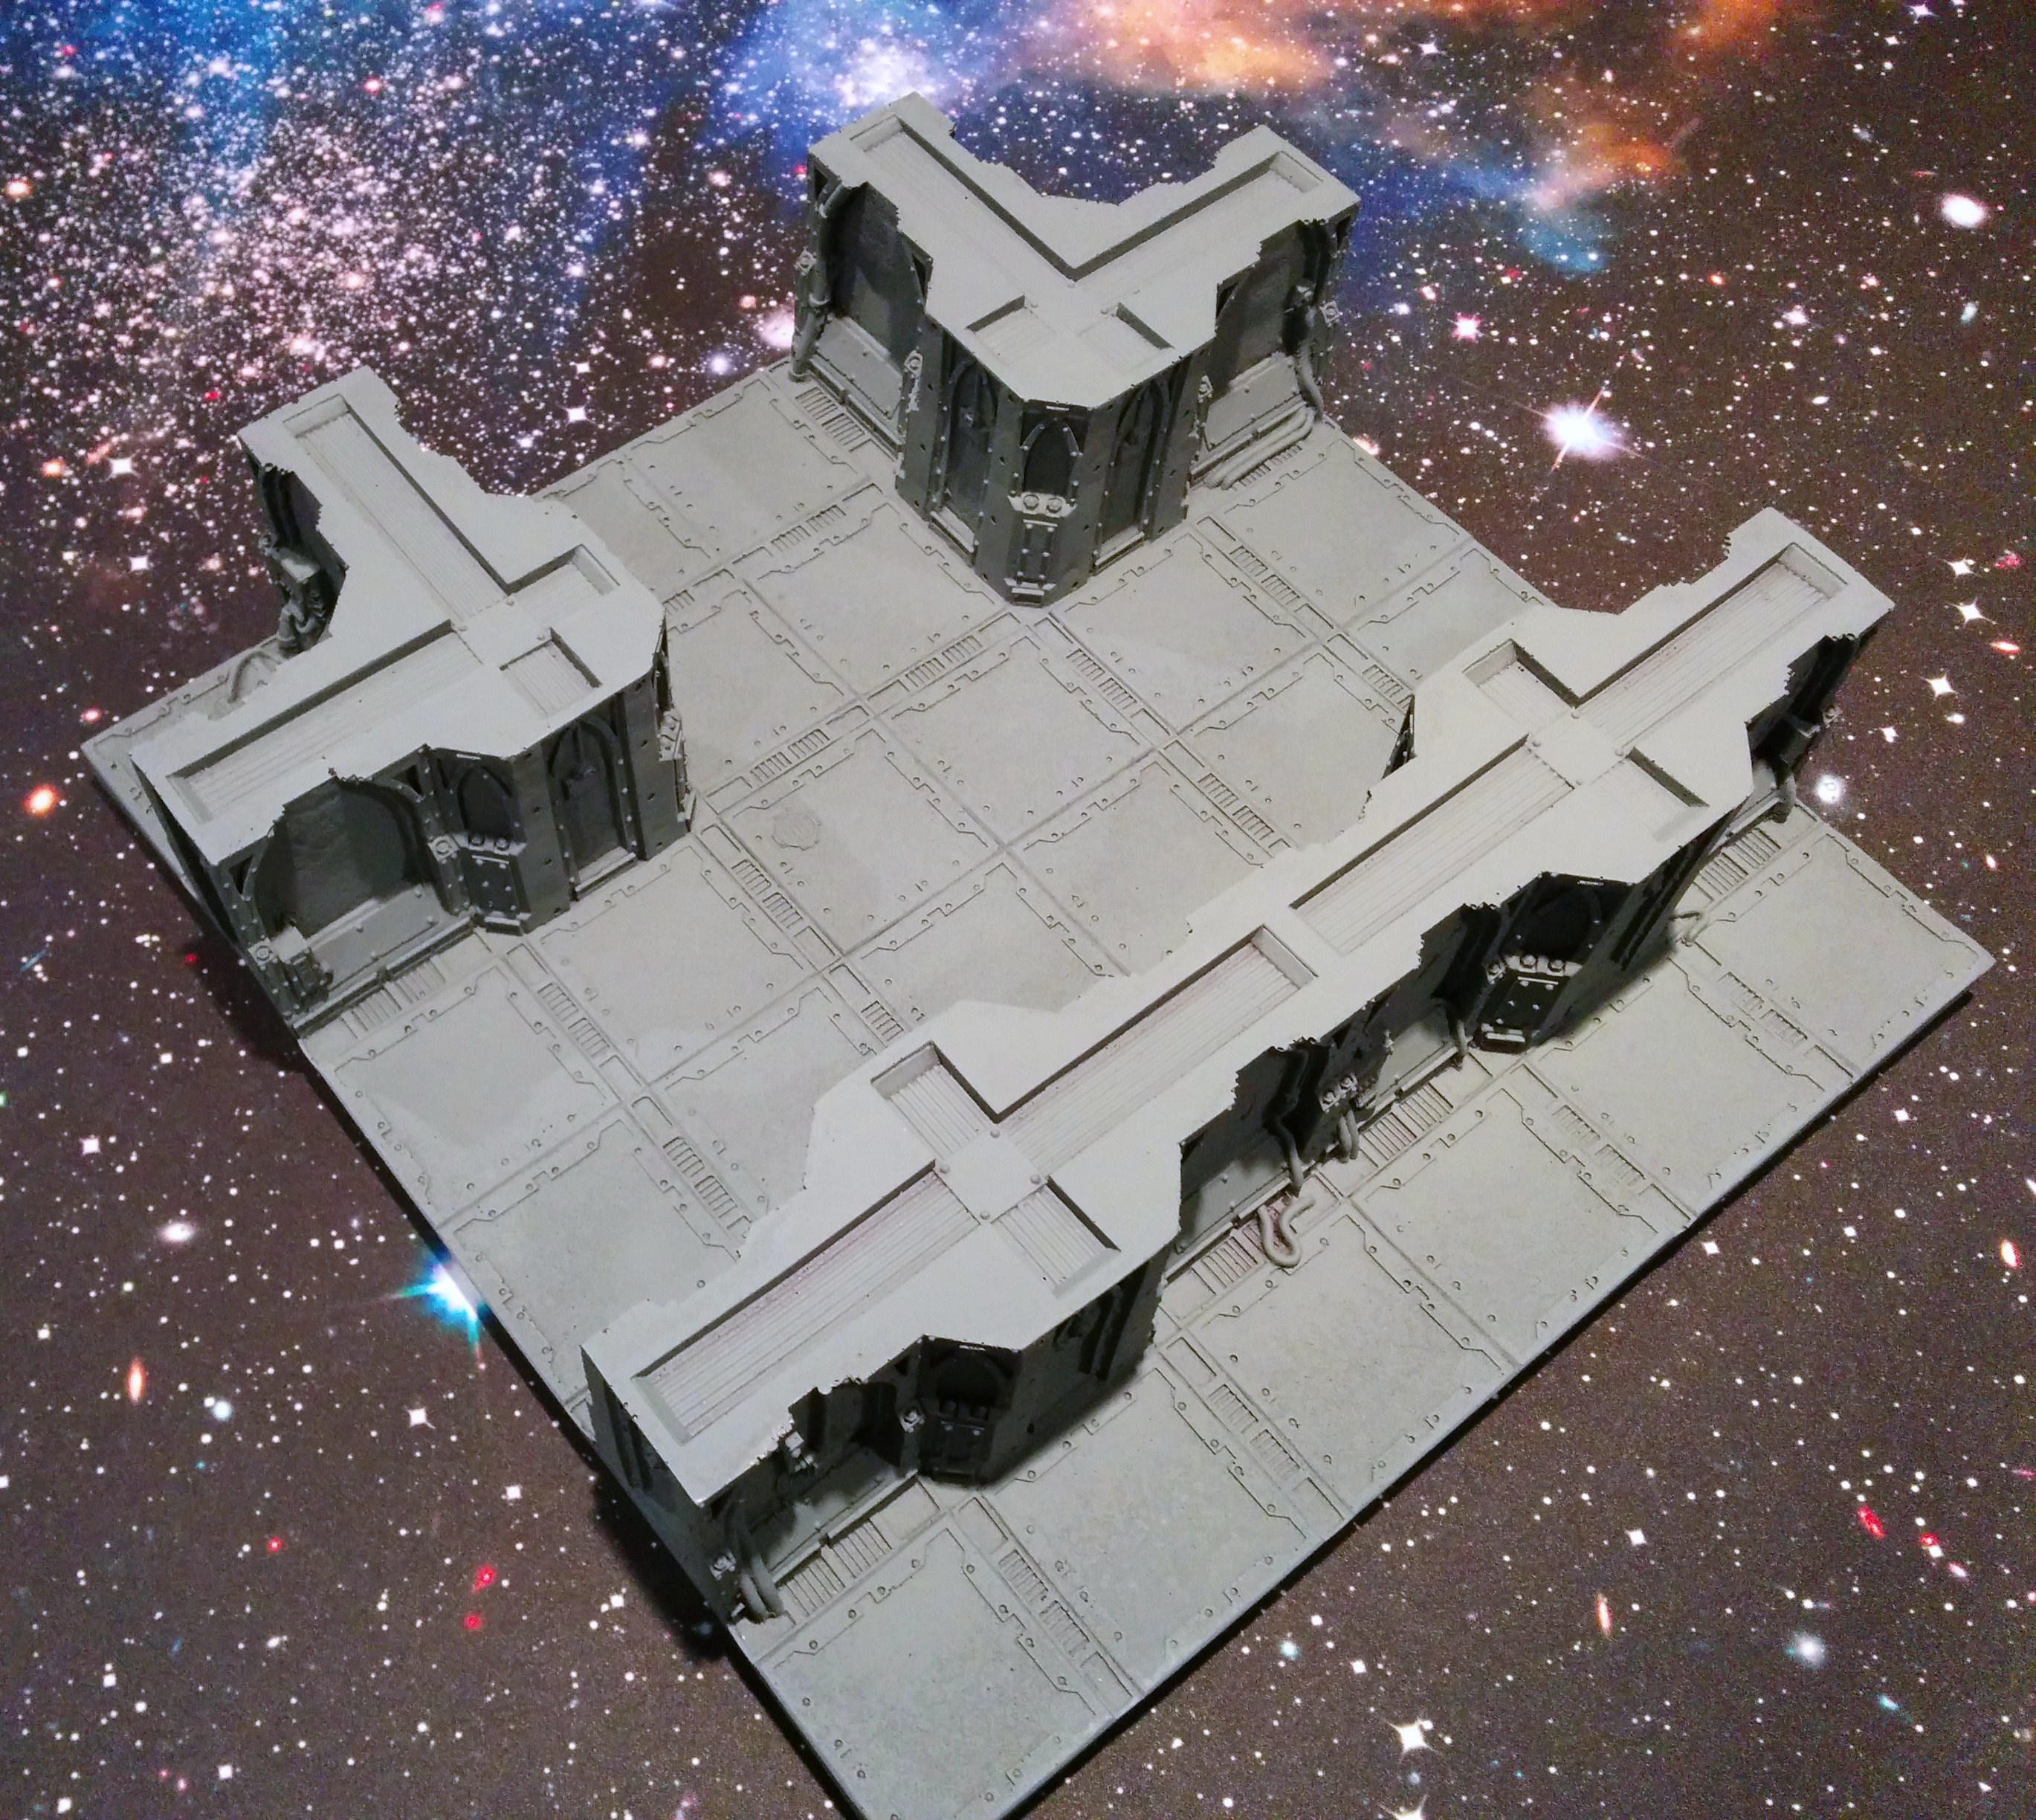
In this particular case, the gray Krylon primer has the added benefit of being my base color for the “open” areas on this piece of terrain. Normally, I wouldn’t leave bare primer without a paint layer over it, but in a few steps, I’ll be coating the whole thing in Army Painter Quickshade, which is pretty thick. That, coupled with the stronger Krylon paint, has left me with a really durable paintjob.
Next, I liberally drybrush the “open” floor and wall areas of the tile, using GW’s Longbeard Grey dry paint.
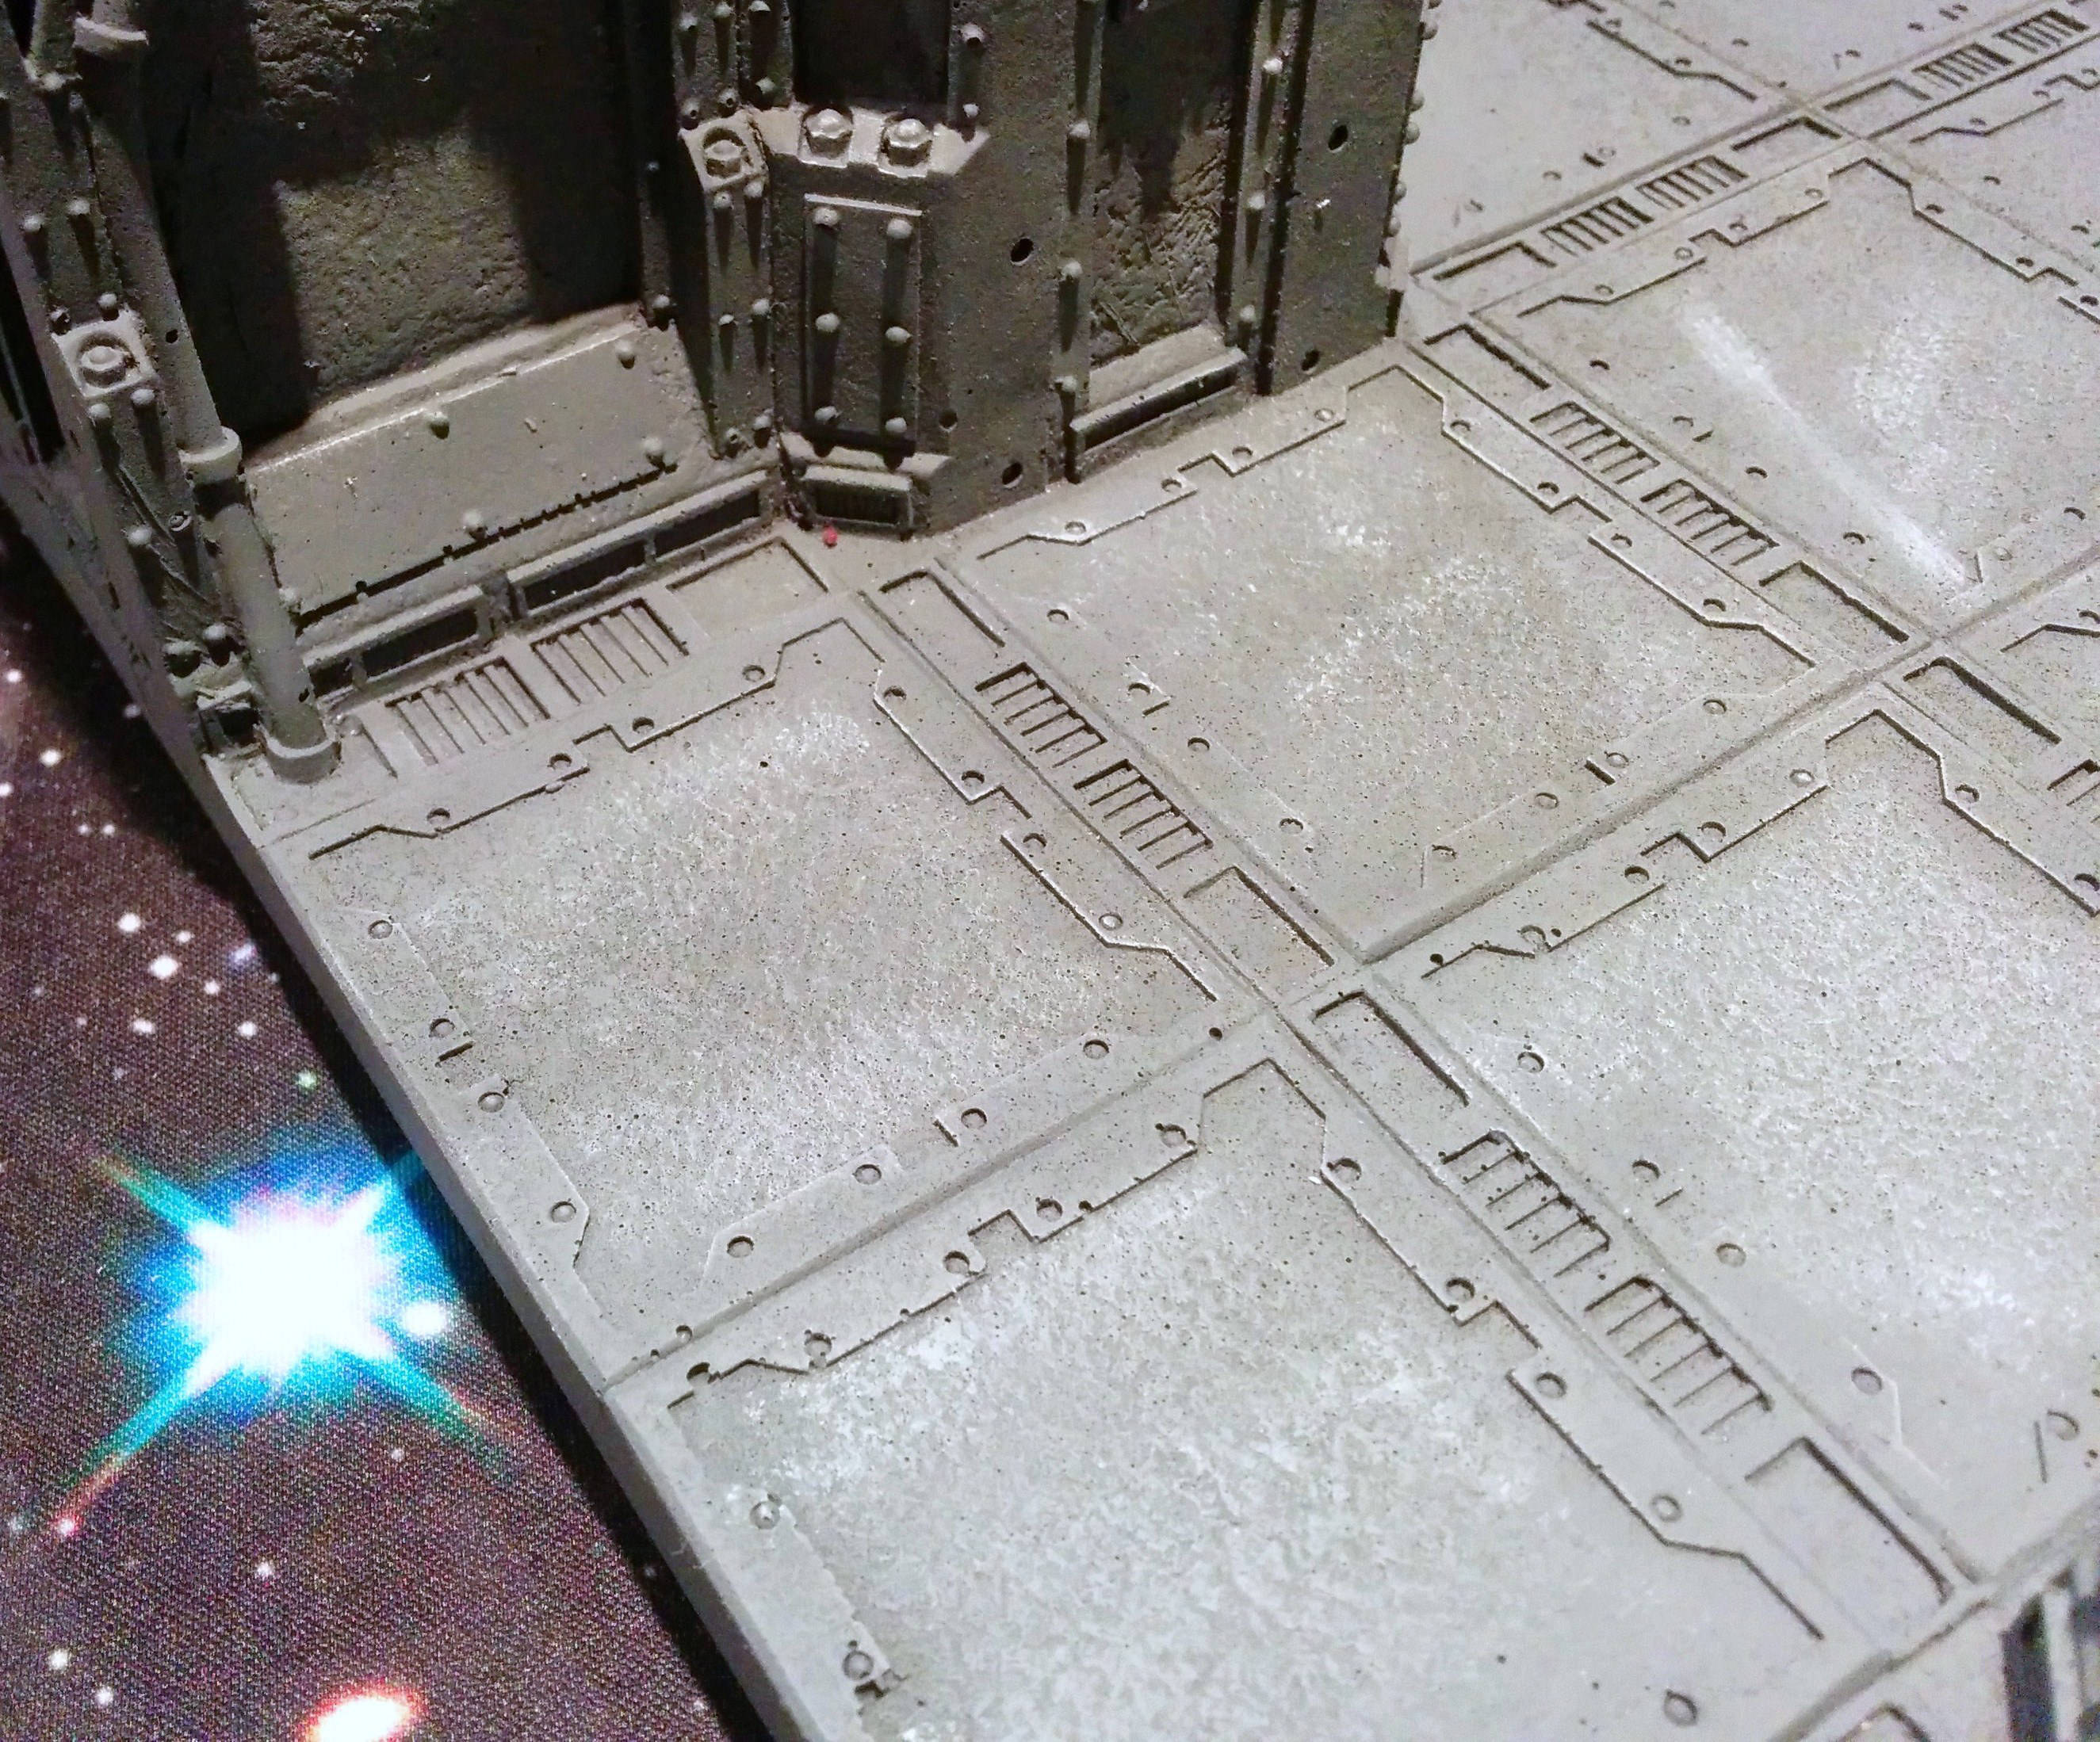
The Zone Mortalis tiles have a nice texture to them, and I want this to show on the finished piece. It may seem odd to be drybrushing now, and it is. But, the detail level on the tiles, and my planned paint scheme, make it challenging to cleanly drybrush at the end of the project. You might notice that the drybrush paint has hit some of the raised “frames” on the floor pieces. That’s fine at this stage, I’ll be painting over it shortly. If I did it at the end, it would be very challenging to keep the grey off those frames. One of my main objectives here is speed, so I modified my normal technique to keep painstaking detail to a minimum.
I’ve decided on a fairly simple, somewhat dark, metallic look for my tiles. I tend to prefer terrain that is dark, and somewhat simply colored. I find that I like the way my models “pop” against terrain like that.
I paint all the “frame” areas with GW Warplock Bronze, and things like bolts, pipes, and consoles in GW Ironbreaker. There are a few Aquilas on the Zone Mortalis tiles, and I pick those out with GW Auric Armour Gold.
Now that the base coats are complete, you can really start to see how the tile is gonna come together. I try to be careful with the metallic paints, since I don’t have a touch up match to the Krylon gray. But, the next step with hide a lot of mistakes, as will the final detail stages.
Next, I liberally coat the whole tile in Army Painter Quickshade, Strongtone. It’s a nice brownish tone, perfect for the metallics, but it isn’t so strong that it overpowers the gray.
There are some unique things about the Armypainter Quickshade that bear mentioning. First, as I mentioned previously, it’s a bit on the thick side. Apply it liberally, but be careful not to overdo it. If you glob on too much, it moves around pretty easy with a brush. It is also dries extremely glossy, but a flat finish coat with fix that at the end. It just looks a bit odd at this point.
You can see some areas where the Quickshade drips or pools, but that actually works to our advantage here, as it has a nice oily, dirty, messy look, which suits this piece.
Once the Quickshade dries (I left it overnight), I move on the drybrush anddetail stage. I drybrush the “frame” areas with GW Gehenna’s Gold, and hit the Aquilas with GW Golden Griffon dry paint. For the pipes, consoles, I just light hit them with a drybrush of Ironbreaker (the same color I base coated with).

The contrast isn’t too strong, but I know from experience that the flat lacquer I use (Testor’s Dullcote) will call out color differences a lot. After all the drybrushing, I do some detail work, painting computer screens and adding some things to add a spot of color.

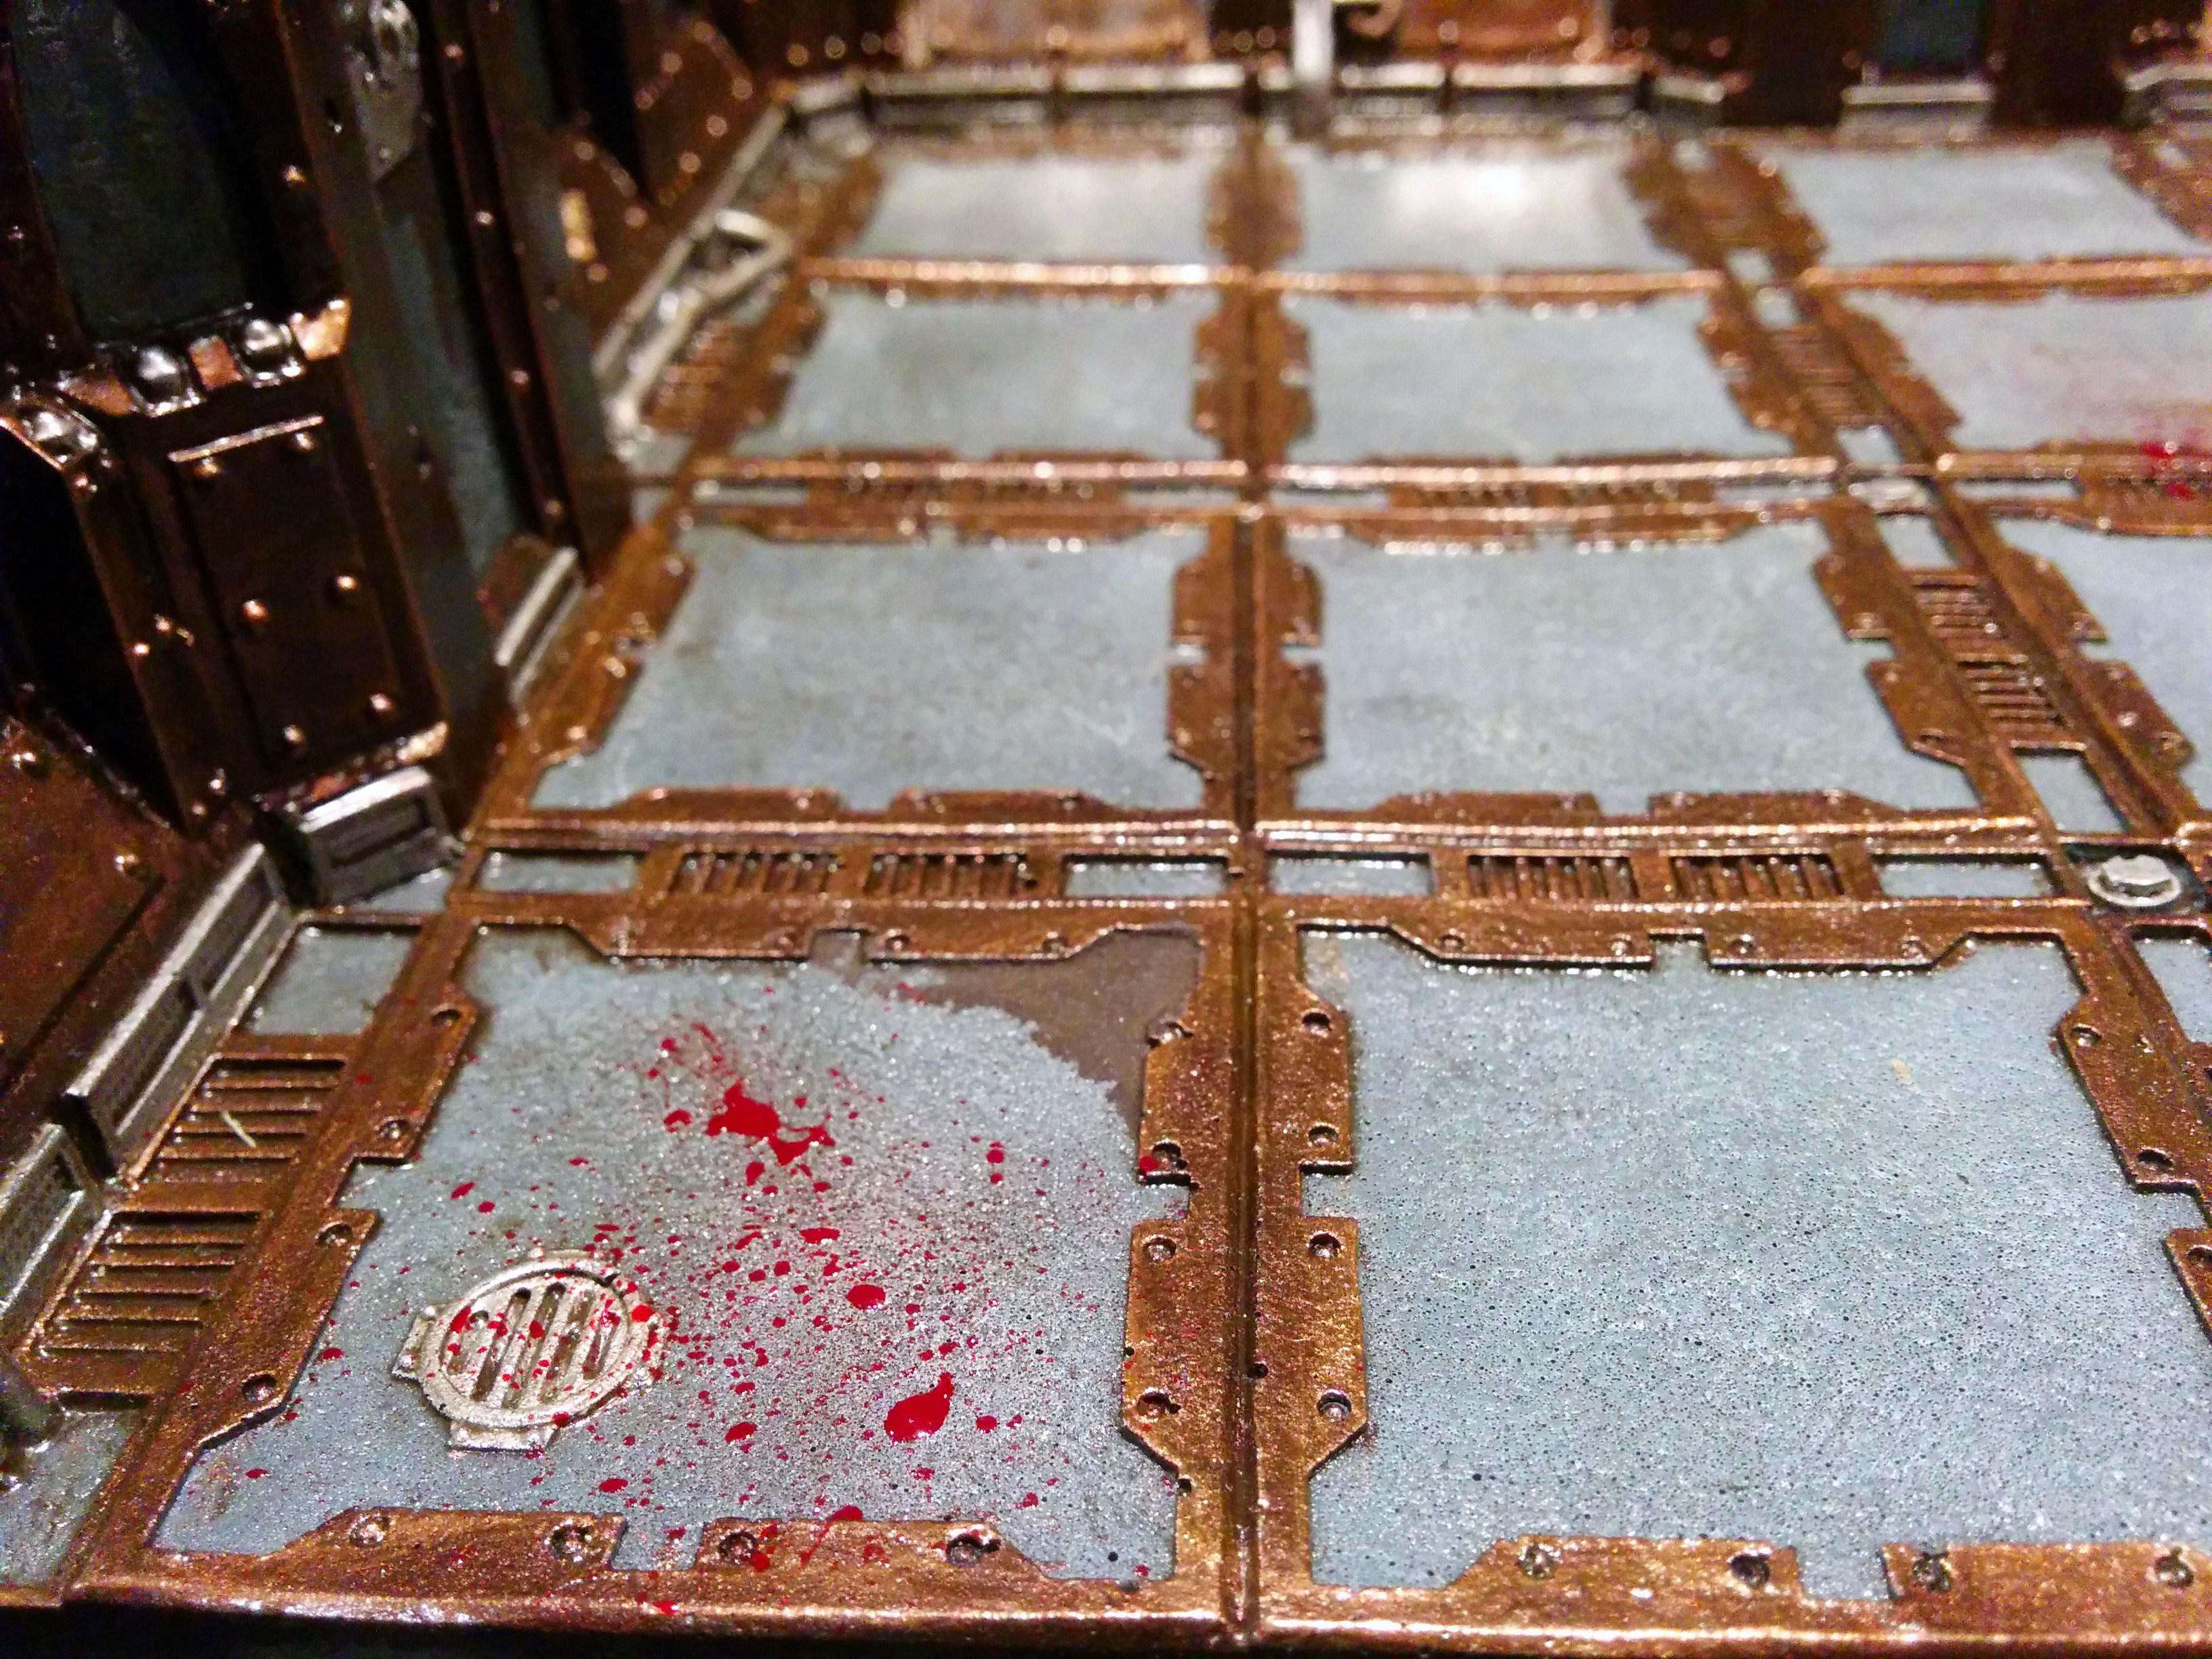
For blood splatter, I load a brush with GW’s Blood for the Blood God Technical paint, and spray it onto the tile with canned air. I do this in just a few places, I don’t want to go over the top with it. This can take a bit of finesse to get “right,” so I recommend practicing on a piece of paper towel or scrap until you get a feel for it.
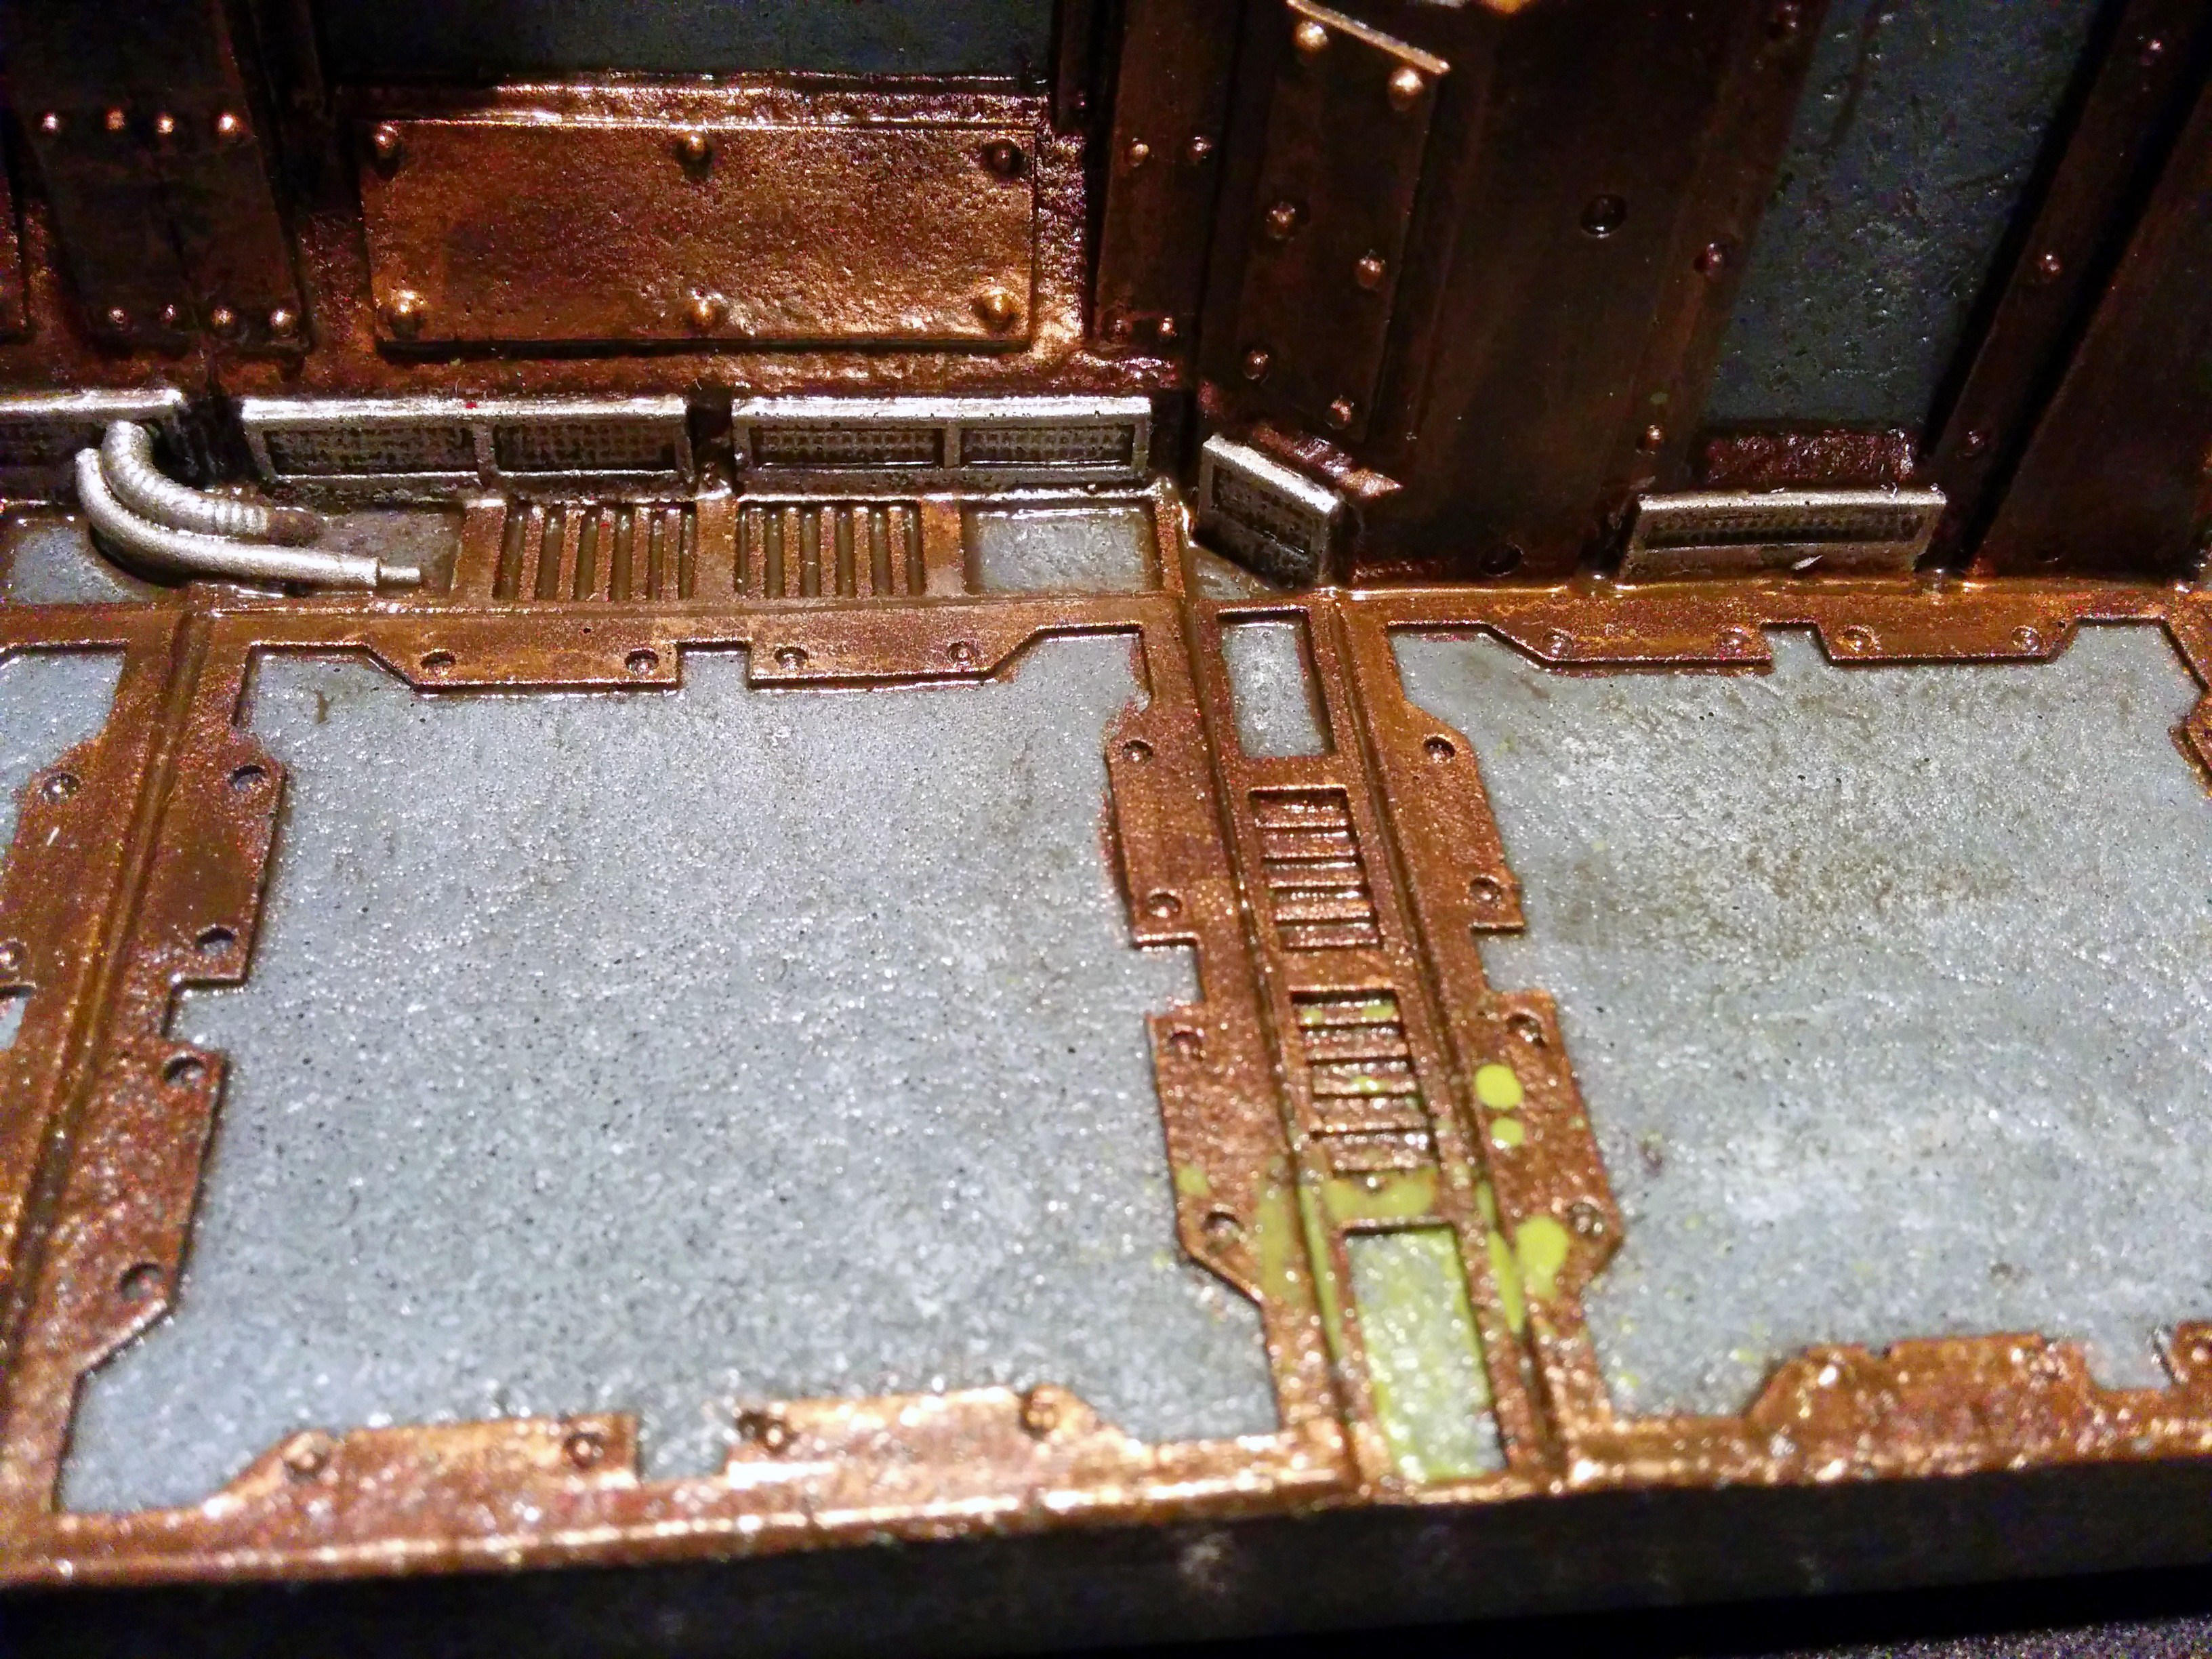
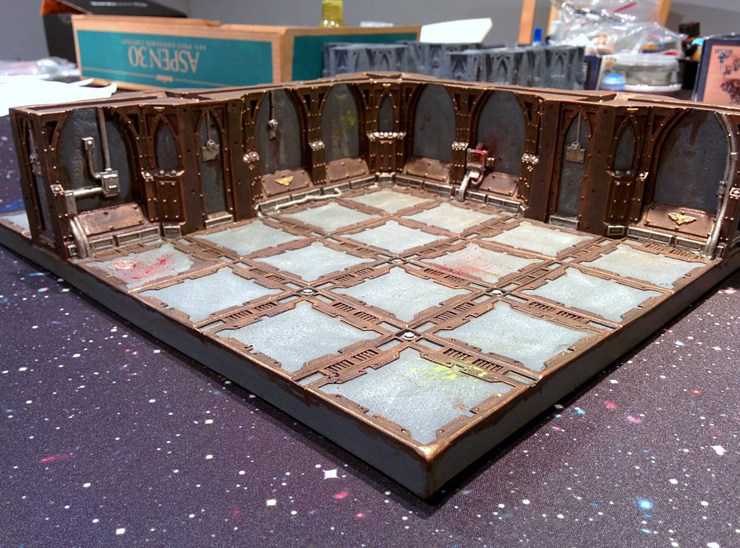
I also hit some random spots with some Typhus Corrosion, just for a grimy look. The finished product looks like this:
Then I use the same technique I used for the blood, but with some GW Nurgle’s Rot instead. Again, a little goes a long way here! Too much can be distracting, in my opinion.
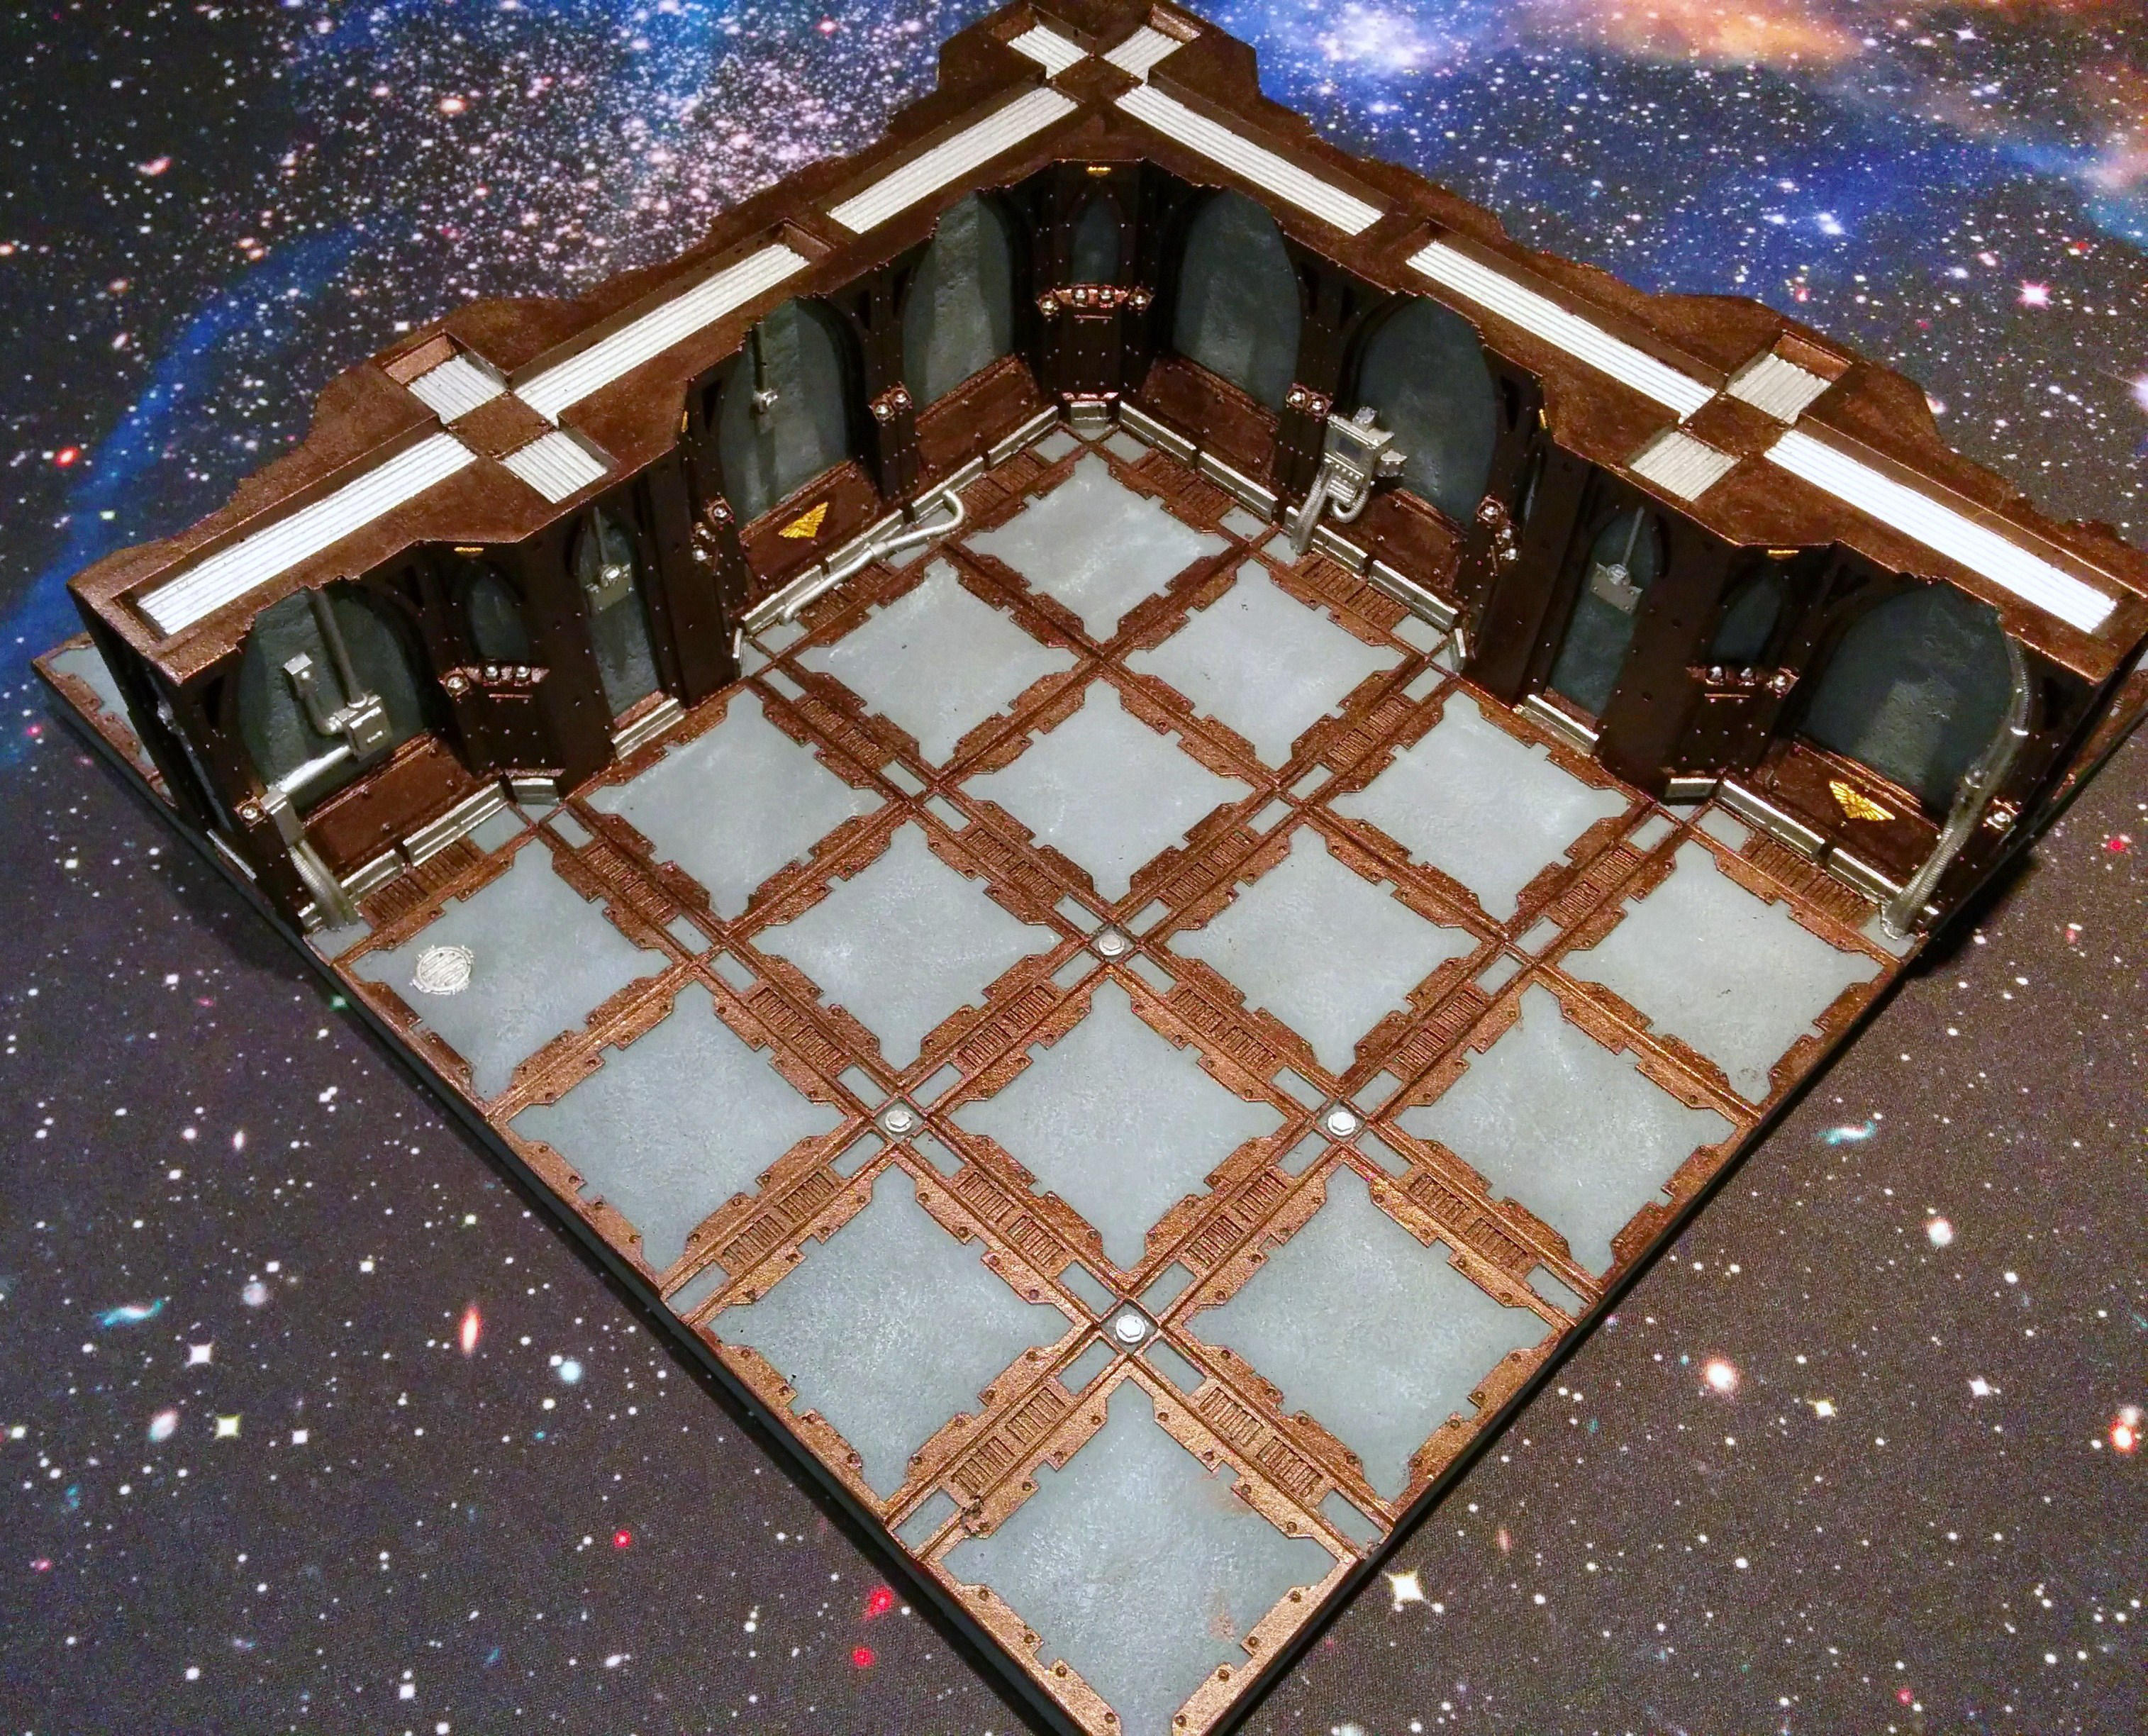
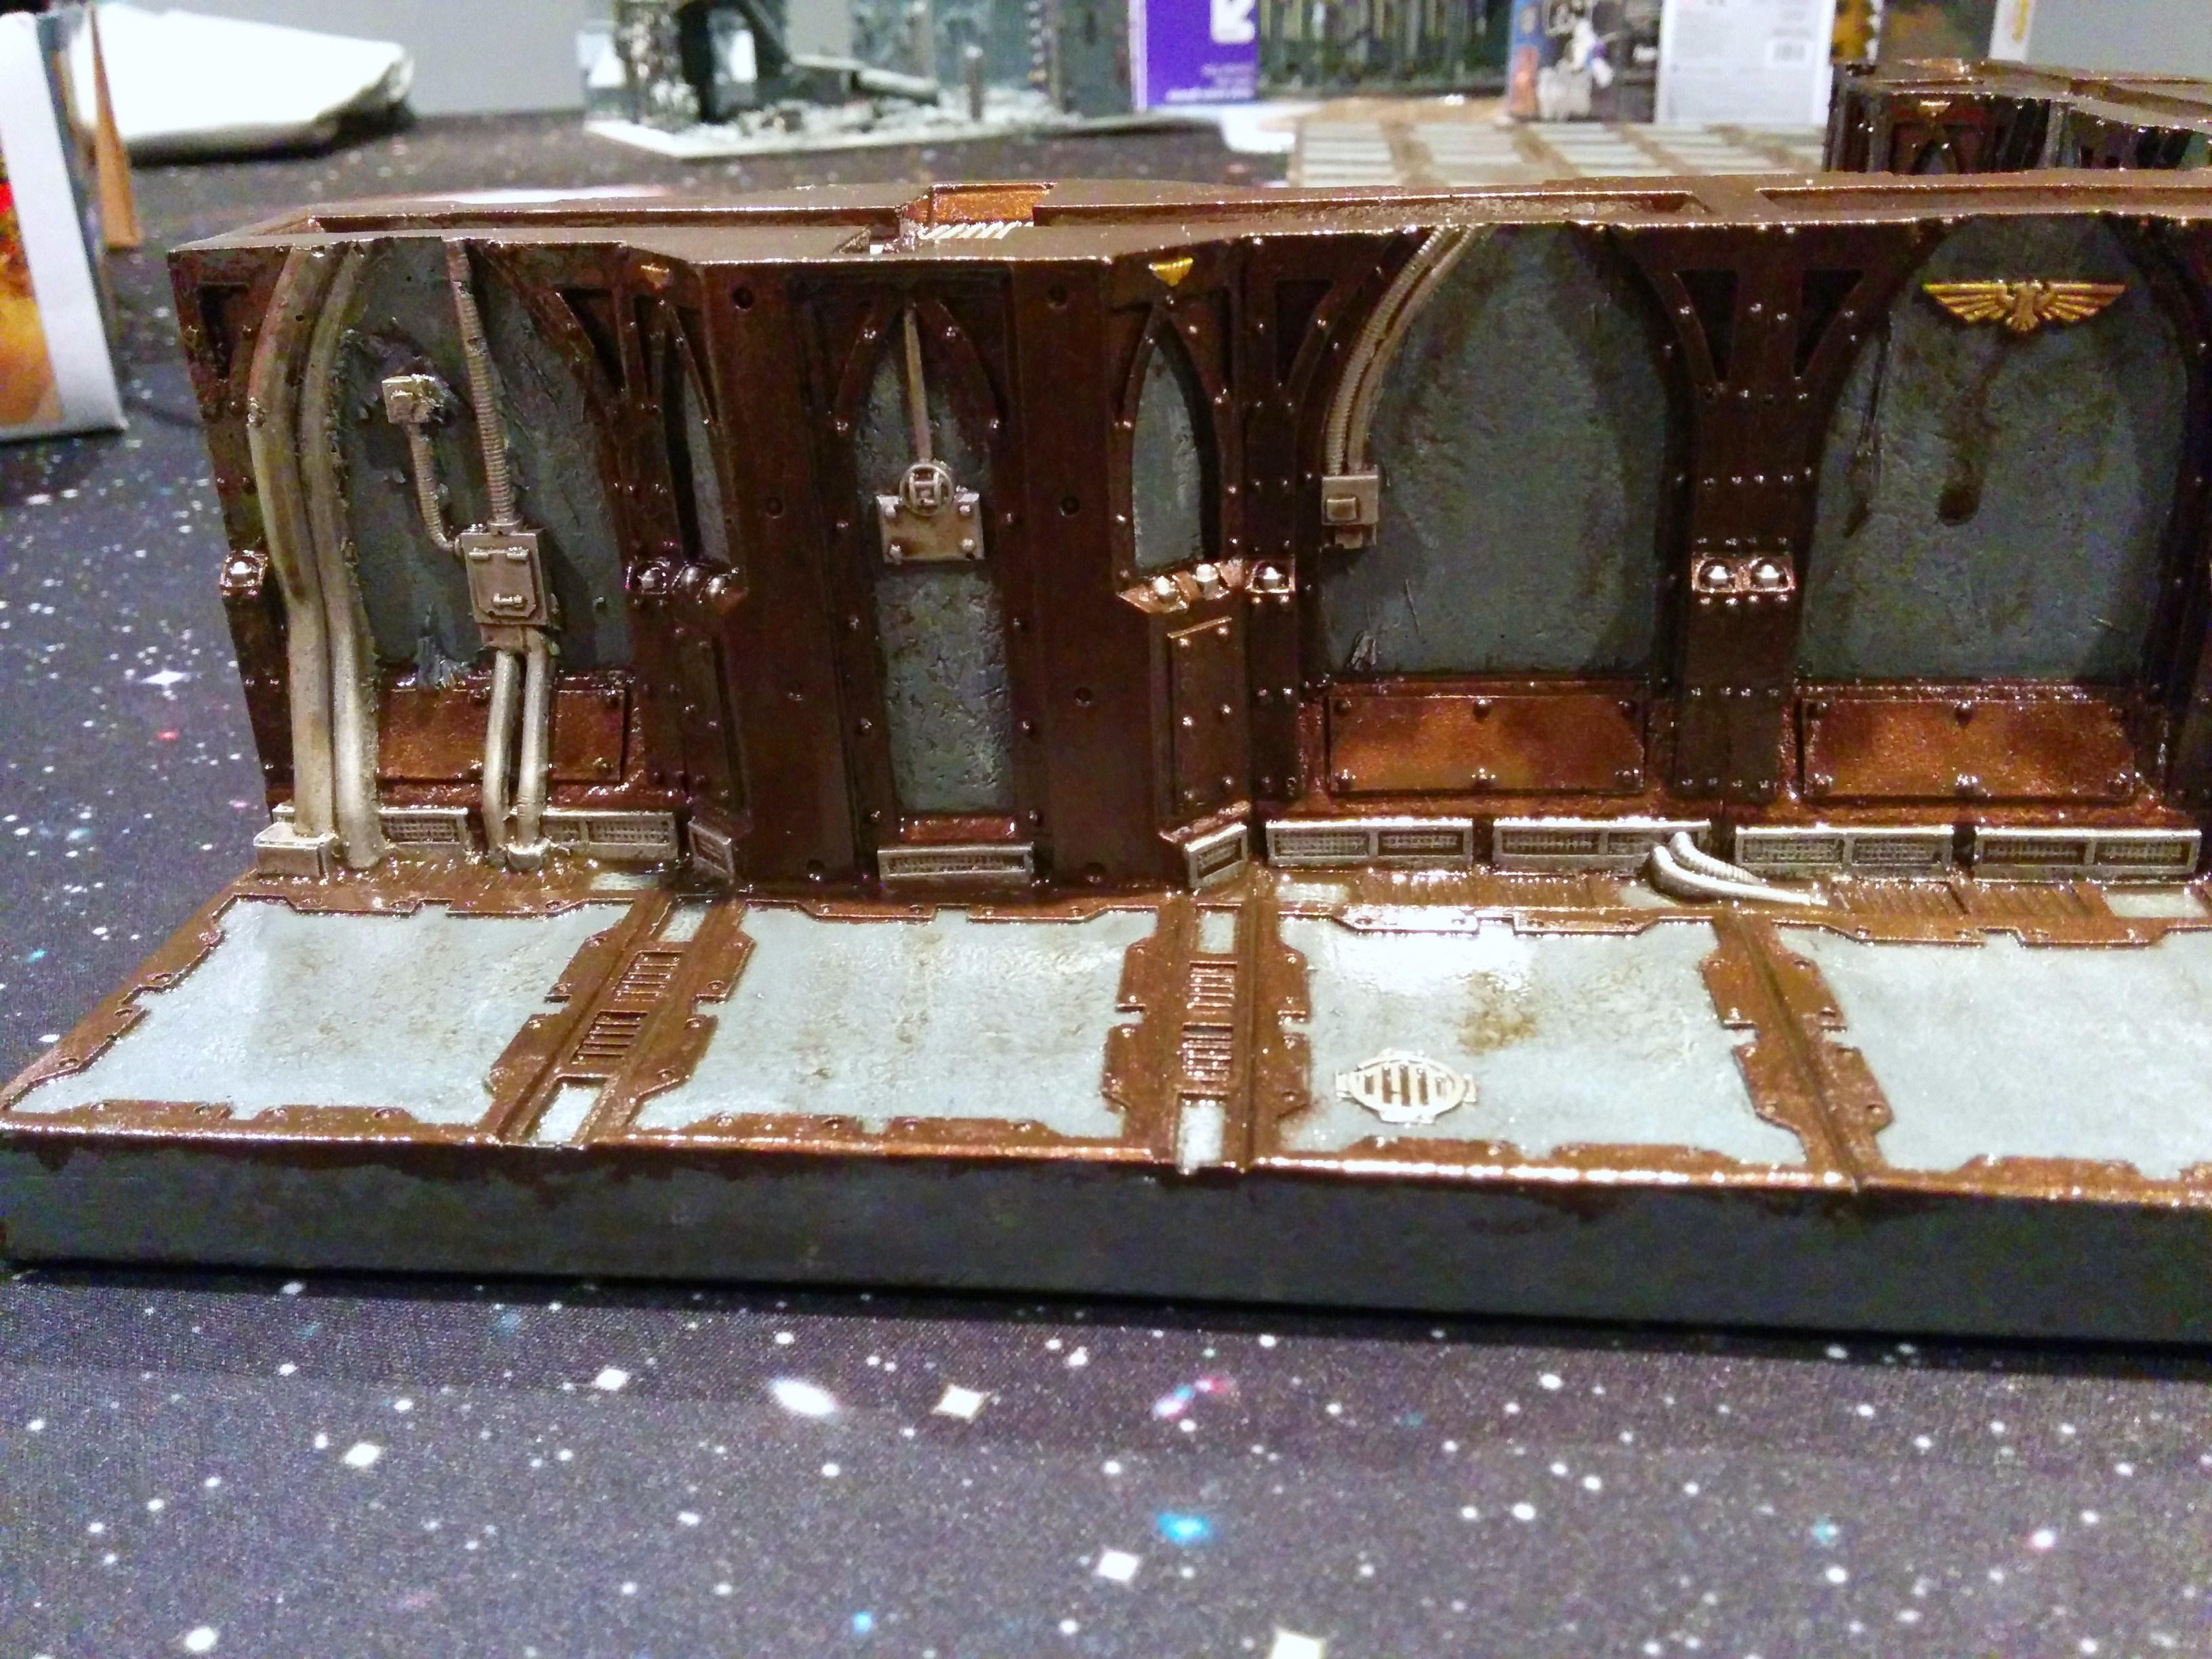
After that all dries, I liberally spray the tile with Testor’s Dullcote aerosol lacquer, to finish the piece. This will kill the sheen that the Quickshade adds, as well as seal the tile for handling and playing on.
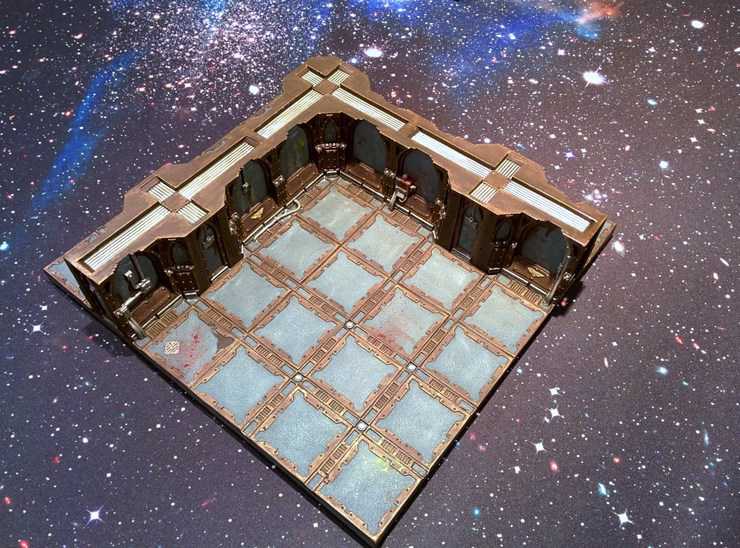
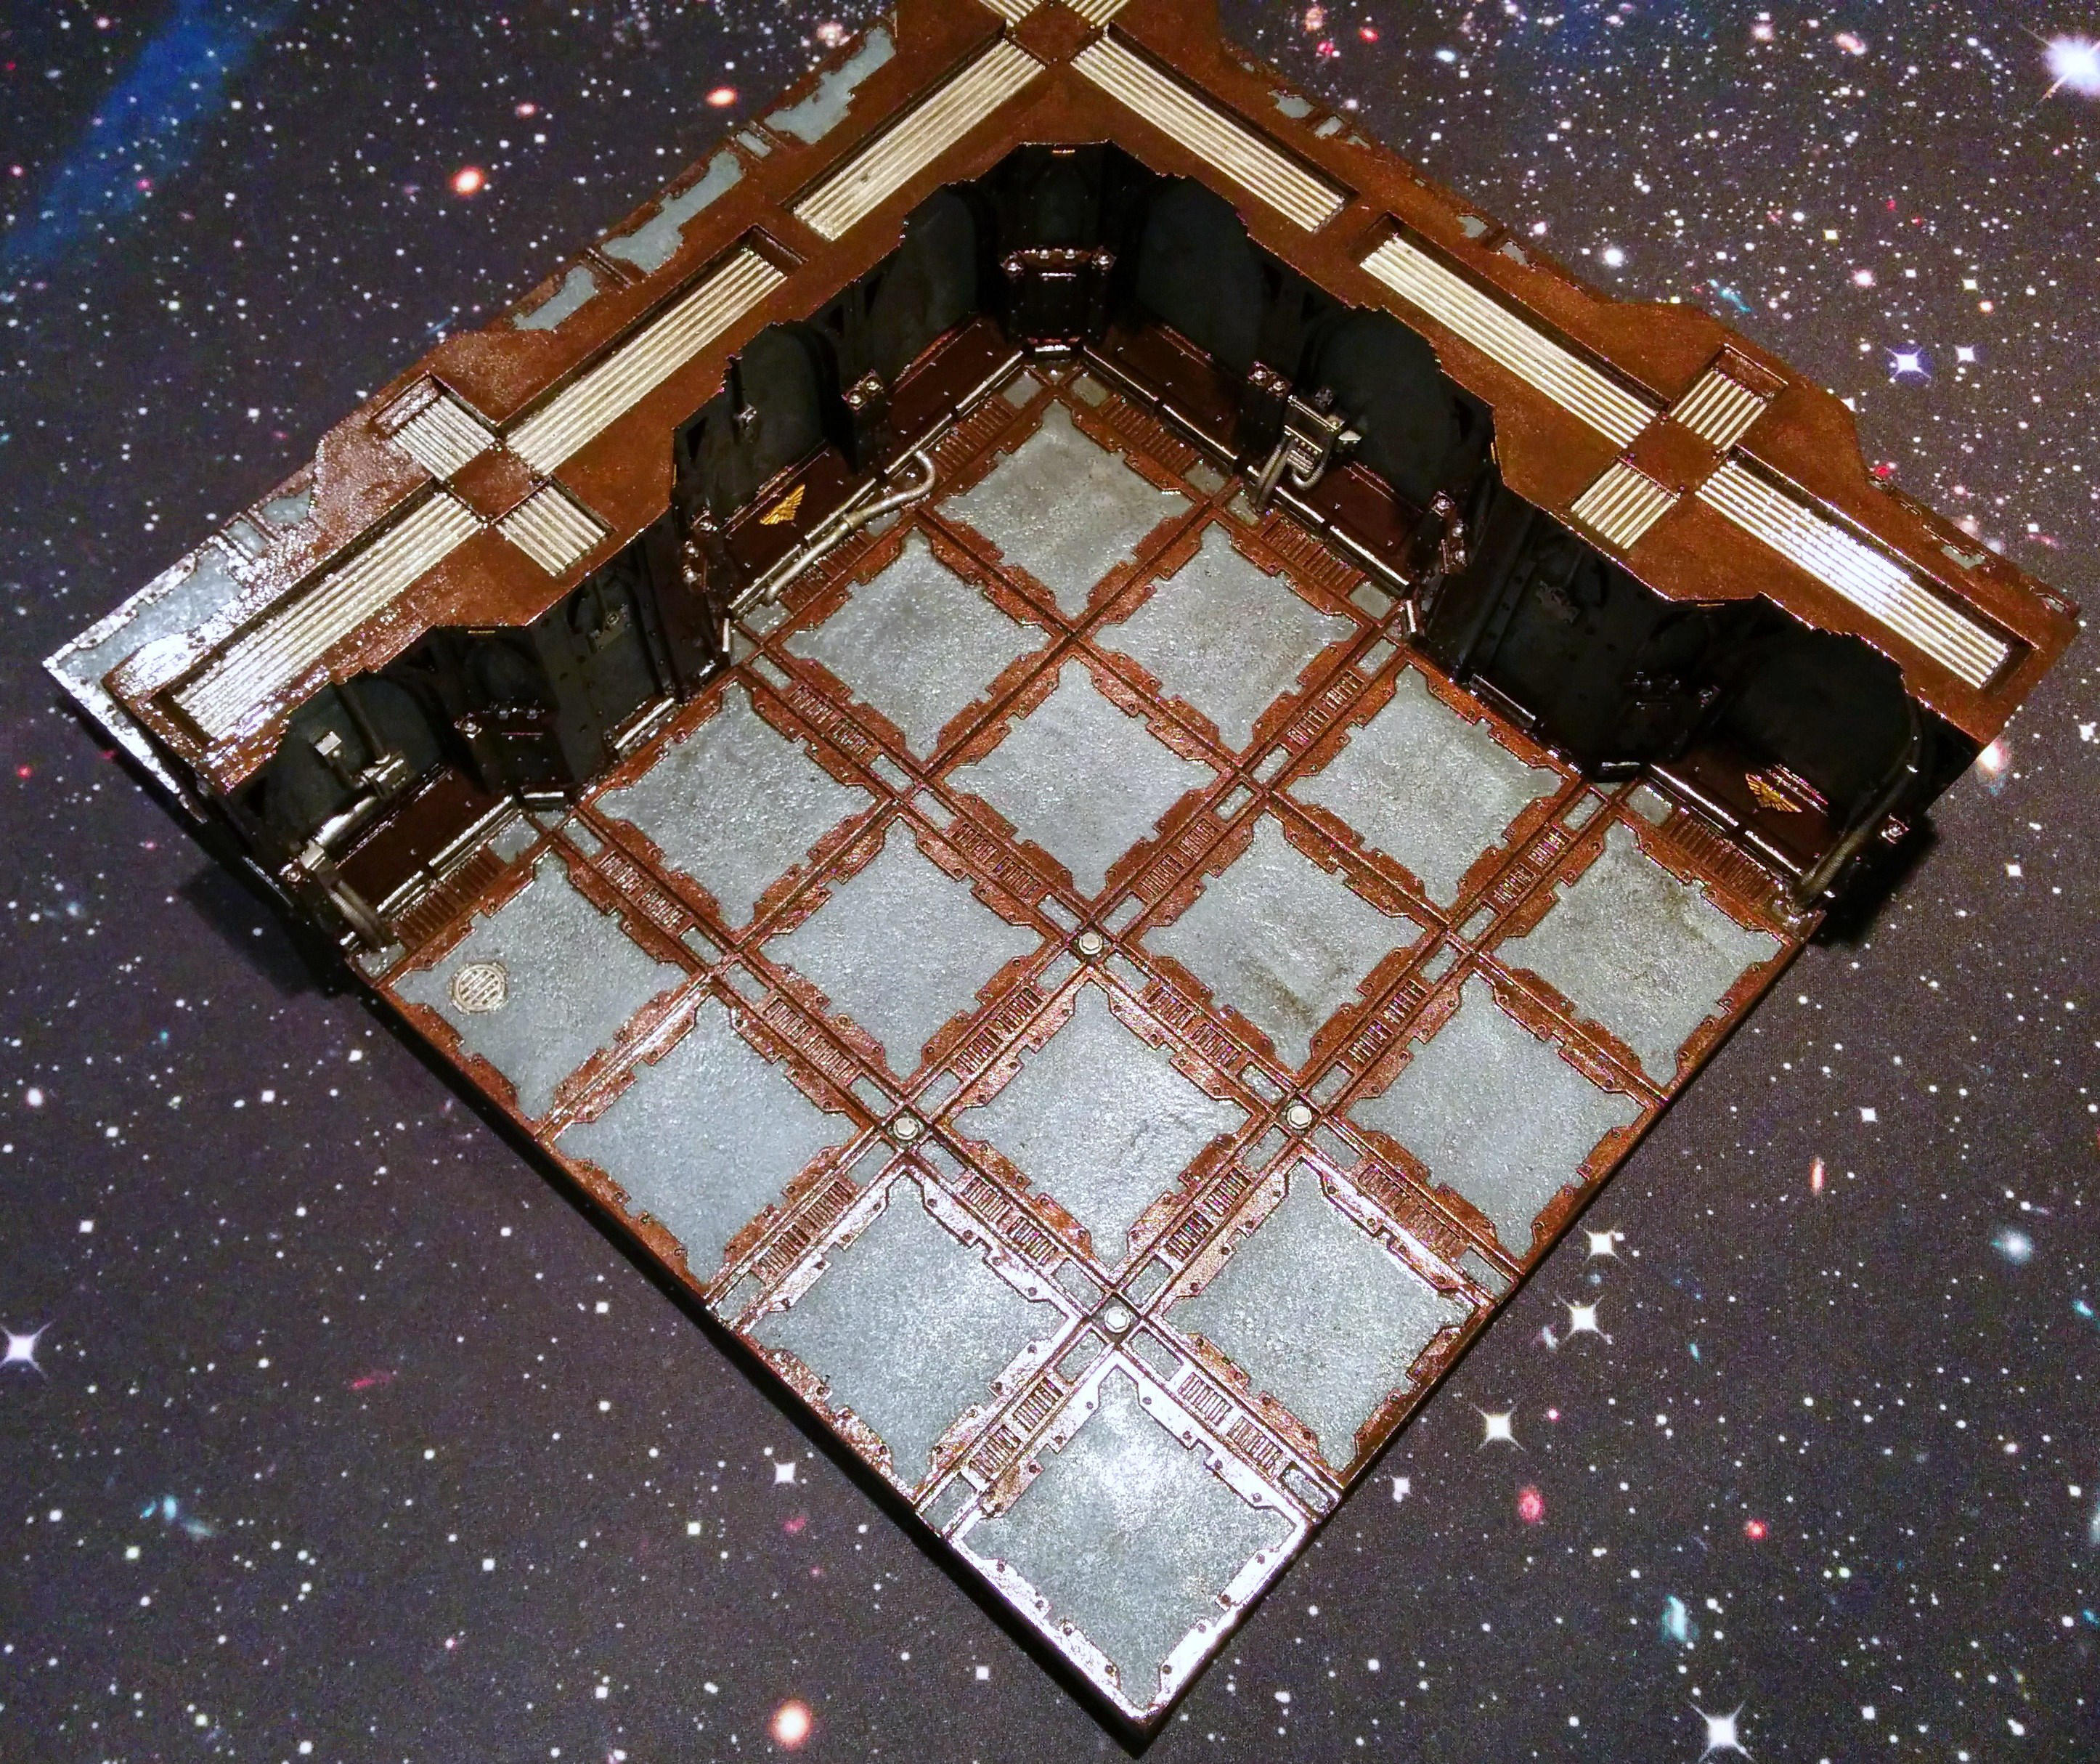
You can see that the Dullcote really calls out some of contrast that wasn’t apparent at the drybrush stage.
Here it is with another tile I completed earlier. All the same techniques and paints were used on this one. Together, they start to look really impressive, I think:

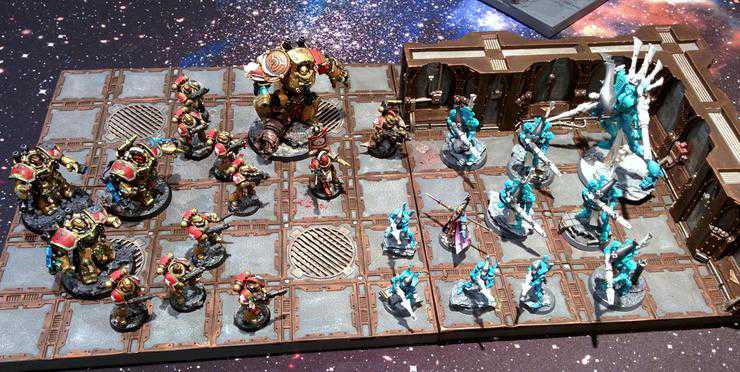
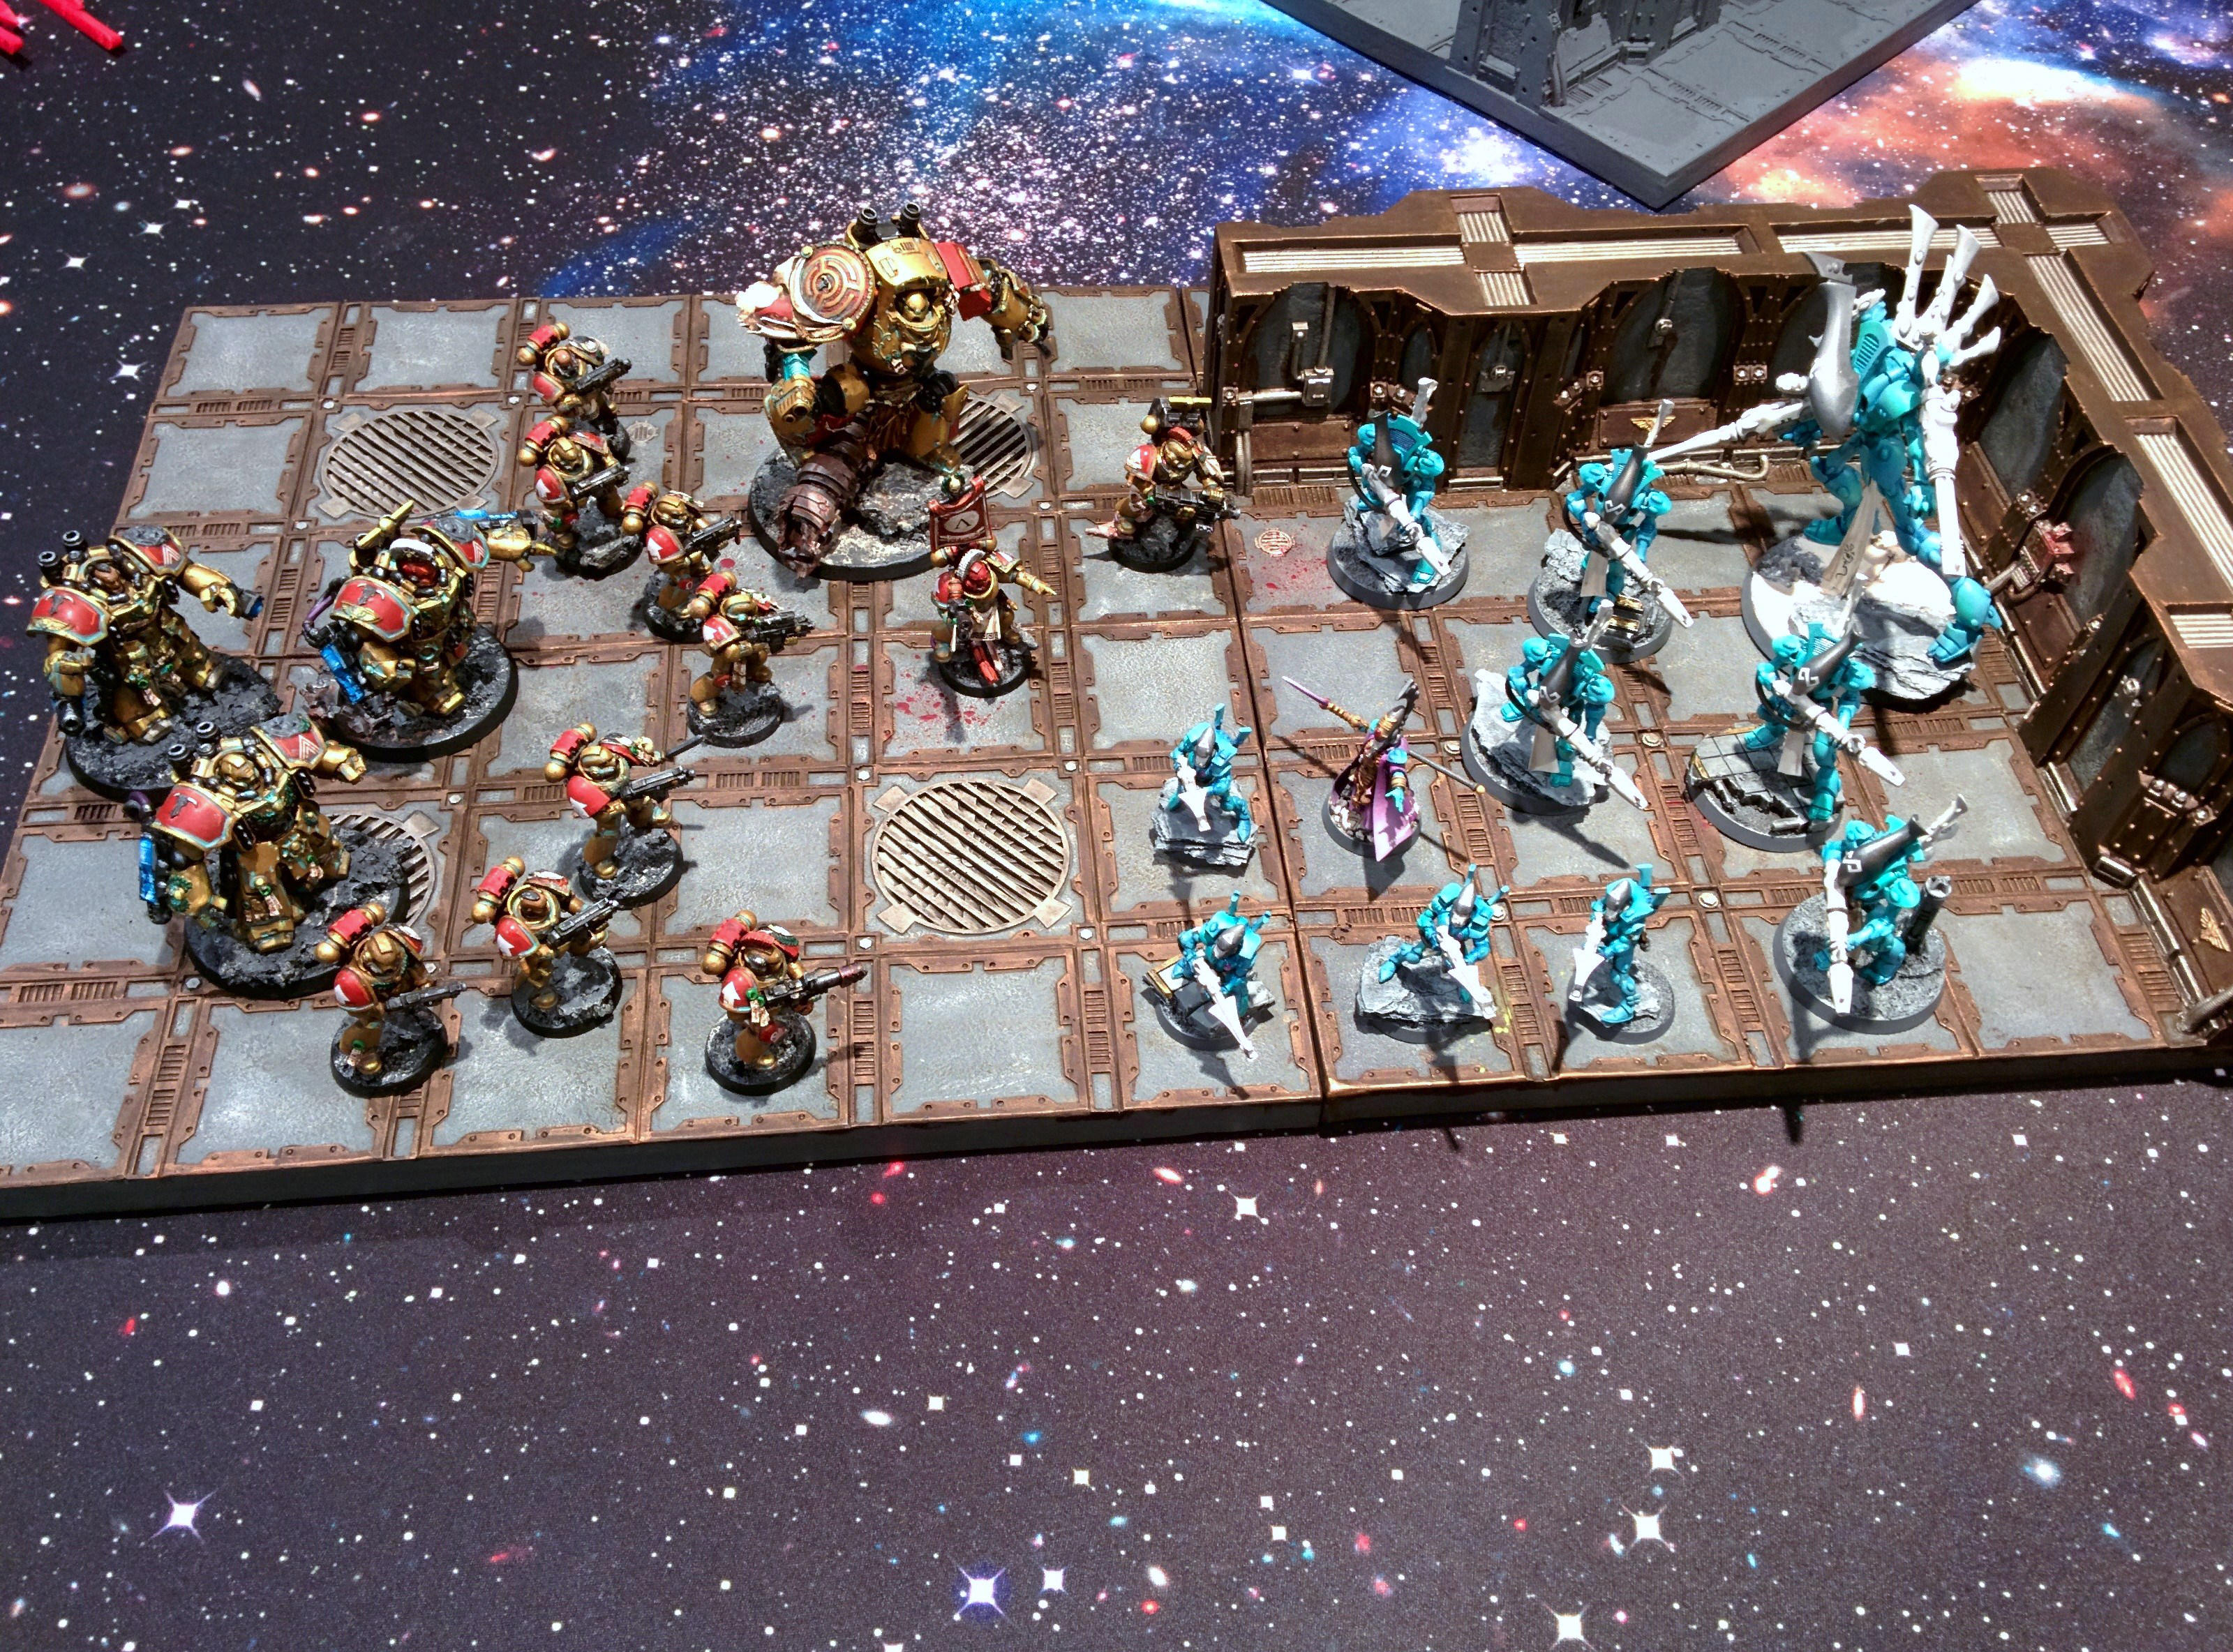
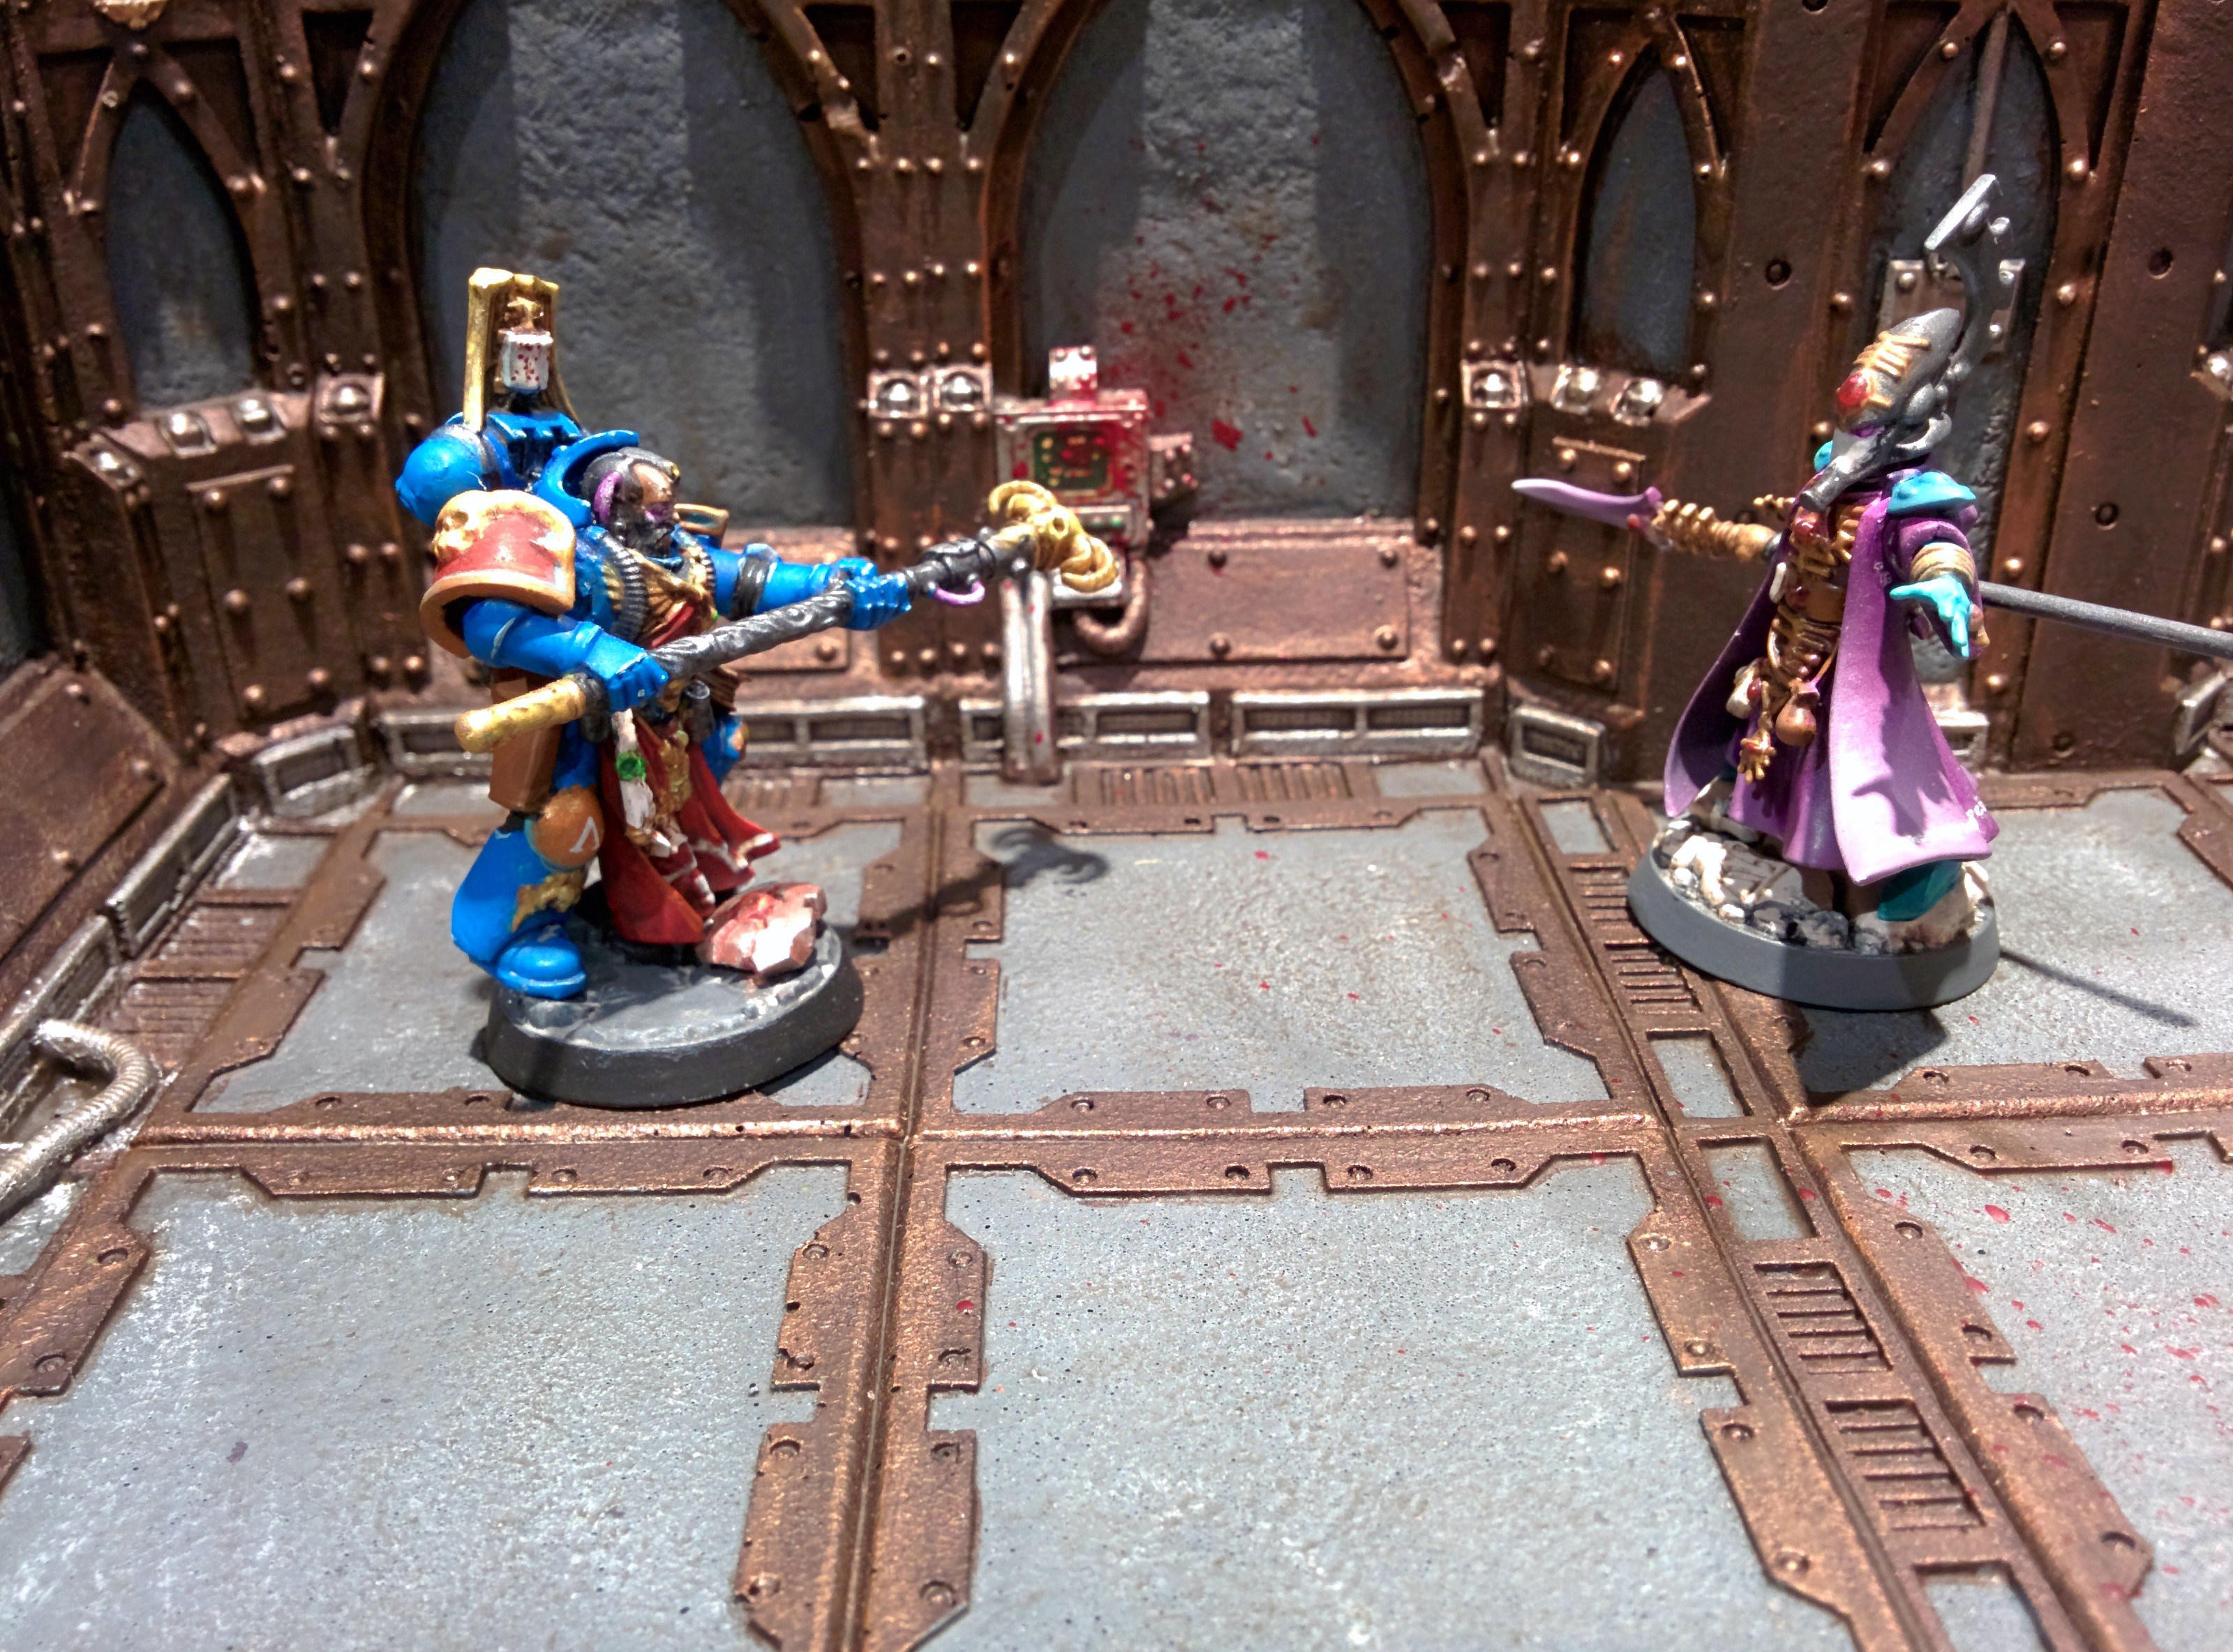
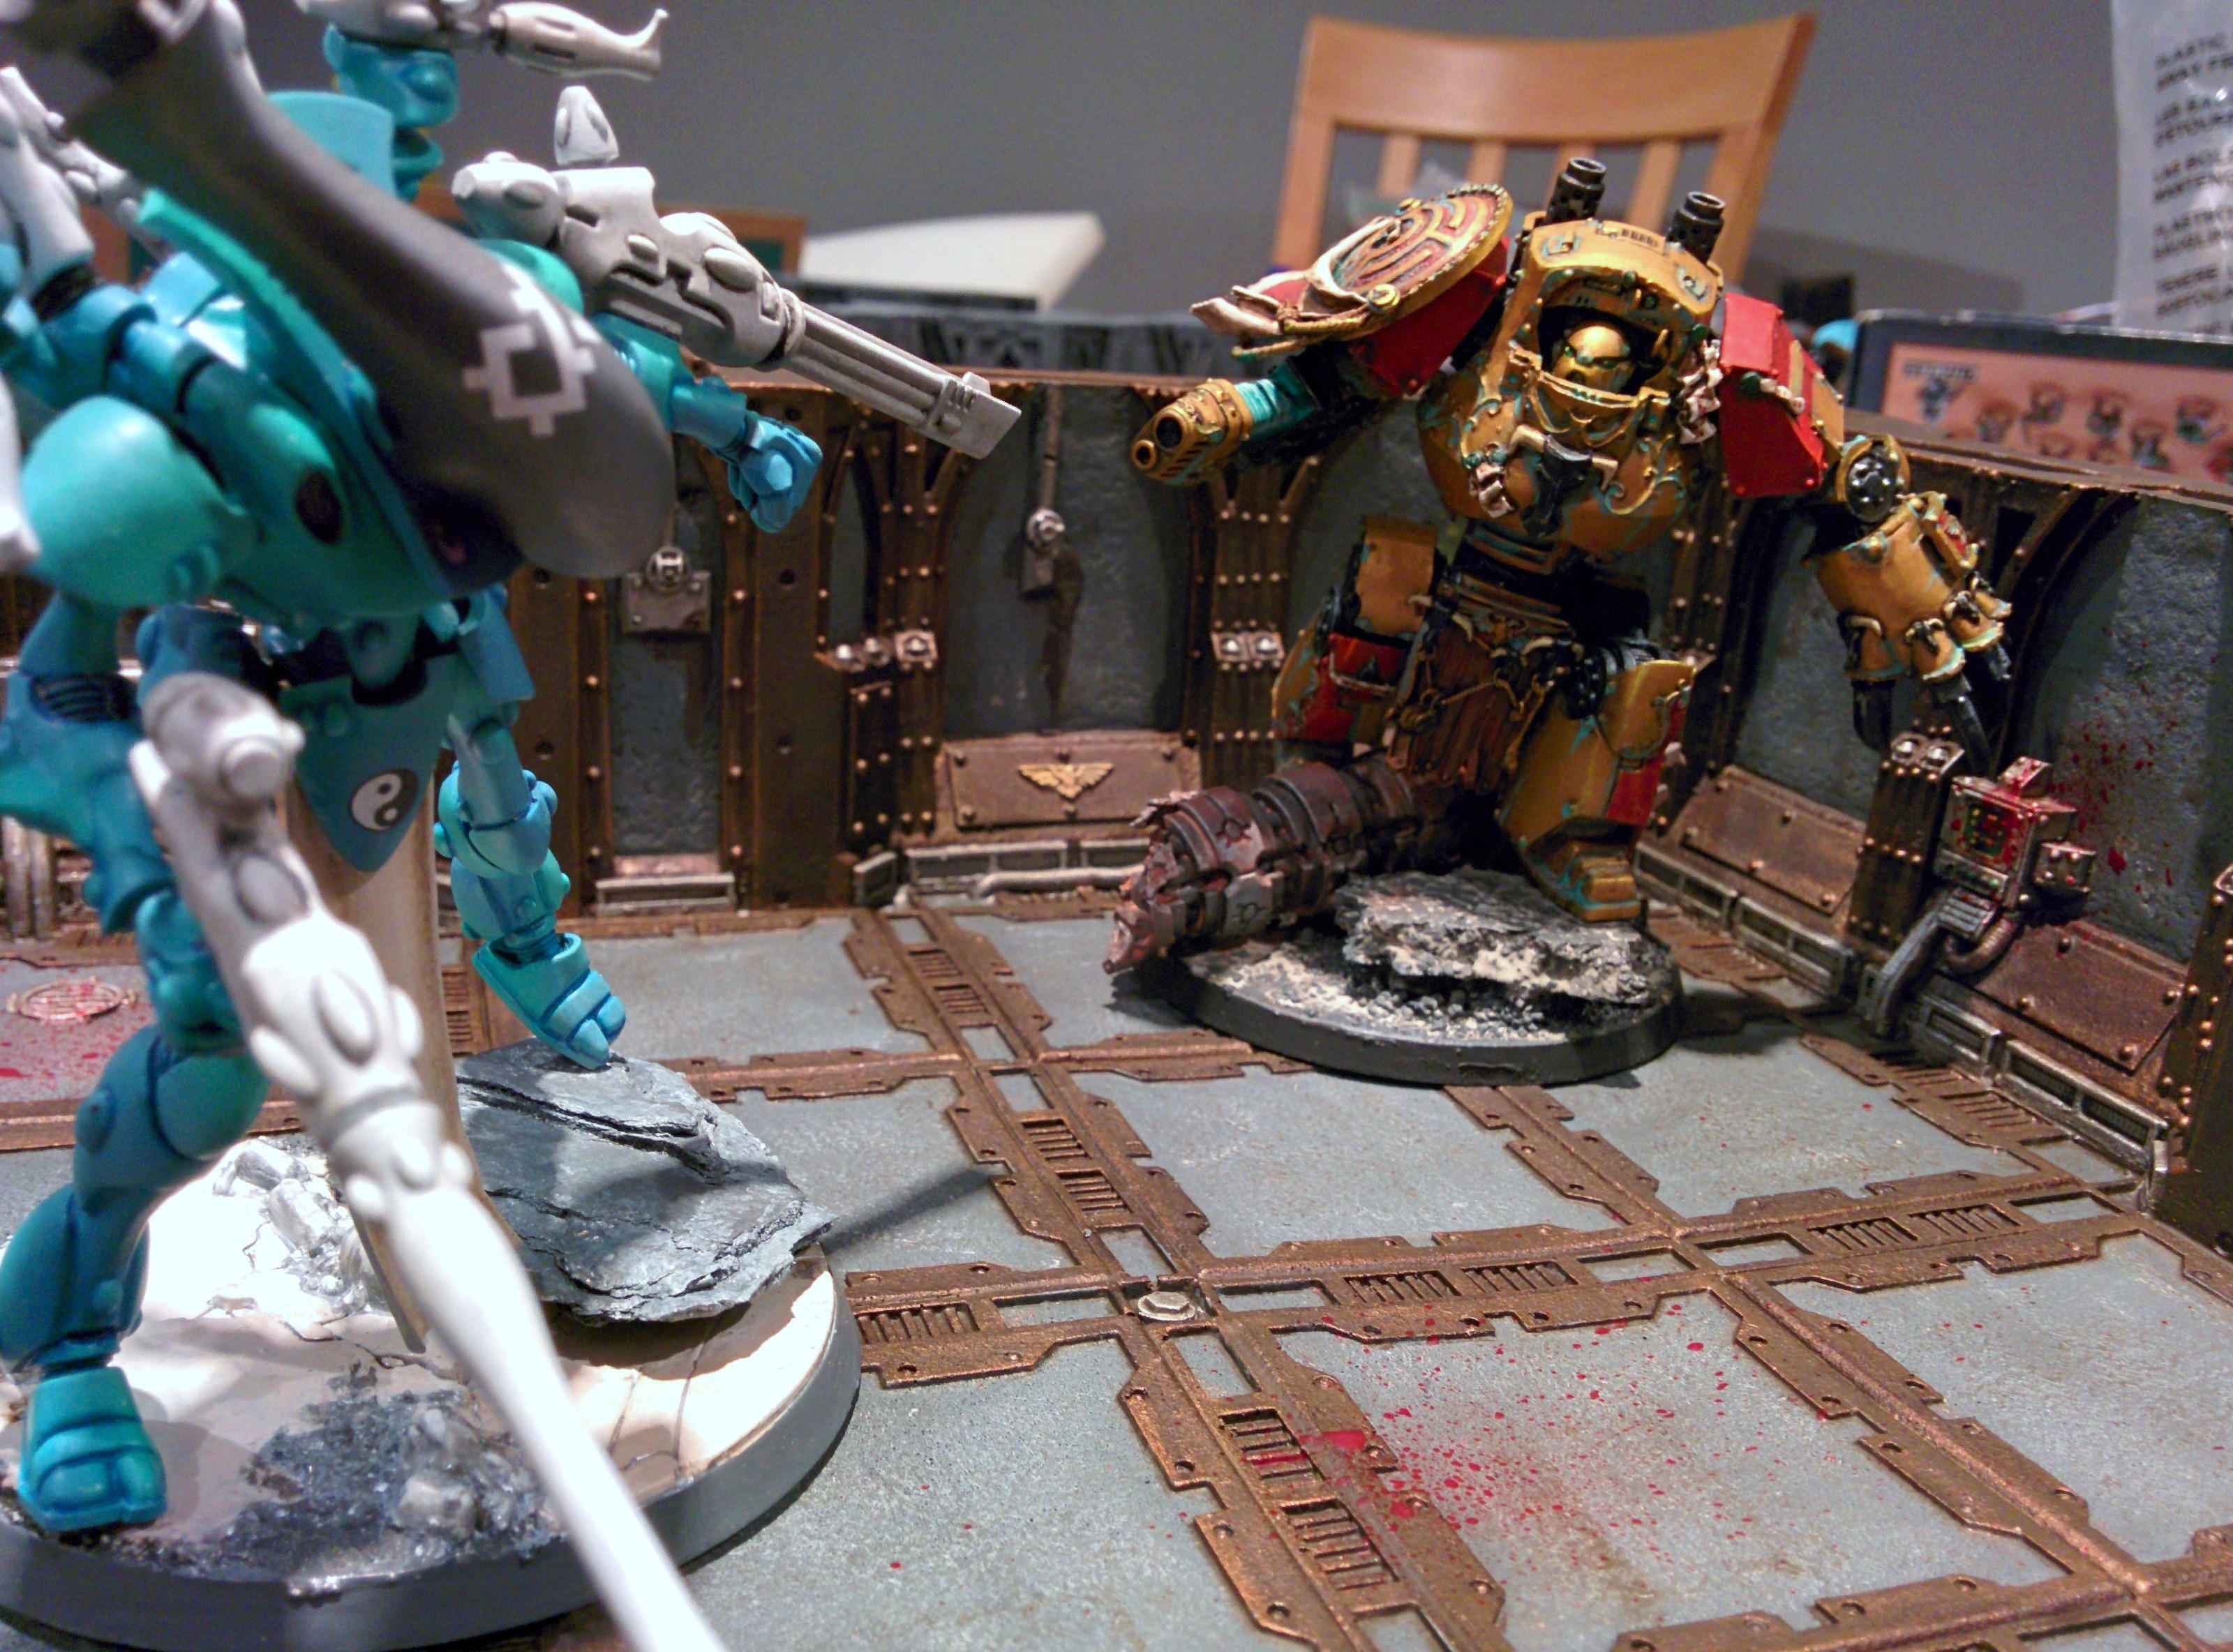
Once you get some models on them, they really look cool!
This technique is fairly light on labor, though that obviously depends on what specific thing you’re painting. The Zone Mortalis tiles are extremely detailed, and will be tedious to paint no matter what. But, you can apply similar techniques to a variety of terrain types.
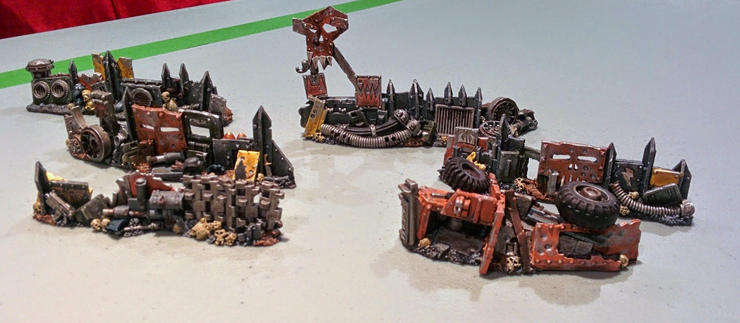
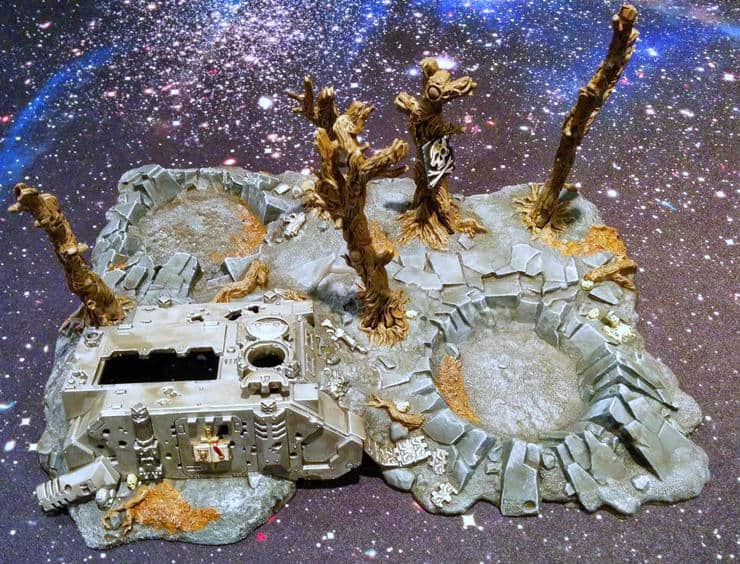
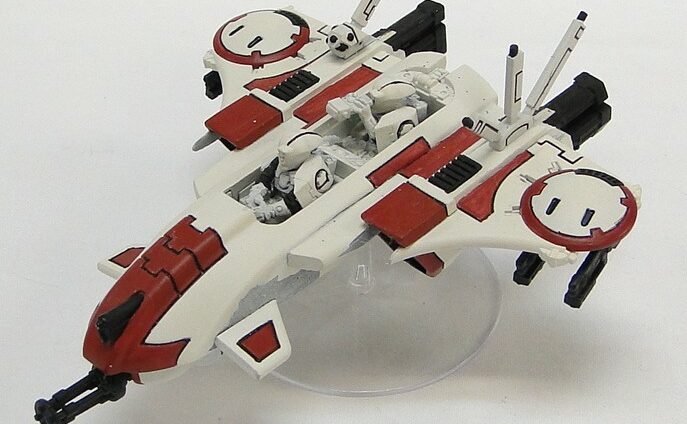
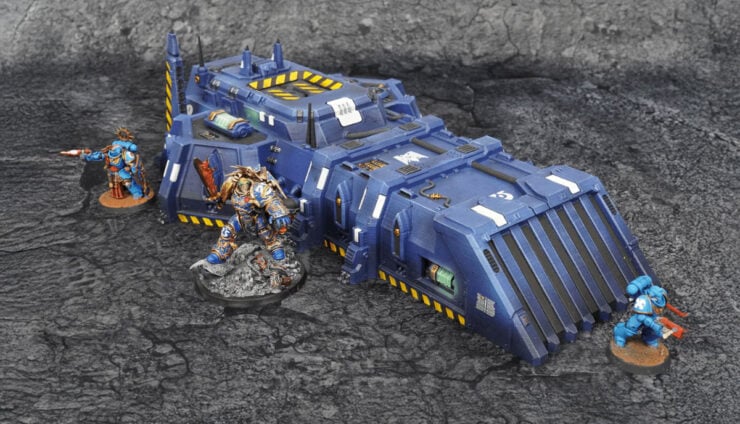
It would work perfectly on GW’s Realm of Battle boards, any of their boxed terrain kits, or on Secret Weapon Miniature’s new Tablescapes tiles, to name just a few examples. Here are some examples of pieces I’ve done in the past, using these same techniques:
Let me know what you think of this technique in the comments! If you want to see more of my work (not just terrain), or are interested in a painting commission, check out 13th Company Painting!
Thanks for reading!
