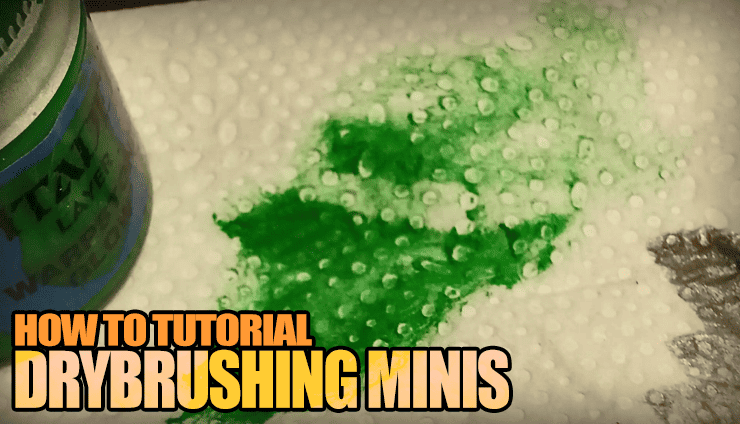
 Drybrushing is the easiest form of highlighting when you are painting miniatures, and this how-to tutorial will show you how easy it is!
Your favorite Frenchie is back with another painting article for beginners. Get ready for some serious knowledge-dropping: drybrushing by applying paint with a dry brush. BET YOU DID NOT SEE THAT COMING.
Hobby Basics: Drybrushing Models & Miniatures Painting Tutorial
 In a more subtle way – and this is the only subtle thing about drybrushing, trust me- you want to wipe most of the paint off your brush before you apply it to your model. This will leave paint on the raised areas of the miniature only. Bam. Highlighting, done easy. Let’s start with some pointers:
Pointers:
- Use an old and/or sturdy brush. This process is really hard on brushes and will destroy them at a quick pace.
- Although you can use GW’s Dry color range, any GW color (or most other paint brands as well) except shades and glazes will work. Bases are great for this too,
- Even if this method is zero subtlety, you are better with 2-3 light passes where you don’t apply enough paint rather than one coat too heavy, as this will ruin your effect.
- Surfaces with a lot of depth tend to work better—rocks, sand, chainmail, fur, hair, and so on. As you’ll see in the example, it works on flat surfaces too.
Here’s the” Do it at Home Part.”
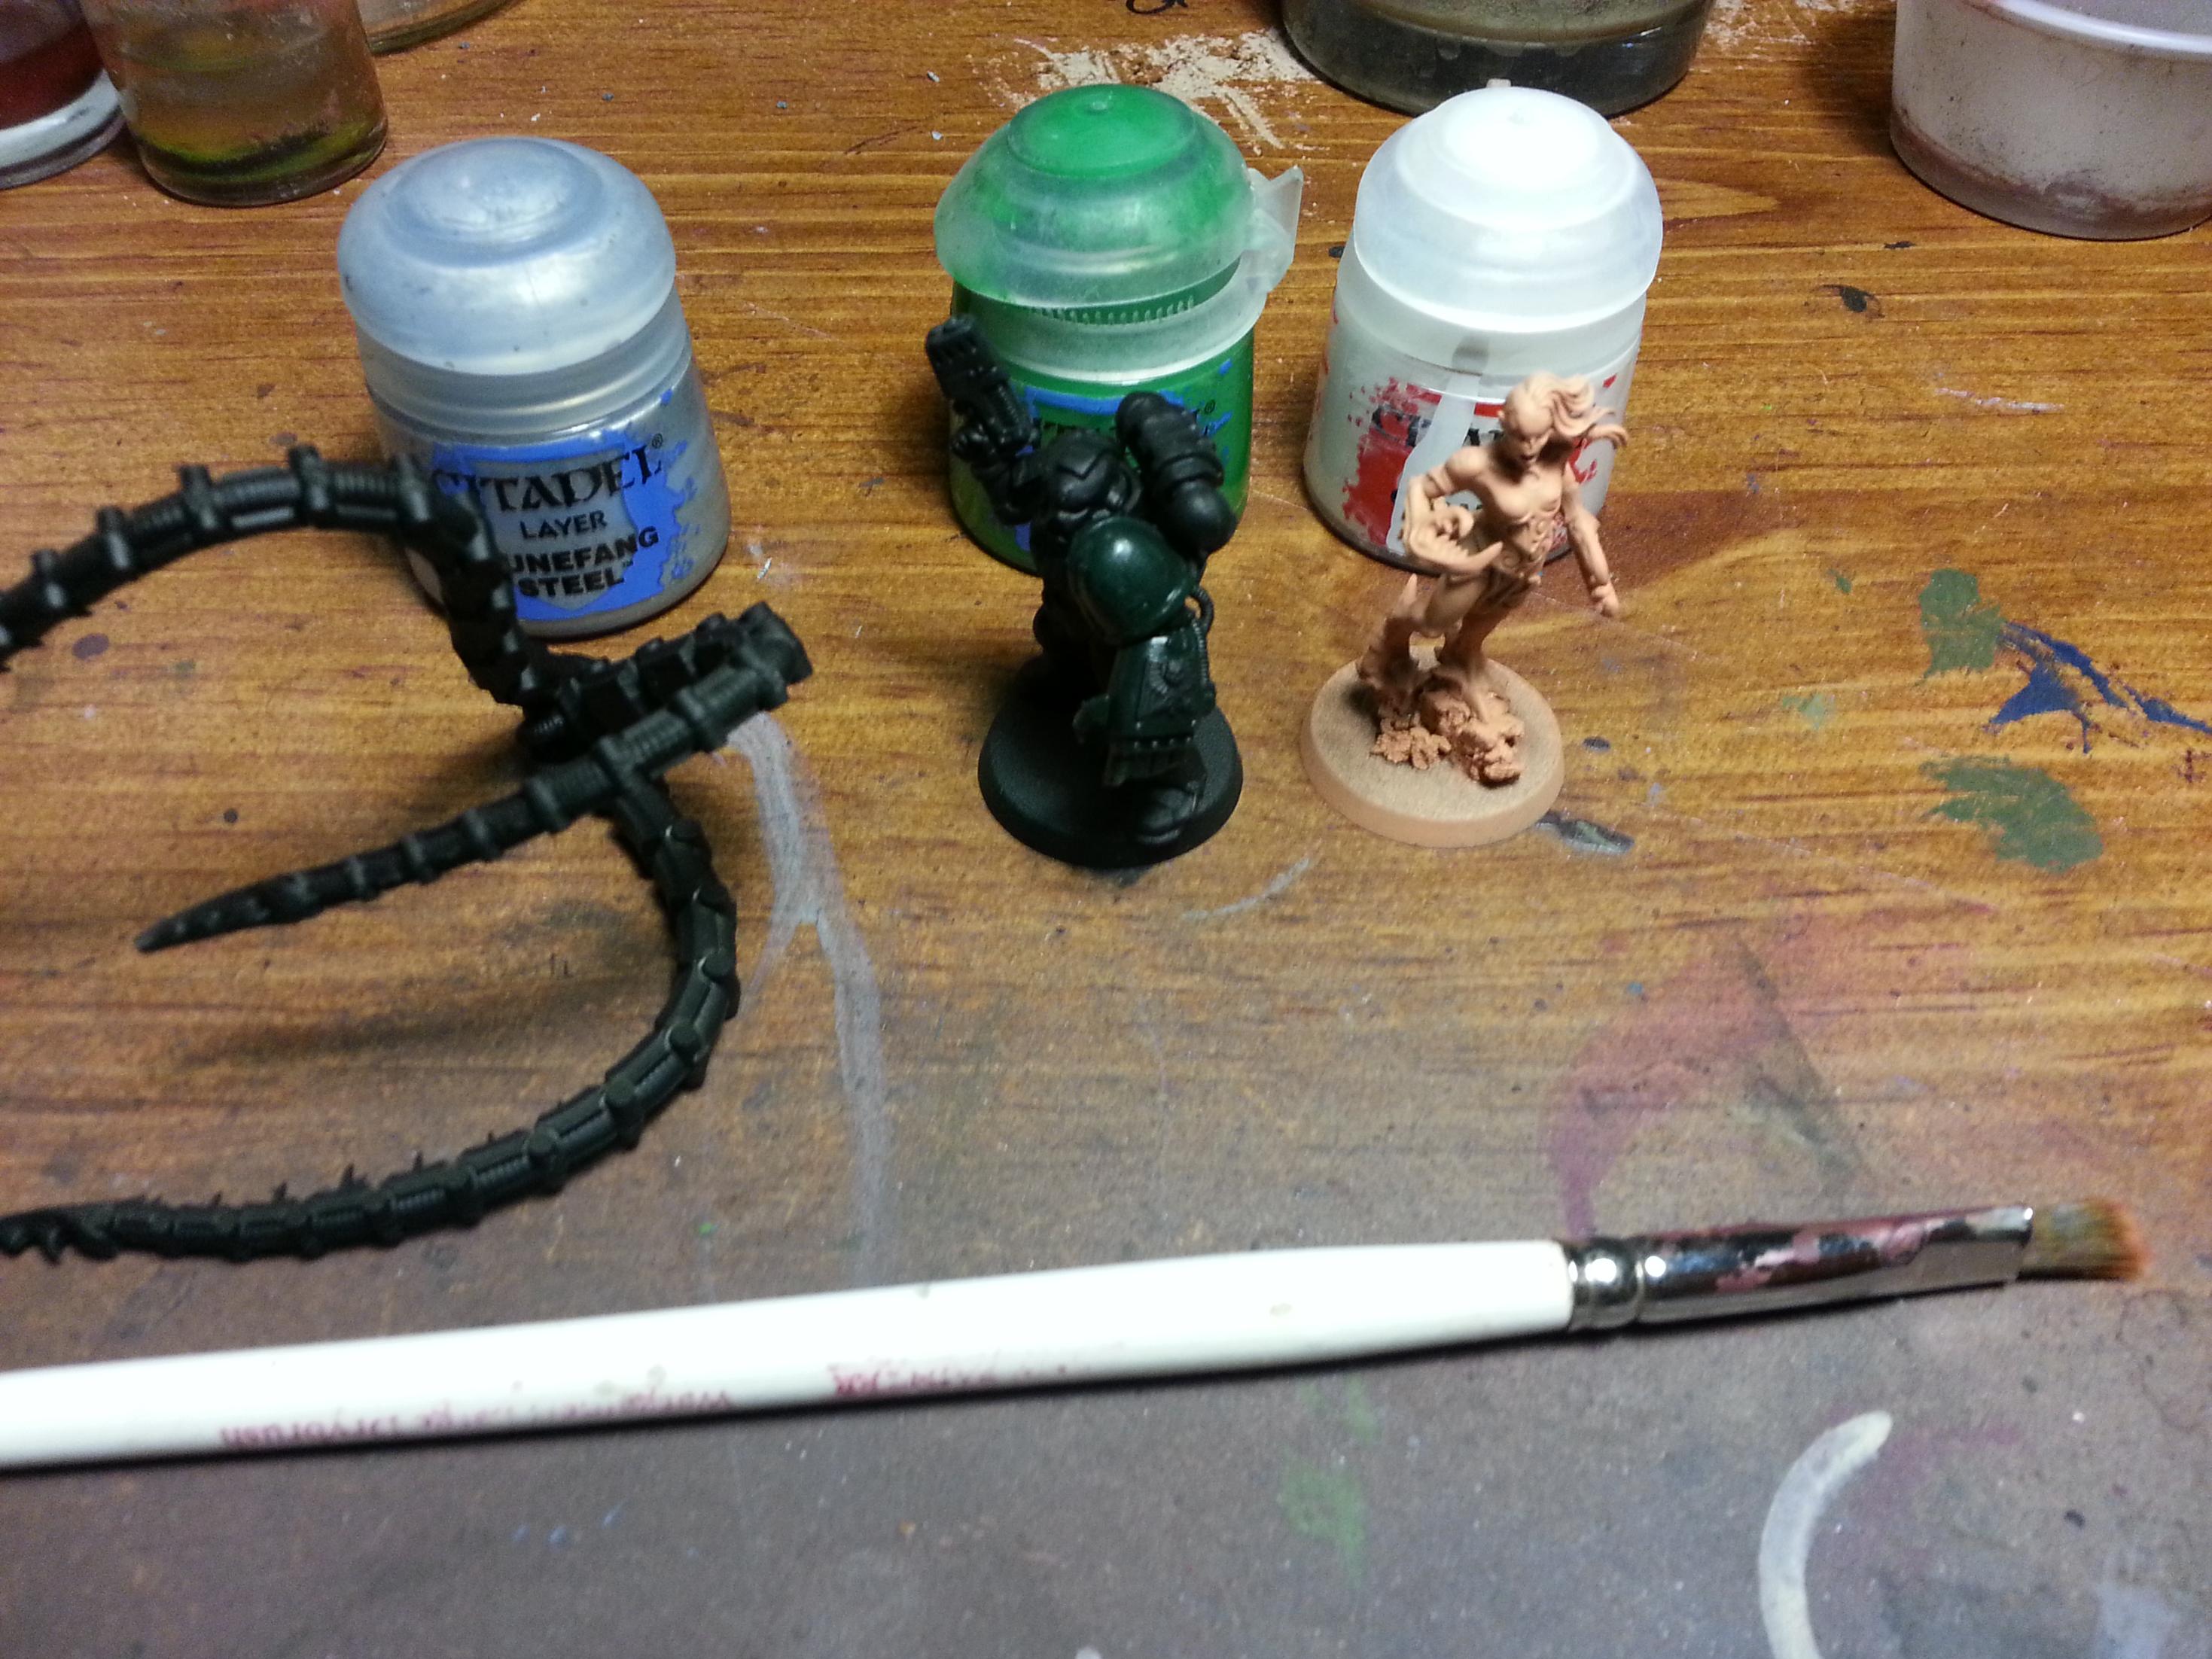
What You’ll Need:
- A model with a suitable Basecoat
- A color lighter than said Basecoat
- Paper Towel/ old T-Shirt
- A trusty beaten-down brush
How to Drybrush
So basic example first, Bobby-Ray the Dark Angel, with his big hand-painted Caliban Green. Warpstone Glow is the color we’ll be drybrushing with.
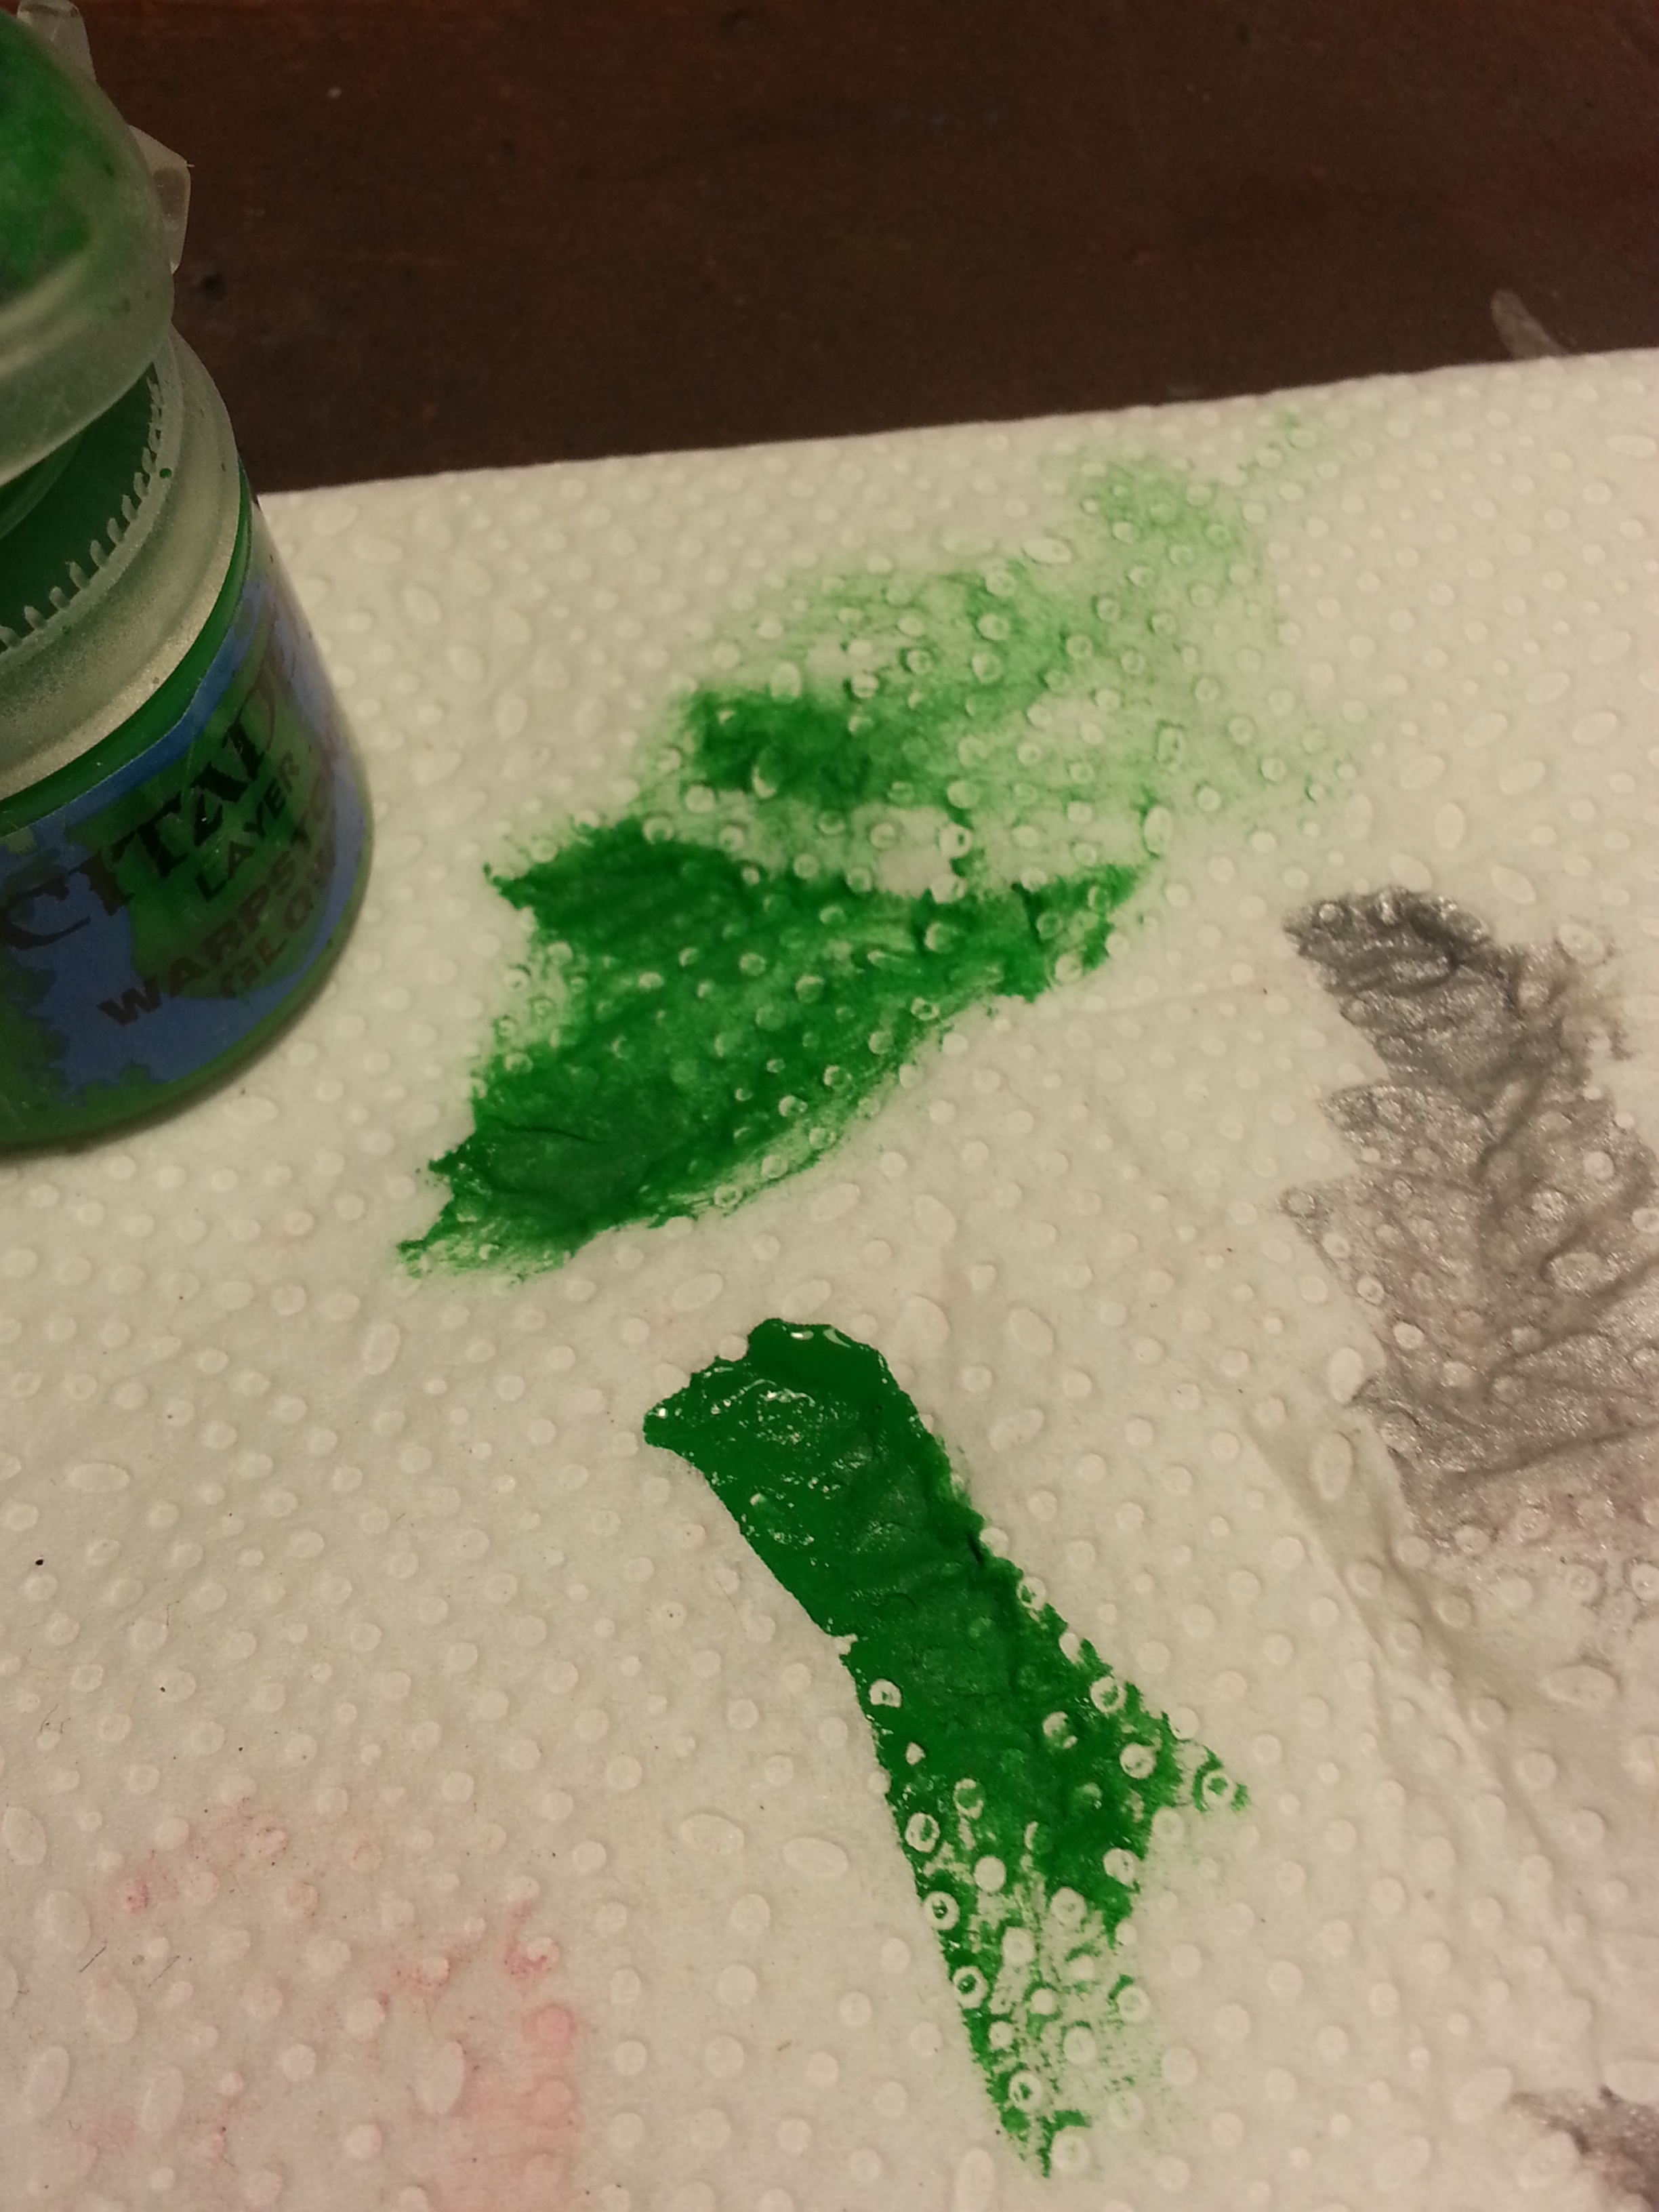 1- Wipe your brush loaded with Warpstone Glow until each stroke of the brush looks like the very top of the paper towel. This is important; too much paint and the effect will be ruined.
2- Brush that on your model.
3- Repeat steps 1 & 2 until you are happy
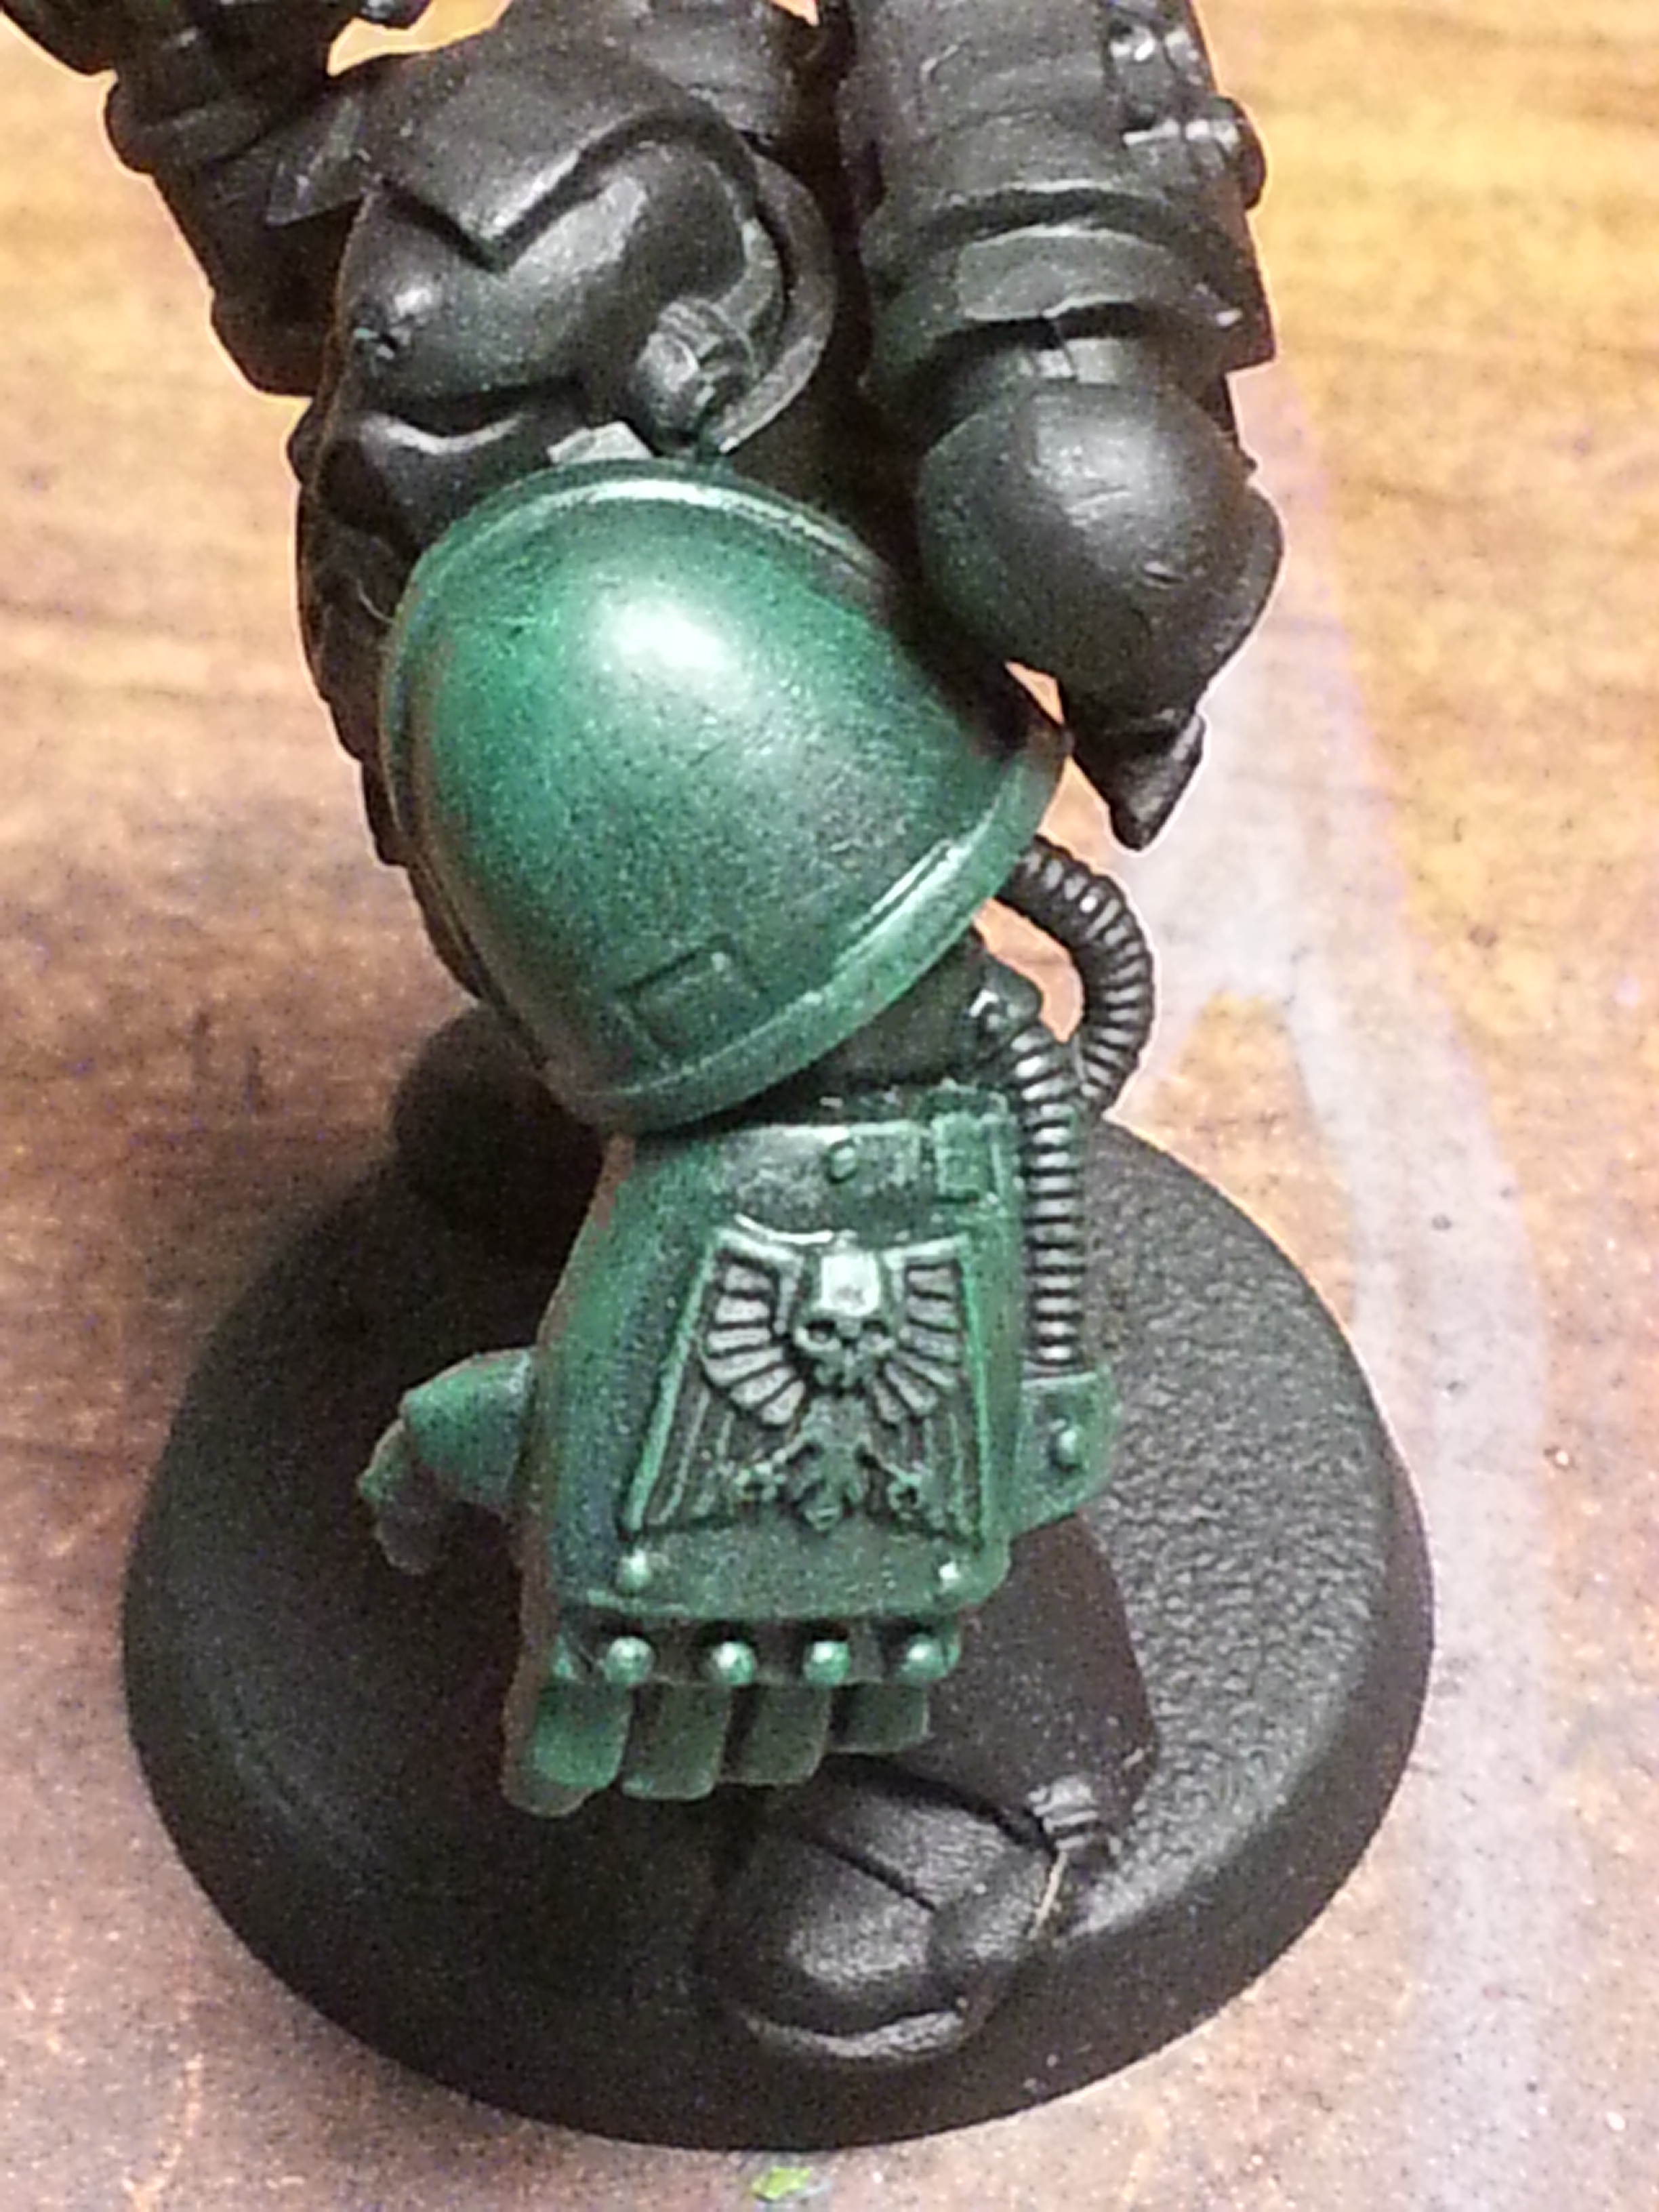
 I was not entirely happy with Bobby Ray, so I added Moot Green to the mix. Don’t clean your brush between colors ( as you need your brush to be dry). Repeat steps one and two, only with less paint on your brush, and by focussing on parts where you want the more striking green to go.
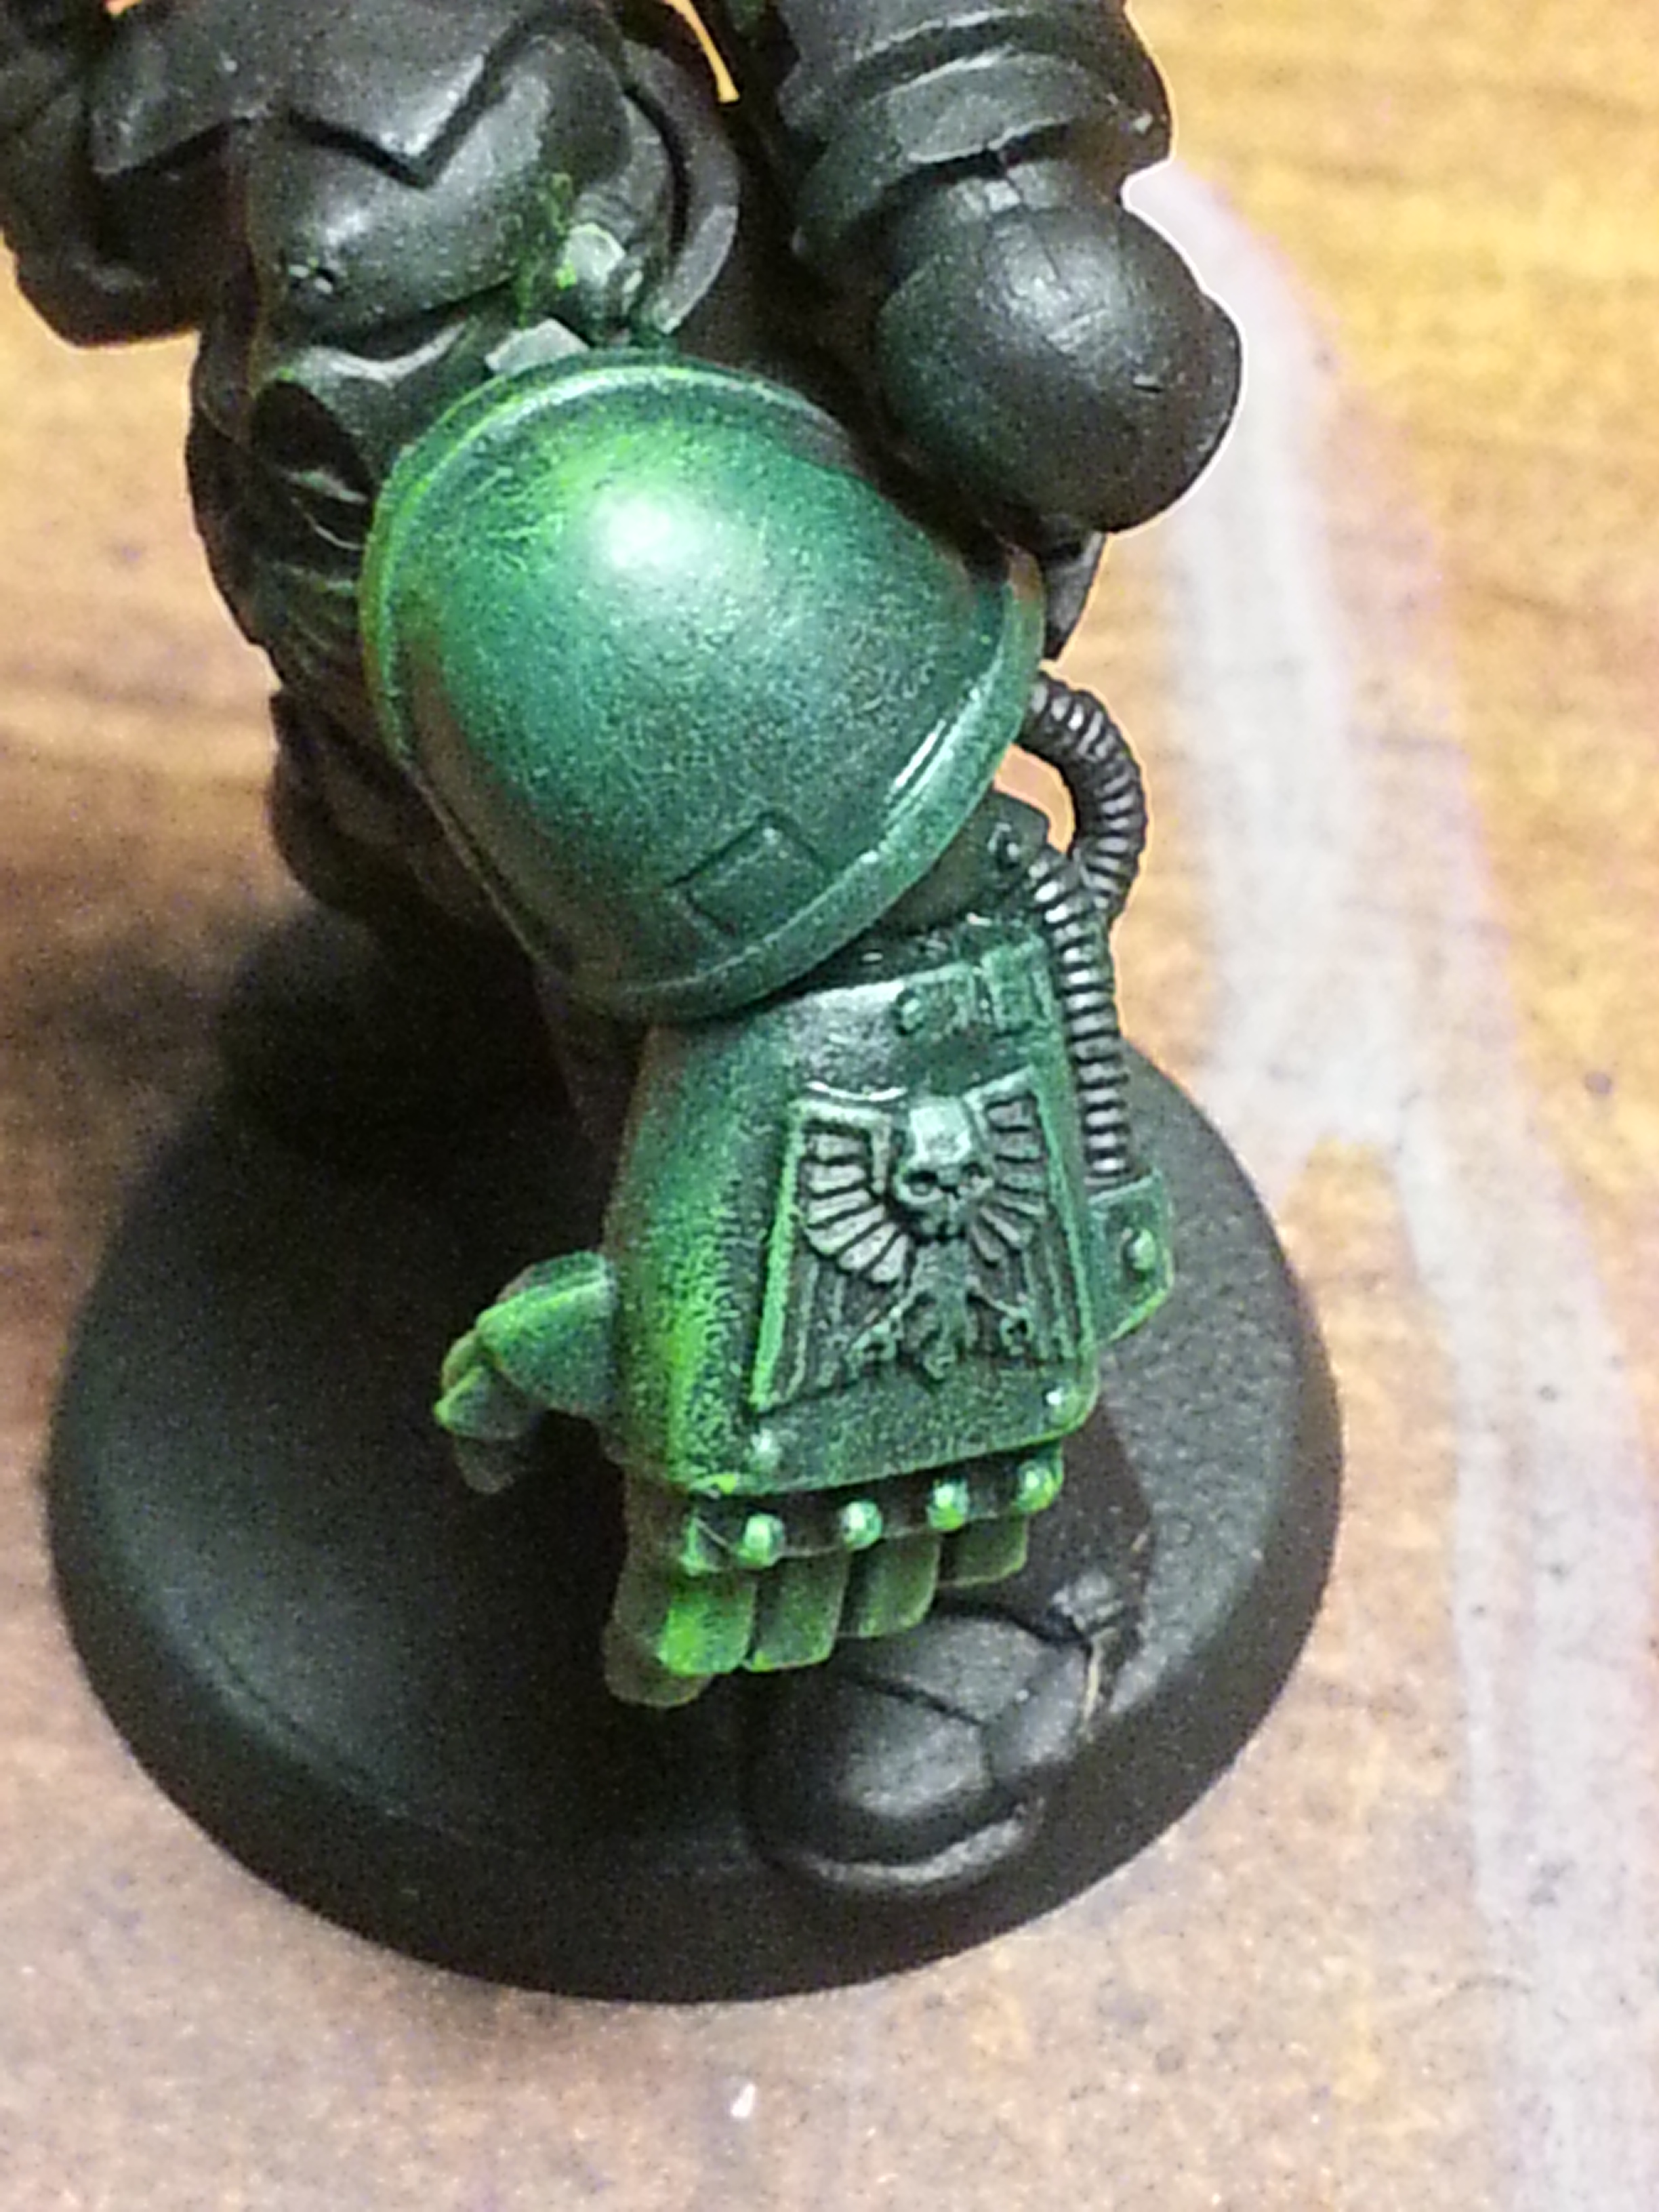 BAM! Right in the kissah!
Drybrushing Metallics
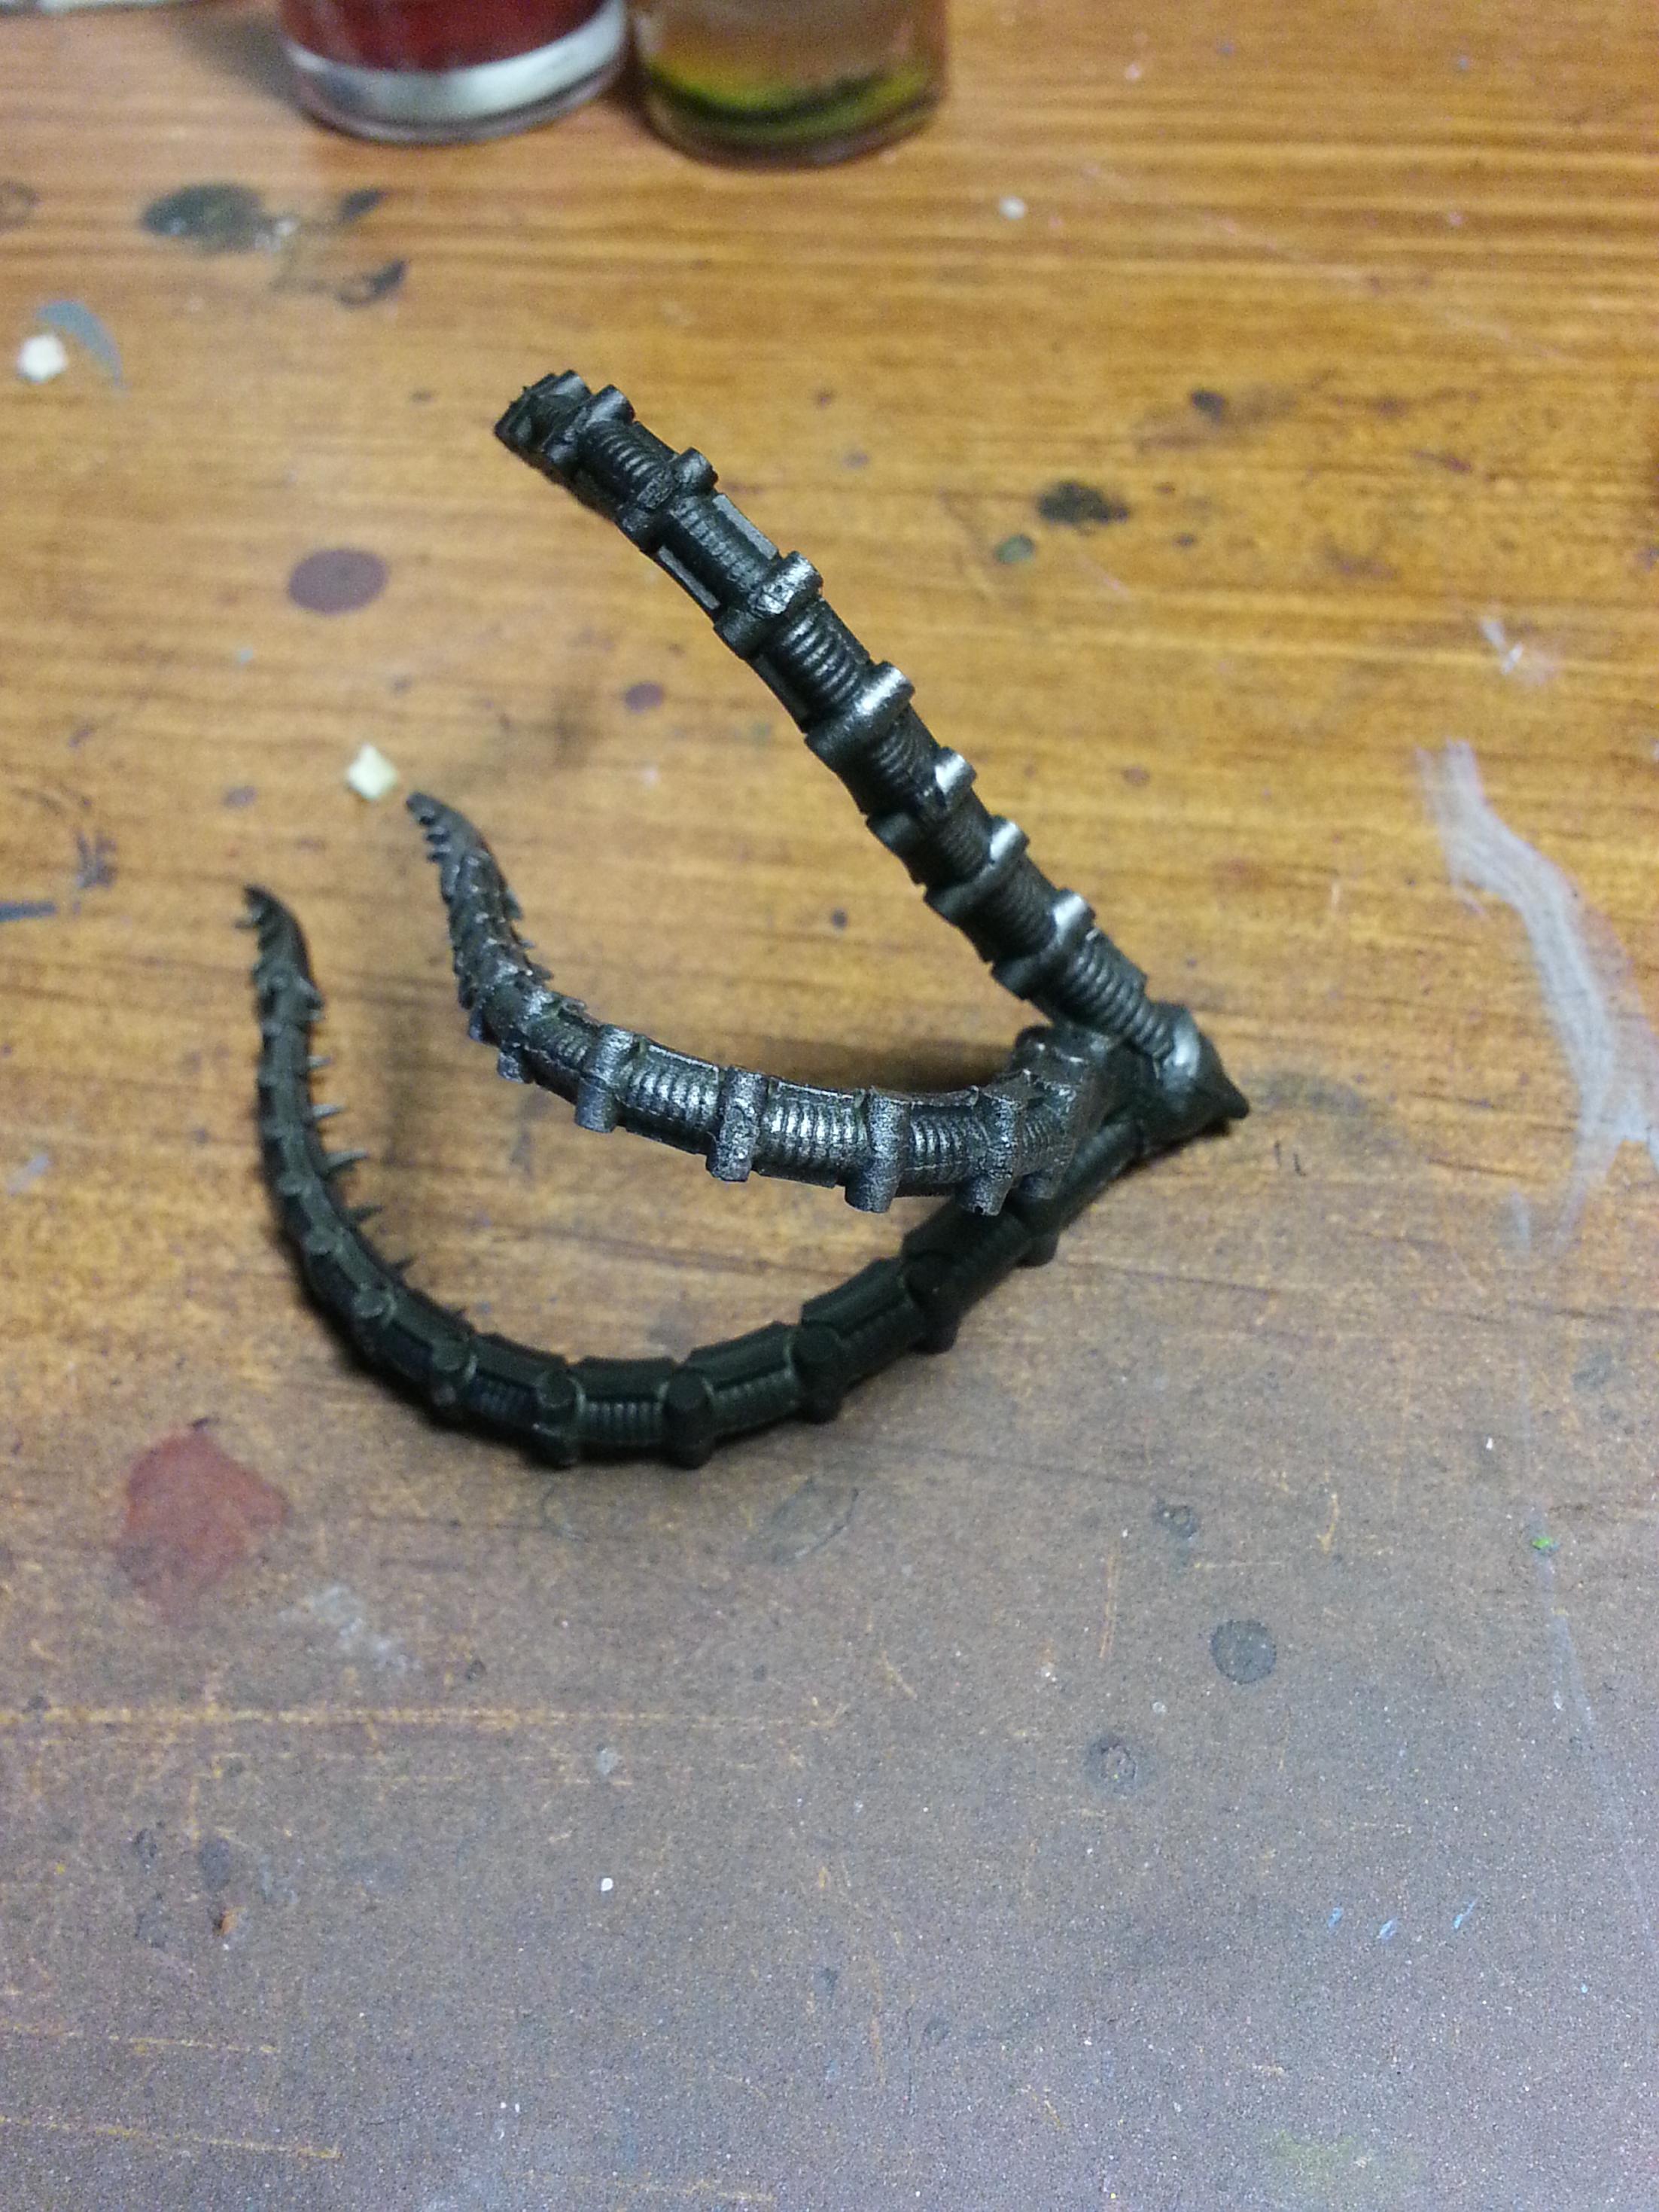 Another great use to drybrush is simple metallics. Gold, silver, and bronze become easy and striking when drybrushed over black.
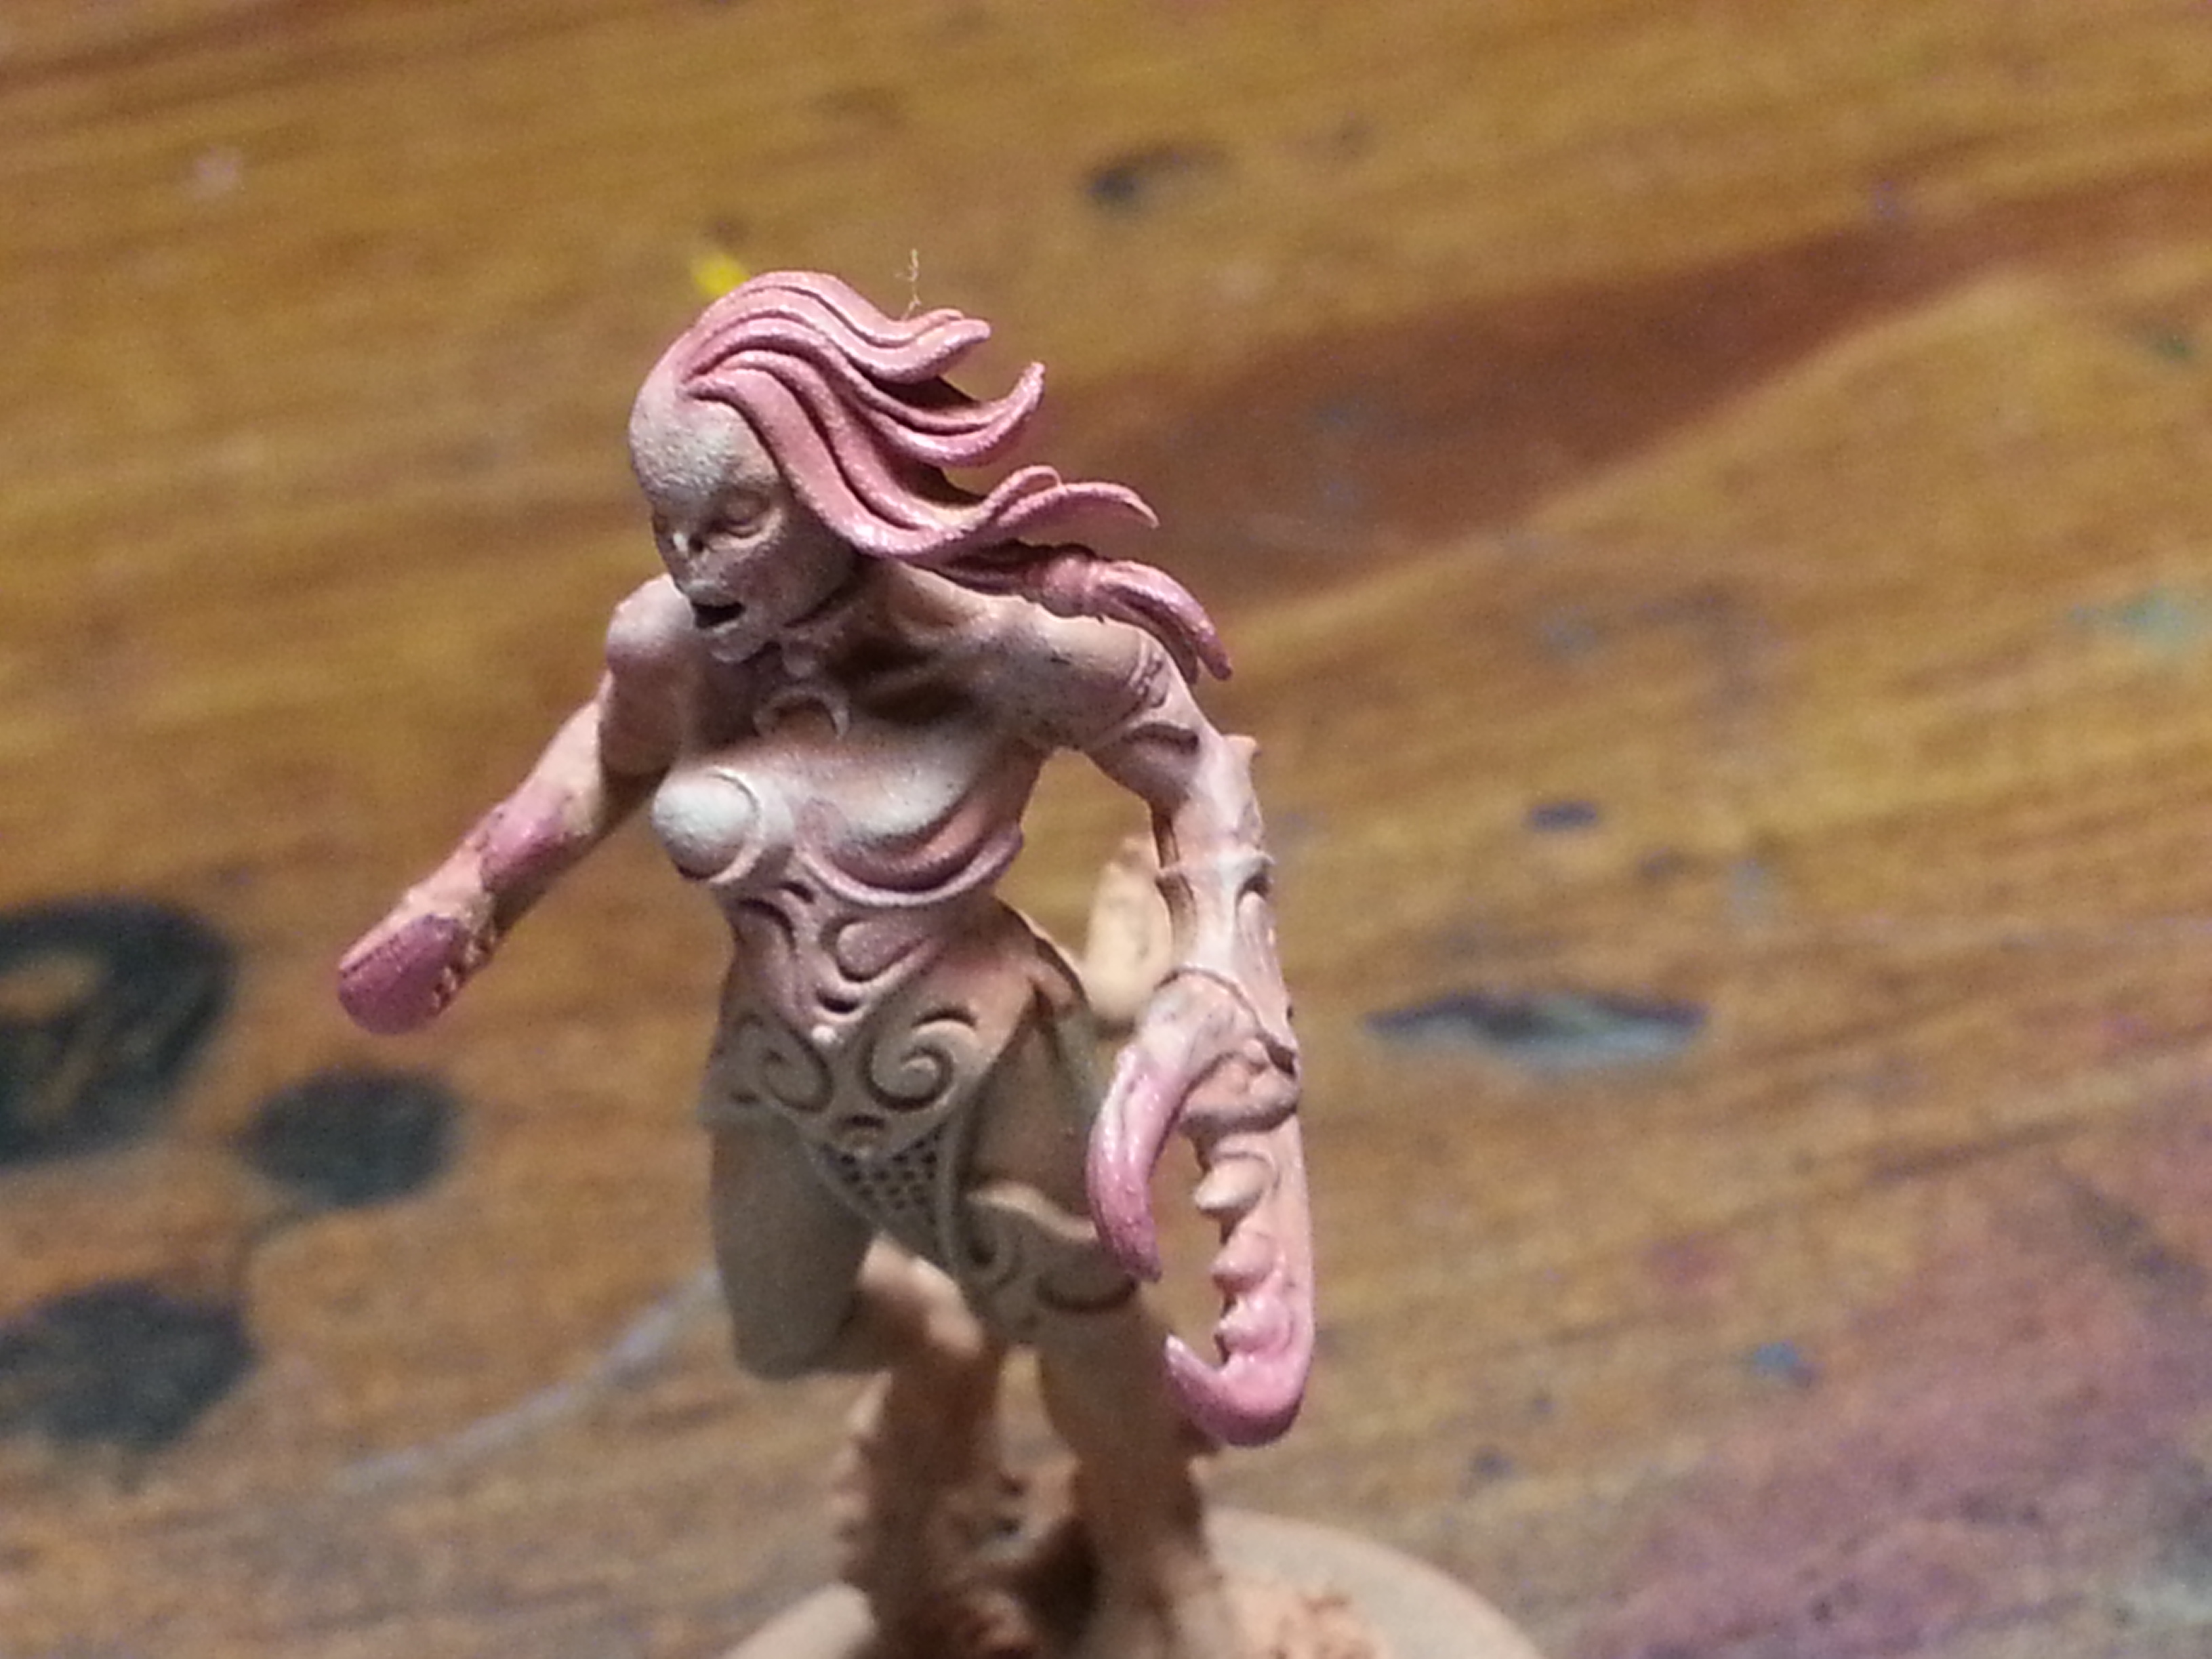
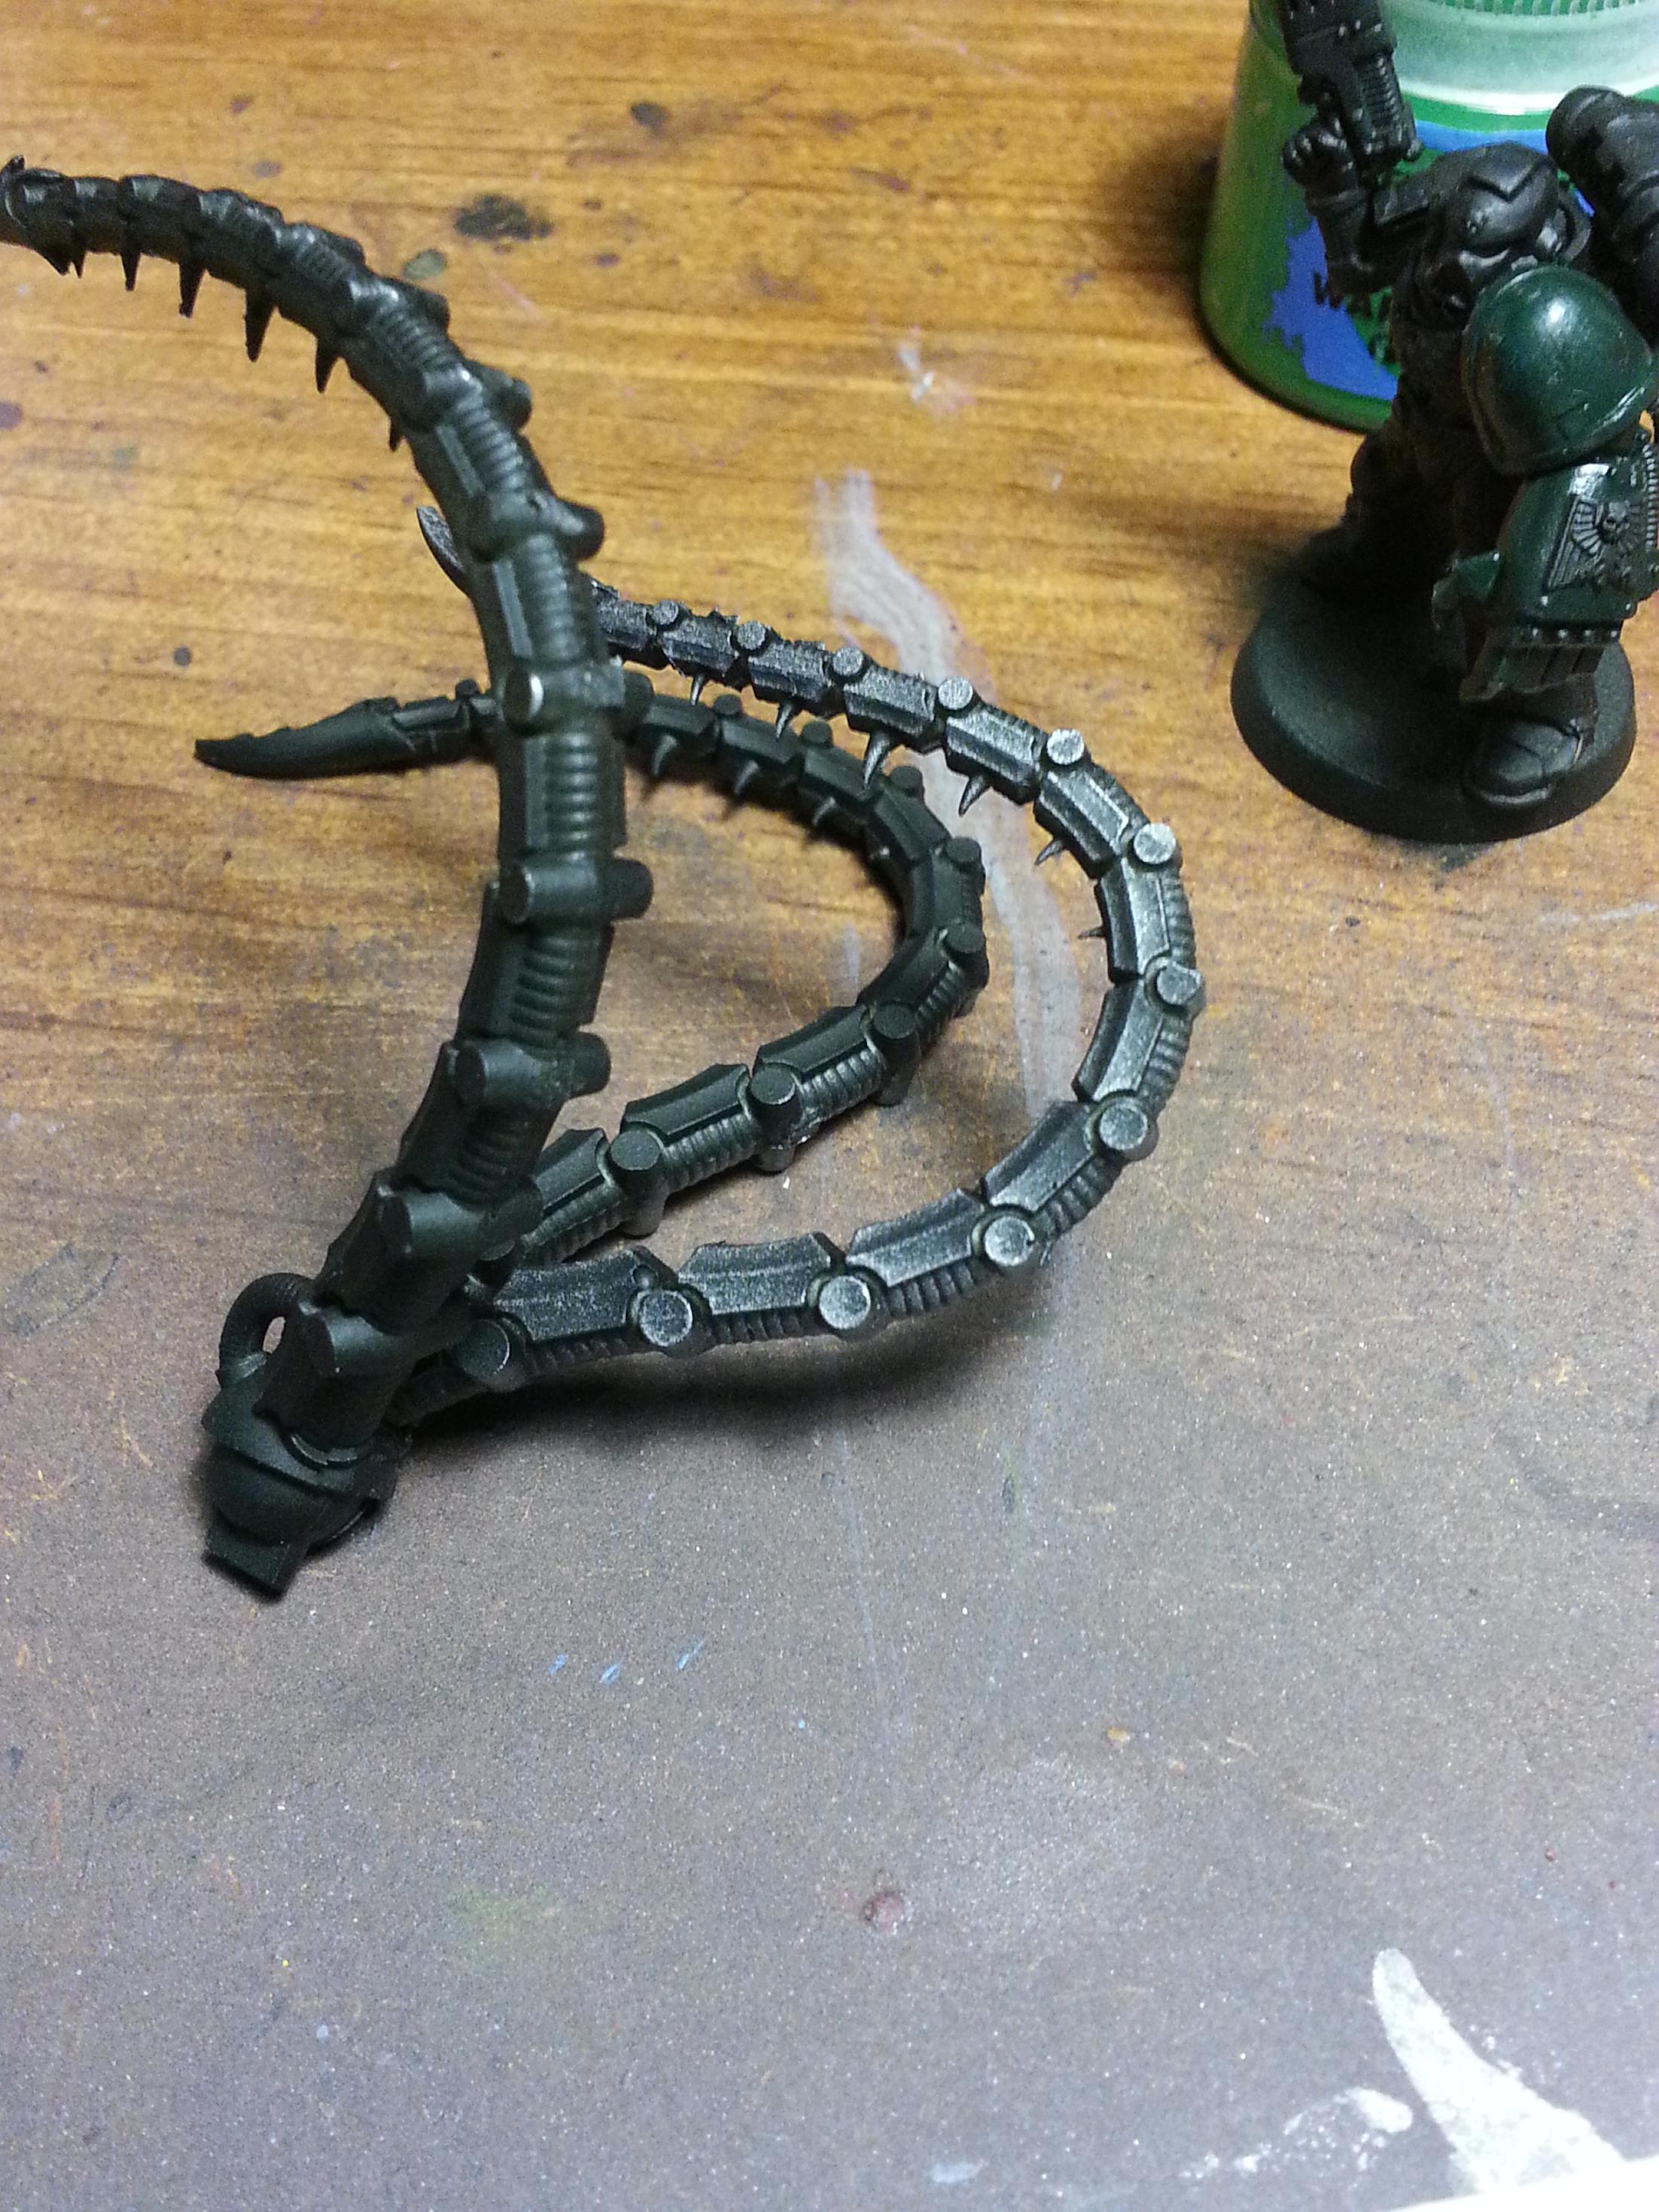 Step 1, black. Step 2, Runefang Steel. There is no Step 3. ( I only did one lasher tendril on the picture to show you what it looked like before )
More Examples
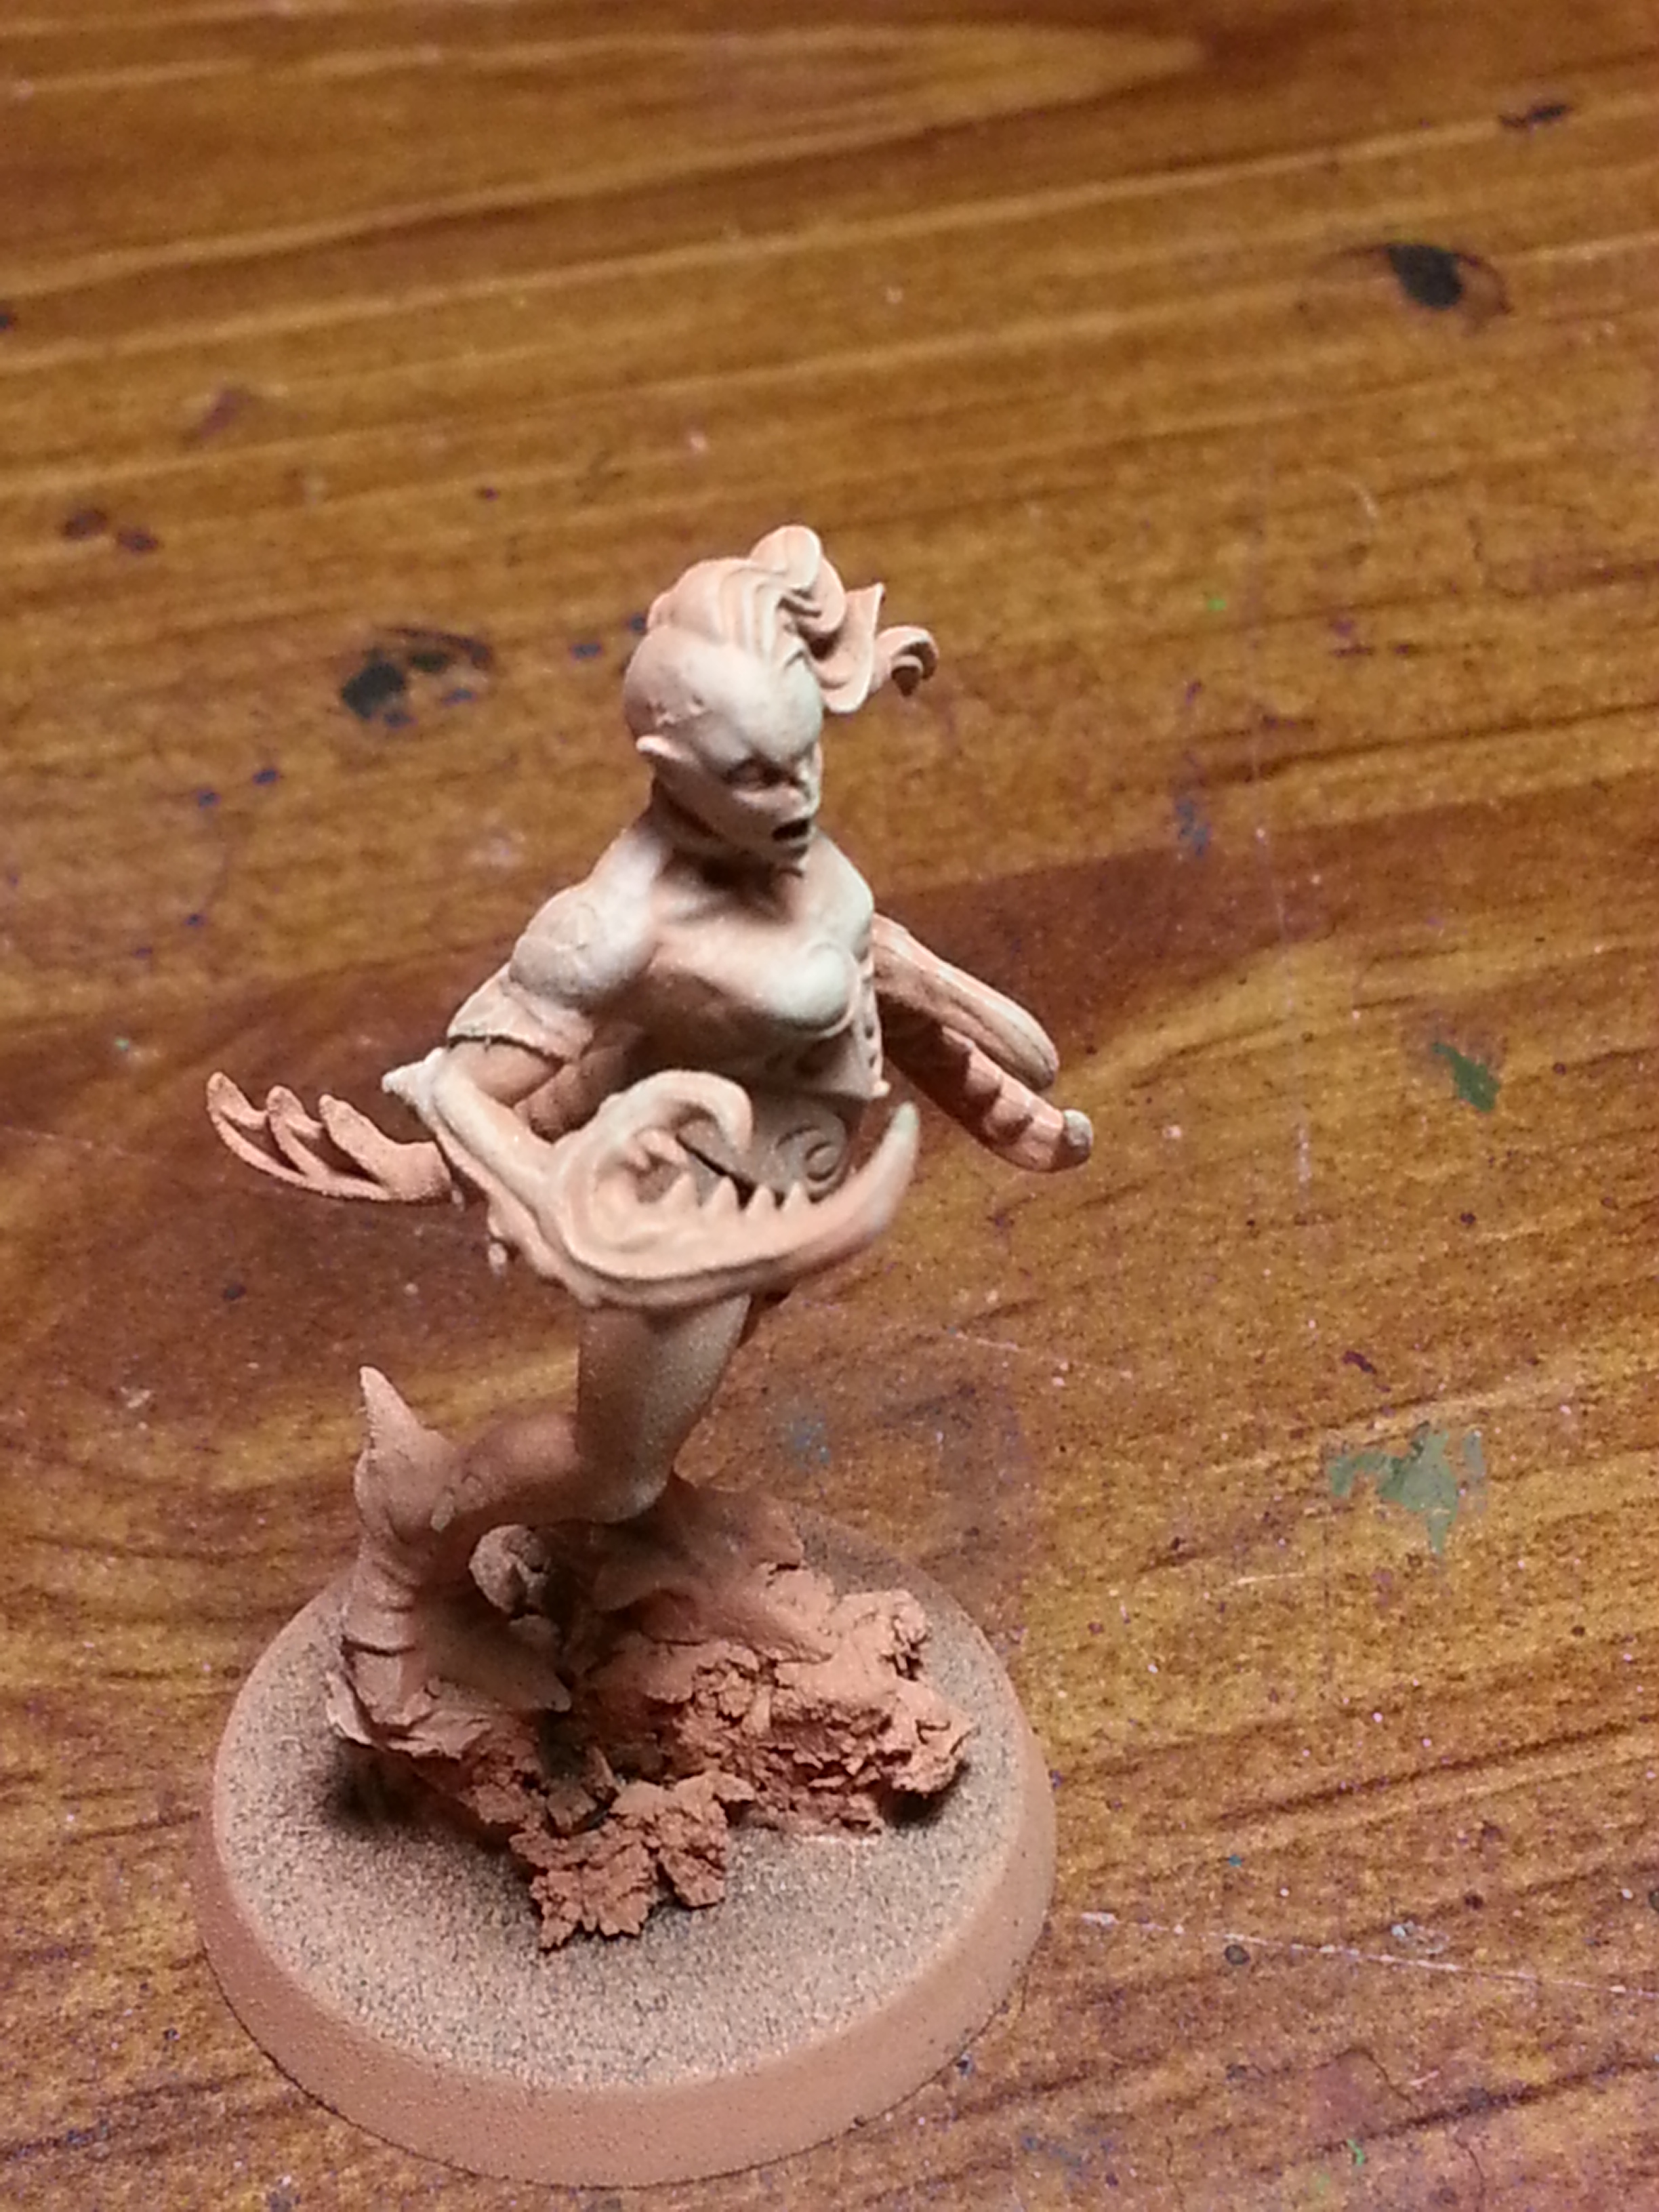 And here’s a Daemonette, primed with Army Painter Skin Colored Primer, then drybrushed white.
 You could leave your Daemonette like that or add a pink (as shown) or purple or turquoise wash on your model for a more direct contrast between colors.
And voila! How to Drybrush – Drybrush away, young soldier!
Have you tried drybrushing as an easy way to get your highlights doneon your miniatures?