Today we show you how to paint red hot lava bases using only 5 colors, 2 of which you may never have suspected! Take a look at how to get that awesome lava glow with a few easy steps!
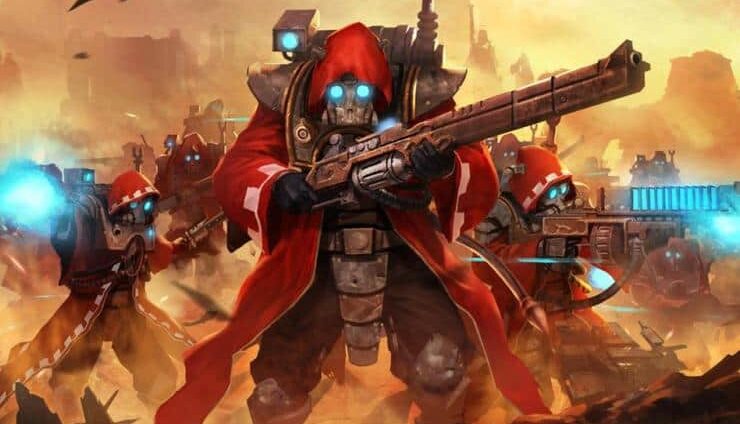
Khorne’s champions are so tough, not even lava can deter them from capturing their objectives and bringing skulls the Skull Throne.
Magore’s Fiends from Shadespire have some fantastic lava bases pre-sculpted that are perfect for creating a lava effect, including glowing.
This tutorial will utilize both the airbrush and paintbrush.
5 Colors That Make Painting Red Hot Lava Easy

Step One: Clean Up
The very first step is to touch up the base with blacks. This base was initially primed with Army Painter Matt Black, so touch-ups were easy with the Army Painter’s 100% color match system.
Step Two: Drybrush
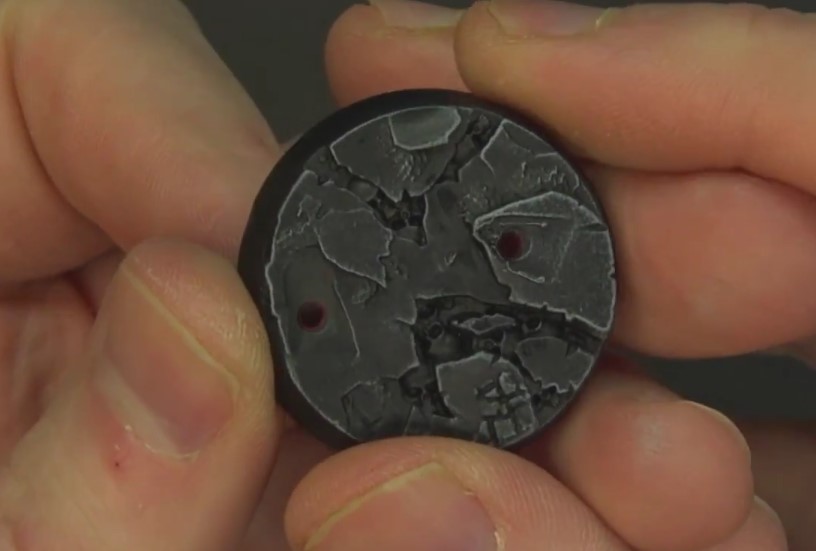
After touching up the base, drybrush a grey over the top of the base. Make sure your brush moves in one direction only, to prevent streaking. This will give an ashy effect.
Step Three: Base Color
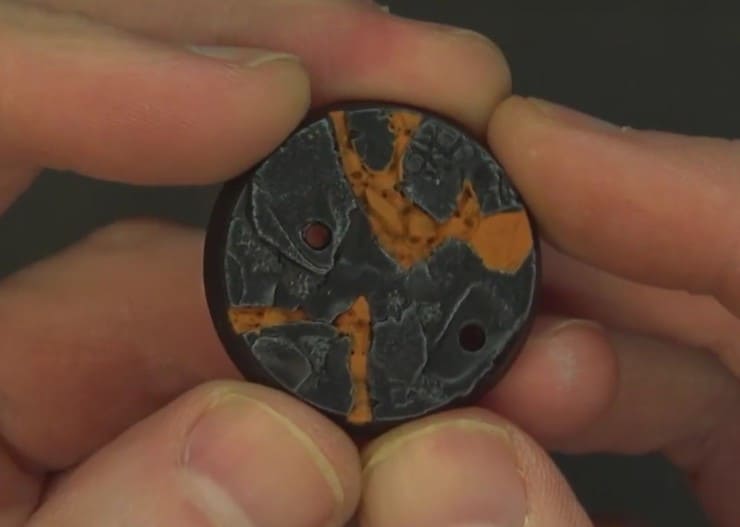
To build the lava effect, first, apply the base color of the lava. Any ochres work, including Reaper Orange Brown. You want to get a solid base coat over the back where the lava will be. This gives a great pre-shade to work with, so you can work both darks and glows from this point.
Step Four: Airbrushing
Next step utilizes the airbrush. Airbrushing will be easiest in this case, but you can also do this with a paintbrush using thin paints and glazing. Start with a good red and get that color over the rocks and completely covering the ochre. You also want to get some overspray on the black rocks to start the glow effect.
Next, Fire Dragon Bright by Games Workshop, or any other bright orange, is mixed with a little bit of the red and sprayed along the center to create the first transition. Then straight Fire Dragon Bright is sprayed into the middle of the lava again to create the beginning glow.
Step Five: Pre-Highlight
To get from orange to yellow does take some mixing, but we can use Pallid Wych Flesh to help create the transition. This is used as another preshade, lightly spraying over the areas over spots where the yellow will be brightest.
Step Six: Depth

A good, bright yellow such as Flash Gitz Yellow is mixed into the airbrush and sprayed over the skulls. Once the yellow is applied, red is cut back in via the airbrush, hitting the cracks and sides. This cuts the yellow down and makes it feel more like a glow, giving depth and glow. It also brings out more of the oranges as well.
This is a great time to test fit the model and apply glows to the model itself if needed.
Step Seven: Paint the Lip
Vallejo Surface Primer works very well to get a good, solid black tone over the base to finalize everything. This step is important to clean things up and make that base look crisp.
Step Eight: Glazing

To finalize that glow, Lamenters Yellow glaze by Games Workshop is applied to bring all the colors together. You can also use any yellow wash. This down the glaze or wash with some flow improver and apply to all lava surfaces. This blends all the colors and gives everything that delicate yellow tint that helps keep colors fantastic after the matte coat is applied.
Not shown in the video is the addition of a little Secret Weapon Mini water effects spooned into the cracks themselves to give the lava a more “wet” look.
There you have it, an easy way to get a great lava base. This works well on many different bases and can look absolutely fantastic with many different models. Be sure to press play on the video below to see the entire process!