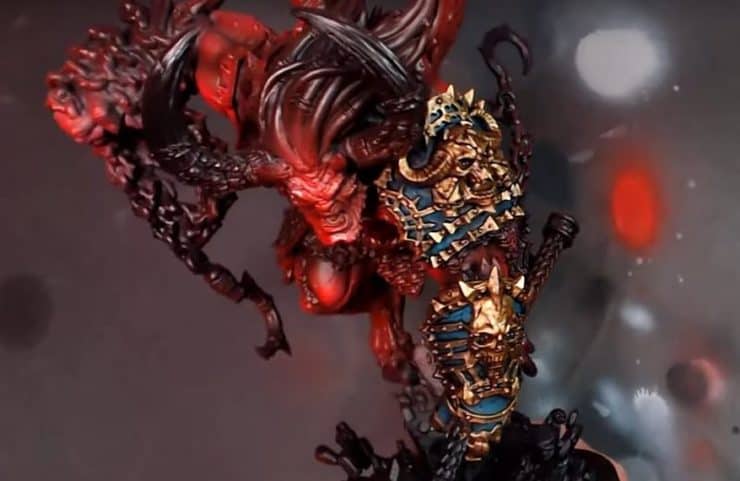
Airbrush painting saves some time, allowing more time to be added to details. Get the most out of airbrushing large models by masking them off!
The Creature Caster King of War is an incredibly impressive and detailed model. To get the most out of our airbrush while painting this model, we need to be able to mask off various portions. Take a look at this easy masking tutorial that utilizes common household products! Be sure to check out the entire video below!
Don’t Wreck Your Paint Job: Masking Miniatures Easily
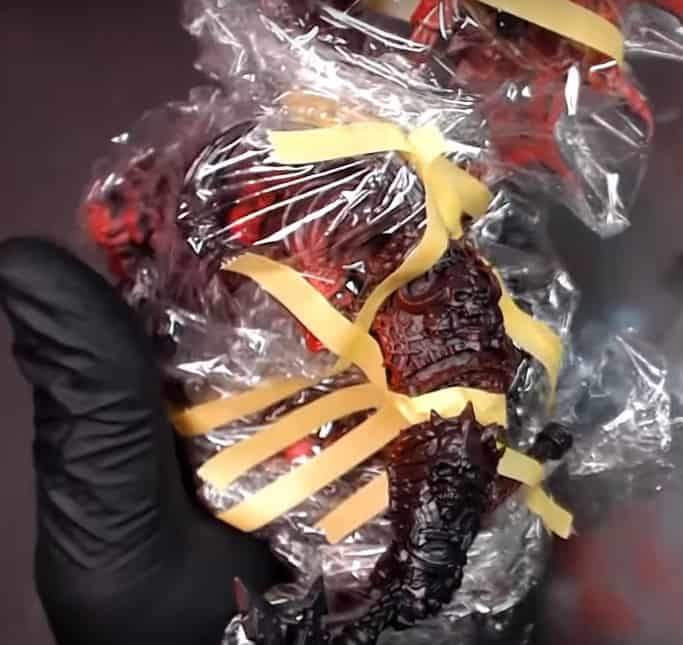
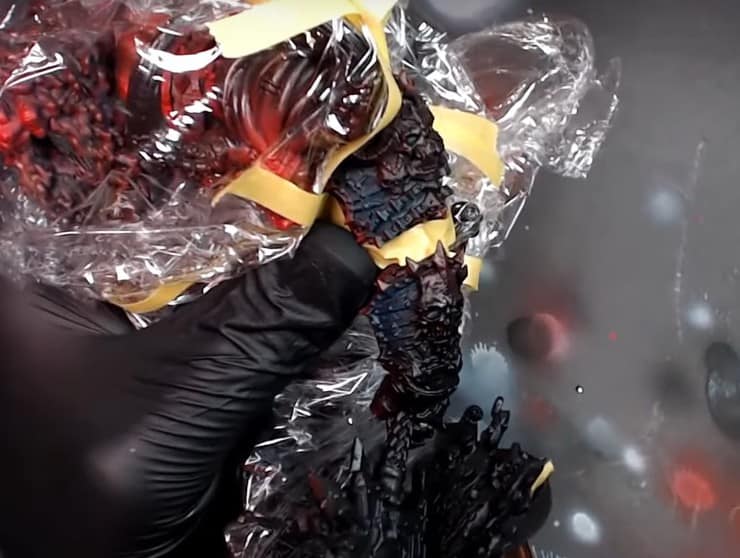
Once the base coats are down, do not put away that airbrush! Instead, grab the Cling Wrap and some masking tape. Yes, cling wrap! Wrap that model up in cling wrap, holding it down with Tamiya masking tape, and get every part of that initial pre-shade covered so no overspray will hit the model and destroy our hard work! Be sure to apply the Tamiya masking tape to smaller locations, such as the gap between armor, where the skin shows through.
Tamiya is a low tack tape that will not remove paint from your models. Regular masking tape will wreck your hard work, do not use it!
Using black thinned down with flow improver, spray a thin layer over the armor pieces where red was. Next, add Merredius Blue from P3 to the brush and spray it over the armor. Keep layers thin and build them up, introducing more blue into the mix to create your blue transition.
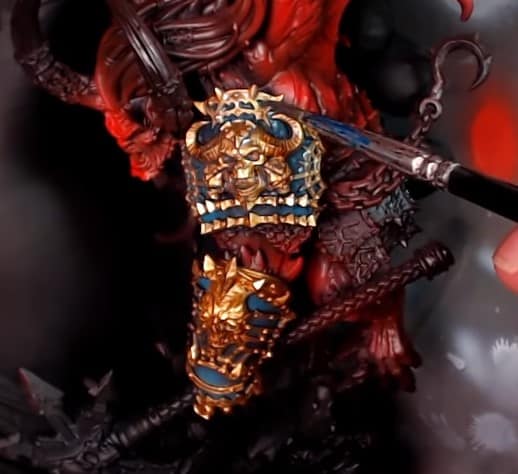
Using Scale75 Dwarven Gold, cut in the trim pieces using a paintbrush. Once the gold is cut in, the masking can be removed and your wash applied. For the wash, thin down Army Painter Dark Tone with Quickshade Mixing Medium and dab it over the gold and blue surfaces.
Next, Strong Tone by Army Painter is dabbed directly onto the golds, feathered away to prevent pooling and creating a great transition on the golds.
There you have it, a very easy way to mask different sections of your models so you can utilize your airbrush more effectively. To see more amazing models, check out Creature Caster. Be sure to check out the entire tutorial below!
