Here is how to magnetize a 40k Imperial Questoris Knight and future-proof your expensive miniatures with this titanic tutorial.
Updated April 8th, 2025, by Rob Baer with new information and links to relevant content.
When a new codex or ruleset is released for Warhammer 40k, Imperial Knights rules always change. So future-proof your Knight miniature now, so you don’t lock yourself into a specific weapon or model loadout and get stuck breaking apart your model or buying another wildly expensive one! Here’s how to magnetize Imperial Knights and future-proof your investment!
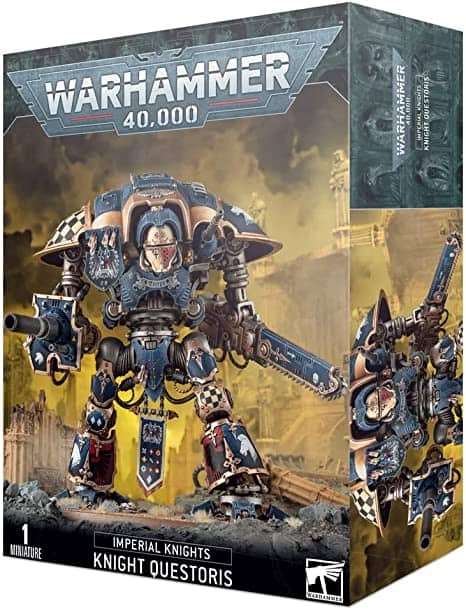
Future-Proof It: Magnetize Your Imperial Knight Questoris Kit
 Since we’ll be using a ton of magnets, everything Rob is using comes from the Magnet Baron, as they have pre-made magnetization kits for projects like this. Rob is also adding a few extra Custodes Knight bits to his Questoris, but the only real difference between a normal Questoris kit is just some of the extra upgrade bits.
Obviously, Imperial Knights magnets for this will be extremely useful for changing your army lists between not just games, but new codex books and editions of the rules. We’ll cover magnetizing each weapon option and the joints that require magnetization.
List of Magnets & Tools You’ll Need: Knight Questoris Magnetization
- Arms: 3/8 x 1/16″ magnet and 1/8 x 1/16″ magnets for carapace weapons
- Shoulder Magnets: 1/4 x 1/16″ size magnets
- Waist Magnets: 1/4 x 1/16″ size magnets
- Weapon Magnets: two 3/8 x 1/16″ magnets
 Wowstick Motorized Drill Watch us use it at around the 24:00 mark in this video by clicking here.
- Hand Sized Pin Vice For larger projects like Knights, Forge World kits etc.
- Pin Vice For Miniatures We like the army painter one, but there are a ton to choose from
- Drill Bits For Magnets (small quick release) Larger Bits (for vehicles etc.) Quick-release set
- Wowstick Motorized Drill makes pinning and drilling out barrels a breeze and helps with magnetizing miniatures, but you still need a pin vice to bore out pilot holes over 1/8″ in diameter.
- We get all our magnets for hobbying from The Magnet Baron. Use coupon code Spikey10off to get 10% off your next order with them!
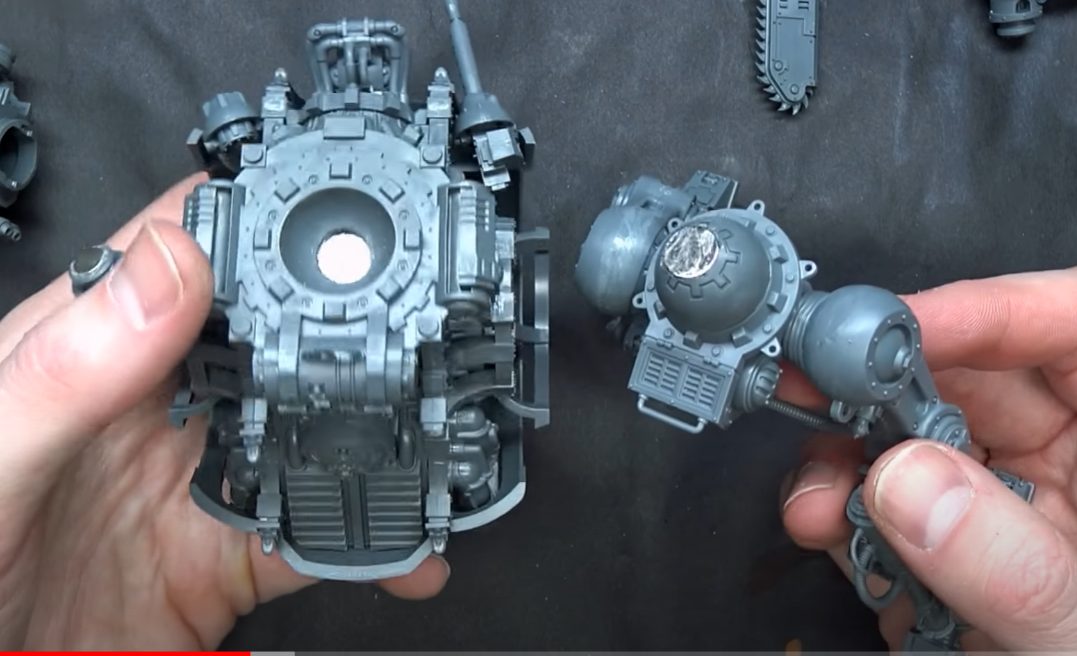
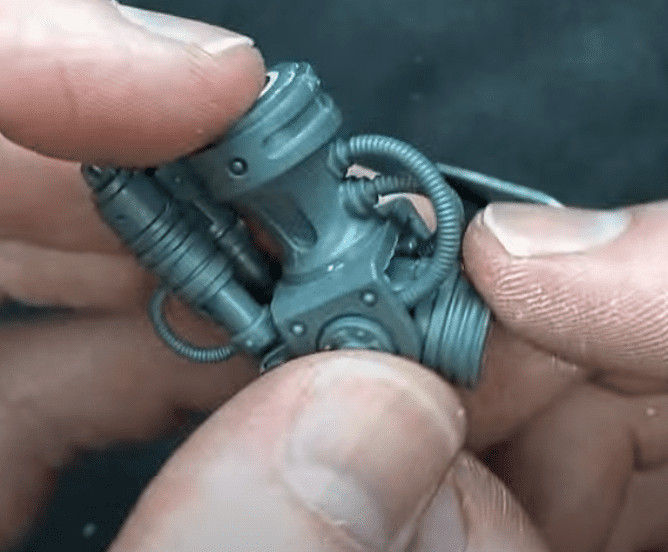
Magnetizing the Knight Questoris Arms
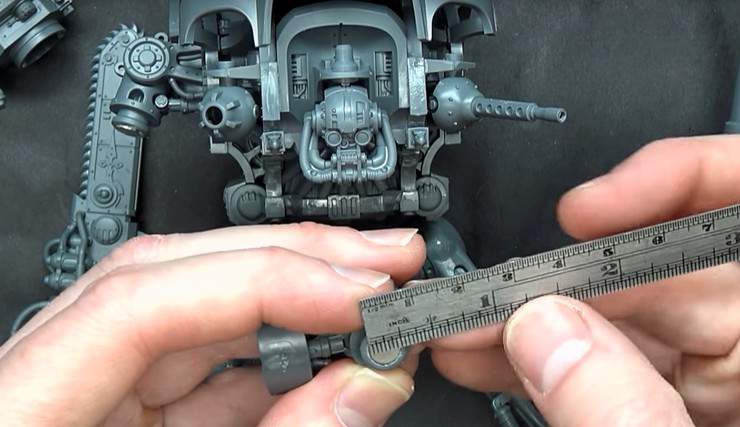 All the arms are currently magnetized with a 3/8 x 1/16″ magnet at the elbow, allowing for weapon swapping. The carapace weapon option uses 1/8 x 1/16″ magnets, the same as the chest guns.
OPTIONAL: The Shoulder Sockets
To be honest, this is an optional step. You really don’t have to magnetize the shoulders and can use the tongue-in-groove setup that the kit comes with.
 Use 1/4 x 1/16″ size magnets in the shoulder socket. Before anything gets done, though, make sure you clip off the plastic supports inside the shoulder point. Those are usually used to lock the arm in, but you’re magnetizing it anyway, so that it won’t be needed.
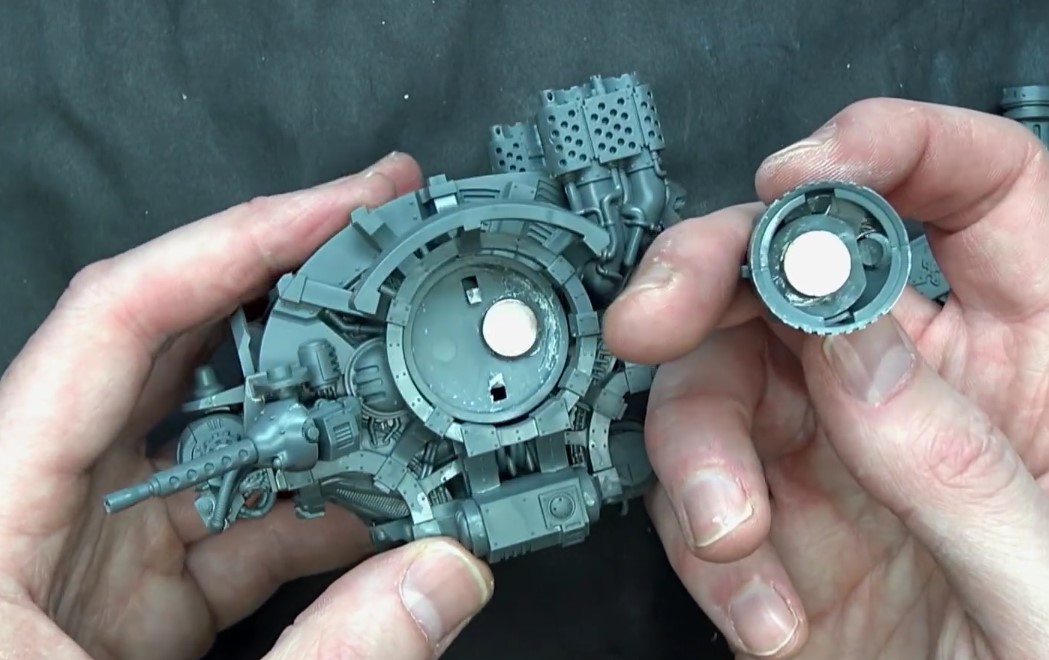
Line everything up in a “measure twice, glue once” process. Since the arm piece is deep (about five magnets deep), we will use our leftover piece of sprue to boost the size of the magnets. For gluing the pieces of sprue and magnets, super glue will be perfect. A little bit of Zip Kicker CA Accelerator will also help the drying process.
Apply some kicker to the magnets directly and glue them to the arm. Be sure to double-check the polarization before gluing your second magnet, and be sure everything will line up by dry-fitting. Once you’ve got everything lined up, glue away!
Lock the Magnet In
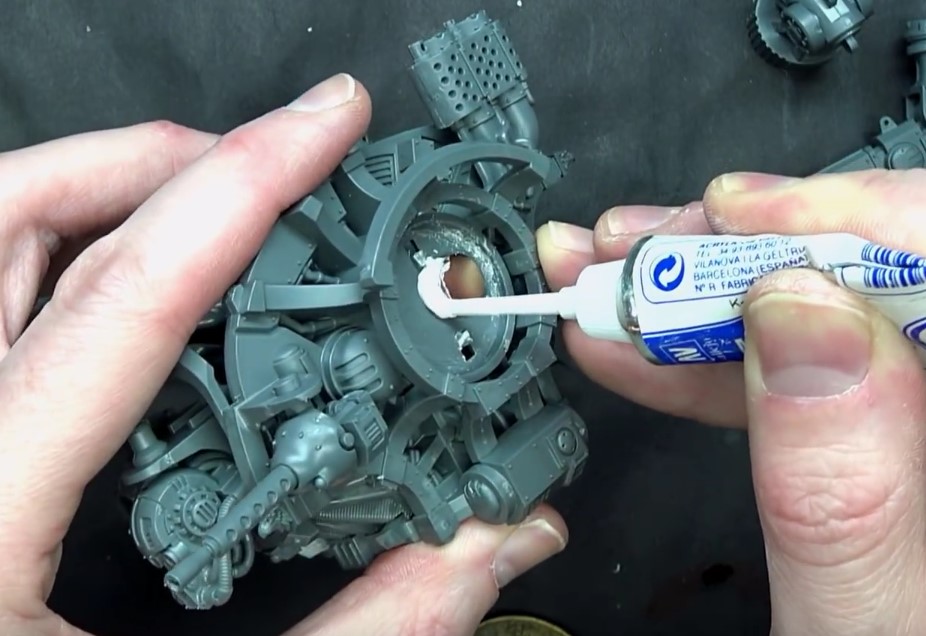 Once the magnets are in and the glue is set, apply some Vallejo Plastic Putty around the magnet to give it more sealing power. Remember to clear off your magnet of any plastic putty spillover so it will sit flush on the model and not have any clearance issues.
Magnetizing The Waist: (Also Optional)
This step is also optional; however, if you want to magnetize the waist to get the twisty motion for your pew pews, we also got you covered.
 Just use the same magnet setup for the shoulders in the top chest cavity; glue a little plastic sprue as support or rebar over the magnet you put there. Then use some of that Vallejo Plastic Putty (don’t use green stuff as it will not hold well enough) to lock in the magnet around the sprue supports you create.
Do the same for the waist nub as well (again with 1/4 x 1/16″ size magnets) on the inside, and that should hold all your magnets in place 100%
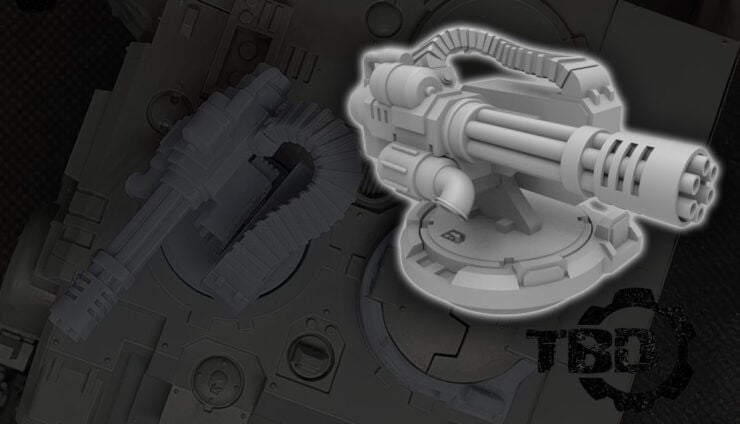
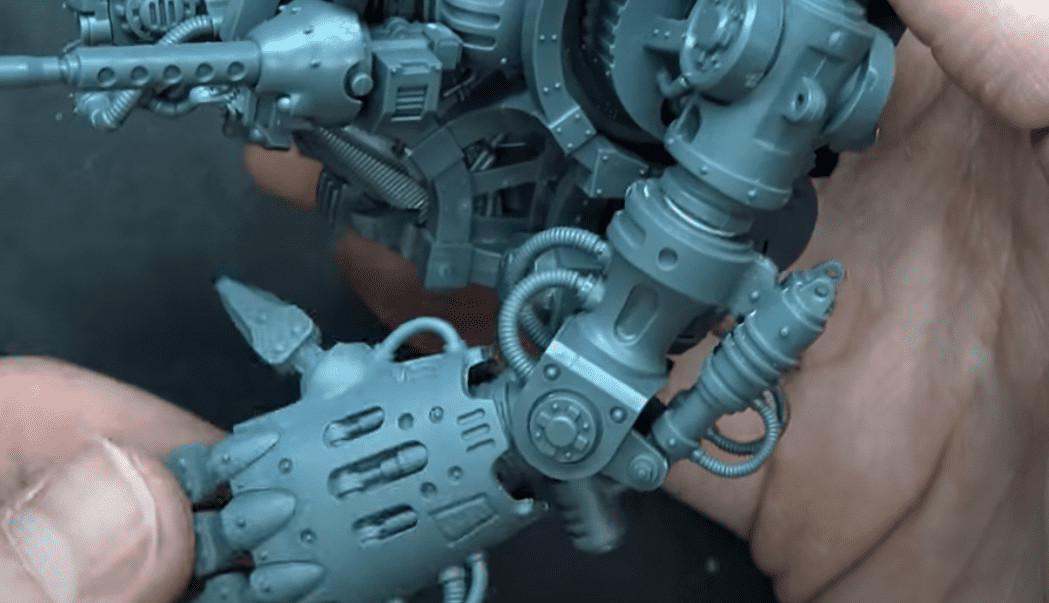
Magnetize the Knight Questoris Weapons
 Now you want to magnetize the weapons themselves (but probably not the small stuff like heavy stubbers), which also have holes built in, so you won’t need to do any drilling. Copy the polarization from the previous two 3/8 x 1/16″ magnets at the elbows and glue them into place when you’ve measured out the correct size, and get blasting with that thermal cannon!
Finished Project
 Magnetizing the weapons like this gives a ton of articulation and the ability to future-proof your minis!
Click Here To Get Your Magnets For 10% OFF With Code: Spikeybits10
Magnetizing models can initially seem challenging, but they offer numerous benefits. Not only does it make transporting your miniatures easier, but it also provides flexibility in your in-game options. Additionally, it maximizes the value of your models by allowing you to interchange components efficiently.
Where to Get Your Questoris Knights
 Snag your new Knight kit and goodies from our handpicked list of retailers, and give us a high-five in support! Every qualifying purchase helps Spikey Bits keep the lights on and the fun going.
Quick Order Links Get 15% Off or More:
Mid Atlantic US: Fabricators Forge | Bazooka Games | Frontline Gaming (West Coast US) | The Rogue Traders | Central US: Dicehead Games | Noble Knight Games | Warpfire Minis | West Coast US: Squadmarks |
Worldwide: Amazon | eBay| or | Games Workshop’s Store | UK: Element Games (UK) | Merlin’s Minis | Wayland Games | Canada: Fenris Workshop | Tista Minis | Abyss Game Store | Kingdom Titans |
You can save even more on your purchase by using our exclusive list of redeemable discount codes from some of the best hobby retailers and miniature manufacturers!
Final Thoughts on Magnetizing Knights
So there you have it—your Imperial Knight is now locked, loaded, and ready to flex its options like a tabletop Transformer. No more sweating over codex updates or dropping another hundred bucks on a new kit (just to add on that Battle Cannon).
With a few magnets, some patience, and a solid drill bit, you’ve just given your Knight the gift of modularity—and yourself a future of stress-free army tweaks.
Click Here to Get Your Knight Questoris Kit!
Have you been able to magnetize your Warhammer 40k Knight Questoris kit yet?