 Got some power weapons that aren’t looking that powered up, check out this simple guide to painting lightning on your miniatures.
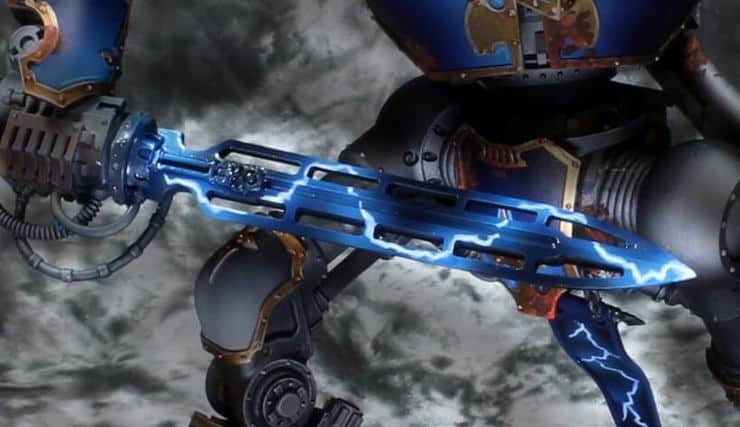
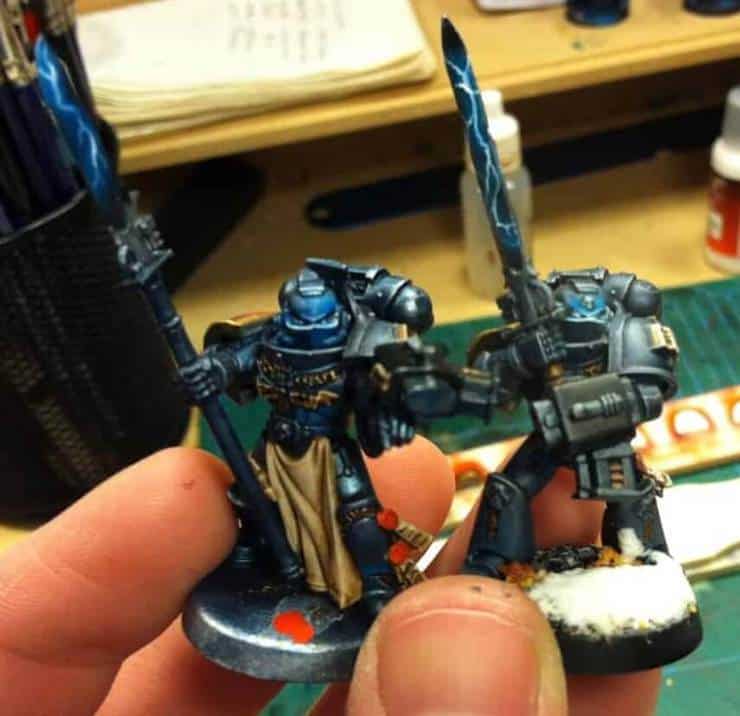
We’ll be looking at some Grey Knight power weapons here. But the key takeaway is that you can pull this off on any surface. It doesn’t even need to be a weapon! Take a look at this step-by-step process of painting lightning effects.
All you need is a fine detail brush, a few different paints, and a semi-steady hand. Access to an airbrush would help too, but it’s not necessary.
Painting Lightning on Miniatures Made Easy
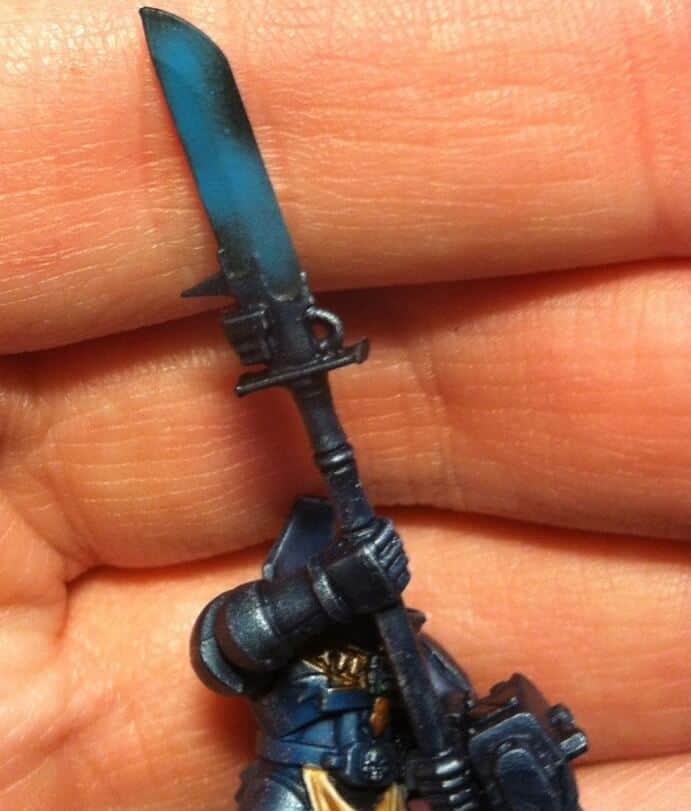 This part is pretty easy. Over a black base-coat on the weapon, make a semi-loose squiggle of a turquoise equivalent. The point is, you want to pick a subtle, soft blue and try not to cover up every bit of the blade with it. Leave a little black showing.
If you don’t have an airbrush, no worries. Just water down your paint and apply two or three coats. Just make sure each subsequent coat is dry before applying the other.
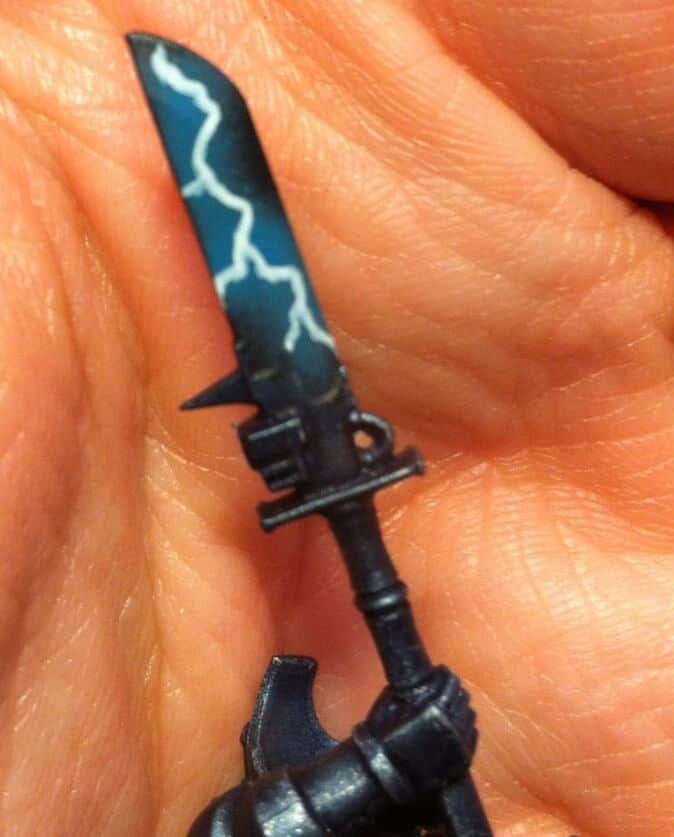 After that, take a fine detail brush and make some lightning streaks with white paint. It doesn’t really matter which white you go with. Although, the more vibrant the better. Make sure to cut the lines sharply like a bolt of lightning would look, with some shooting off to the sides of the blade.
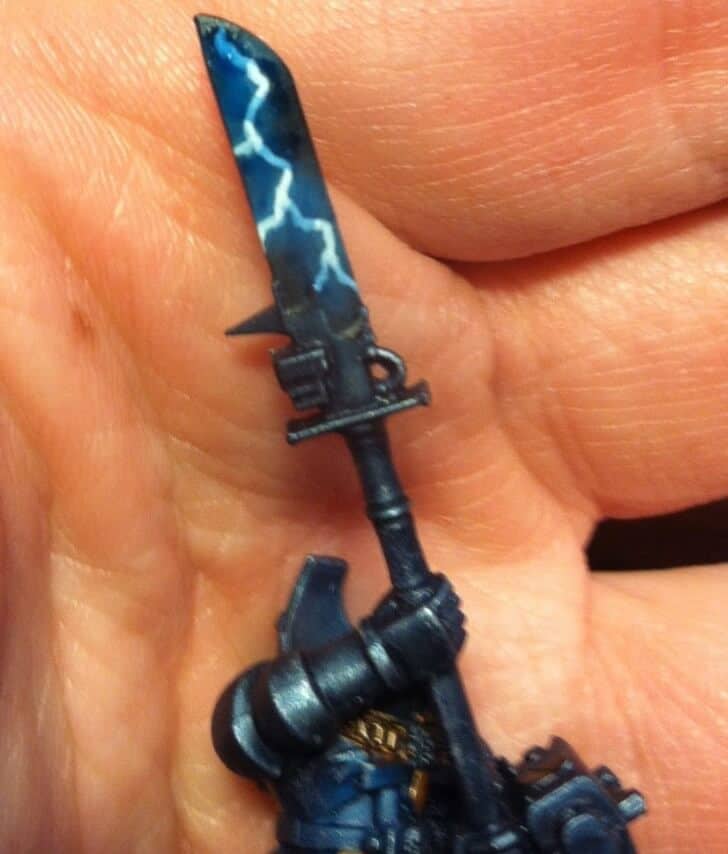 Water down some blue wash even more (the old Asurman Blue wash was used here). Then, carefully paint it around the blade avoiding the spots where the bolts of lightning came together, as well as another few random spots of white. What this does is shade the rest of the blade together, and leave a “highlight” of white where it was not painted on.
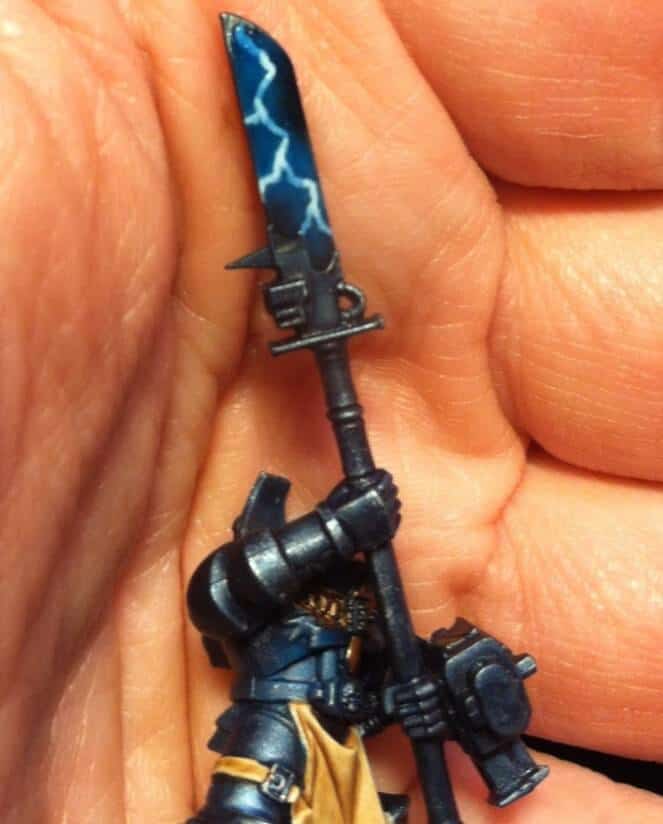 Next, you’ll want to take the same wash mix of blue you just used to coat the entire blade once everything is dry. What this does is layer down the previous coat, and shades the white left out (from above) for the first time.
If you’re happy with the results here, you can end the washing. If there happen to be some areas that seem like they need more shading you can do another coat. It really comes down to personal preference here and how flashy you like your weapons.
 All that’s left to do is after matte coating the whole model to seal your work, go back and give the blade a coat of gloss varnish. This will give the model a “true reflection” effect that you’ll be able to see when the light hits it. .
So now you’re done! Hopefully, it was easier than you might have been expecting! All it takes is a handful of paints and some practice. You don’t even NEED an airbrush to pull this level of detail off which is an added bonus for new hobbyists.
If you want to get a closer look at how to throw your paints on the model, check out our video as well.
How do you have your power weapons painted up? Do you like the crisp blue color? Or do you prefer a nice glowing green effect?
Let us know in the comments of our Facebook Hobby Group, and make sure you enter the latest monthly giveaway for FREE today!