 Chaos is upon us, and Lord Nurgle demands paint for his minions! Here are a few basic techniques for painting Death Guard Plague Marines.
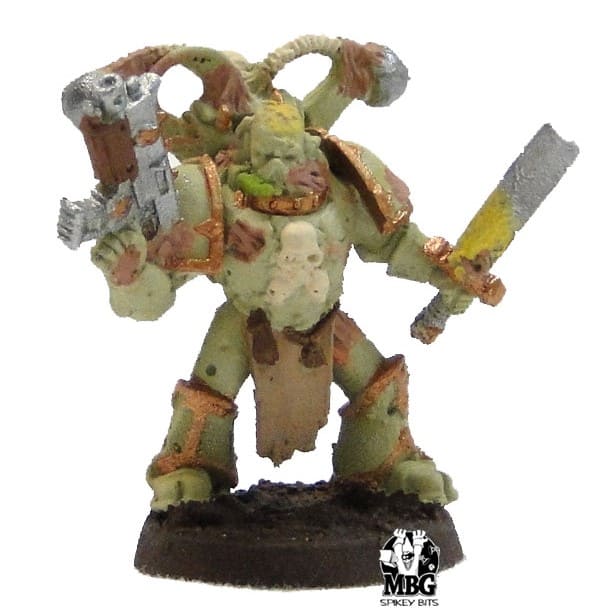
It was really simple and took about four to five hours total for each squad of ten, which I thought for the end result was great. Keep in mind they are Nurgle so there is not much “perfect” involved, messy is just fine. I’m not sure how this would look, on say, a regular Space Marine, or normal figure, but it would definitely work on say Orks, or Traitor / Renegade guardsmen.
Obviously, this focuses on the old school Plague Marine models, but will work just fine with the new ones as well! And if you have these old minis sitting around, might as well get them on the tabletop! Let’s jump into it.
5 Quick Steps To Painting Death Guard Plague Marines
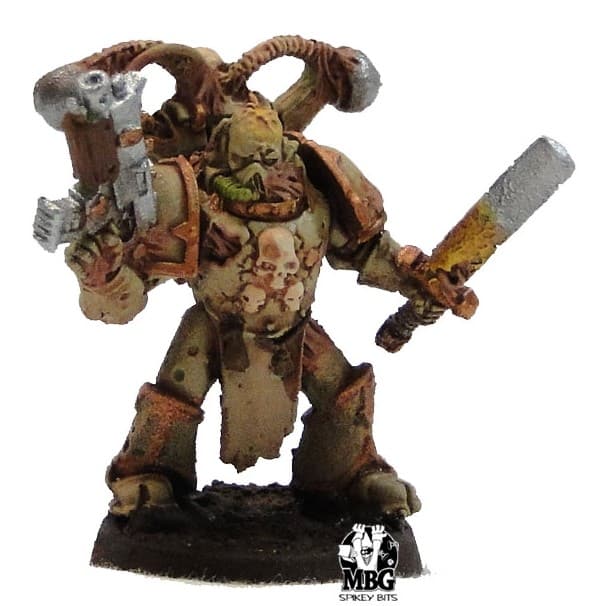
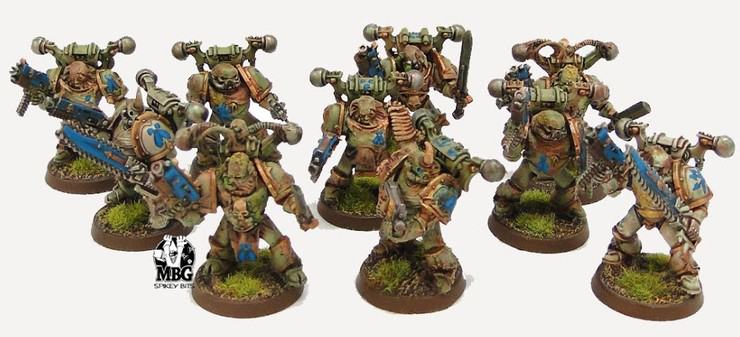 Here’s the end result we’re going for, wanted to show this first, because step one isn’t too exciting. Let’s see how to achieve it!
First Step
Start with Necrotic Flesh Primer by Army Painter, this will give a great base to work from. Remember though, when working with this line of primers you have to get closer to your models (around 8″ or so) when you spray. This prevents the primer from atomizing or picking up dust in the air, and “fuzzing” your models. I also primed about 25% of the models just plain white to get a slight natural variance to each squad, but did the rest of the details the same.
Second Step
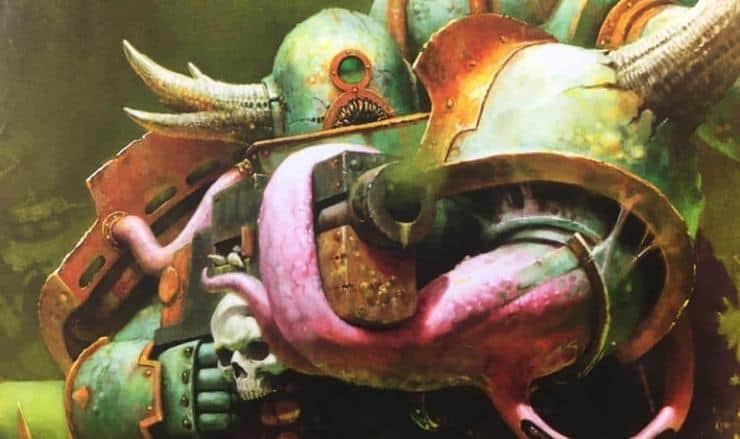
Then I base coated the model with the brightest versions of the colors I wanted so that they would show through the washes I would do later. For gold I used Auric Armour Gold, metals were Runefang Steel, fleshy areas I did Vallejo: Heavy Flesh Tone, pustules I painted Flash Gitz Yellow, and clothes/bandages I painted Ushabti Bone or Karak Stone.
Third Step
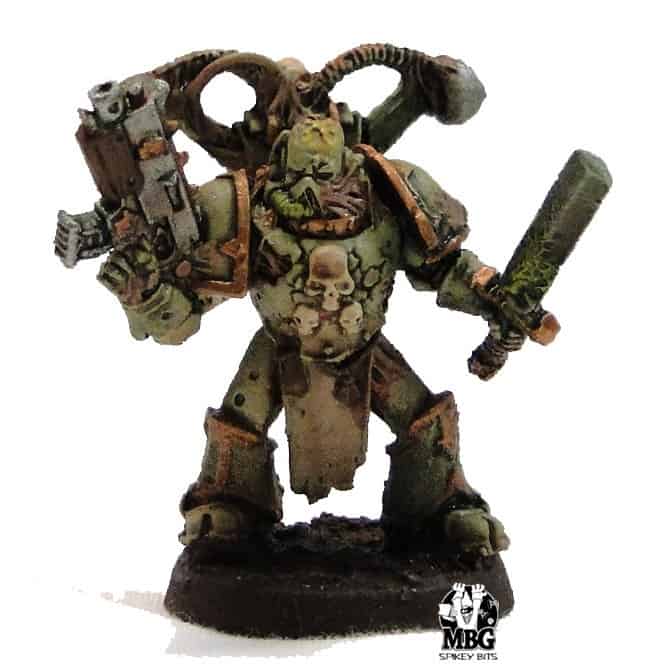
After that’s done, I did I slightly watered-down wash with GW’s Reikland Fleshshade. To apply the washes I used a straight drybrush because besides holding more wash in the bristles, the chisel actually helps to disperse the wash better on the model. Starting at the top of the model I worked my way down from the backpack to the feet.
Fourth Step
After letting that dry (I used a small tabletop fan aimed at each squad), I then applied a slightly watered down Biel Tan Greenwash to mostly the whole model but left some areas alone randomly. Next up was an Agrax Earthshade wash to the metals (and bolter stock), followed by a Seraphim Sepia / Agrax Earthshadewash to the cloth areas.
After all that I went back with a 75/25 Sotek Green/Abaddon Black mix to base coat to the weapons, as well as anywhere I wanted to make a squad mark. Next, I highlighted that with straight Sotek Green, and then with a 50/50 Sotek Green and White mix.
Fifth Step
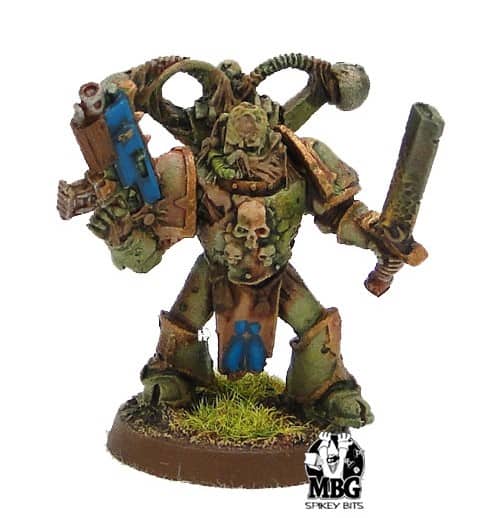
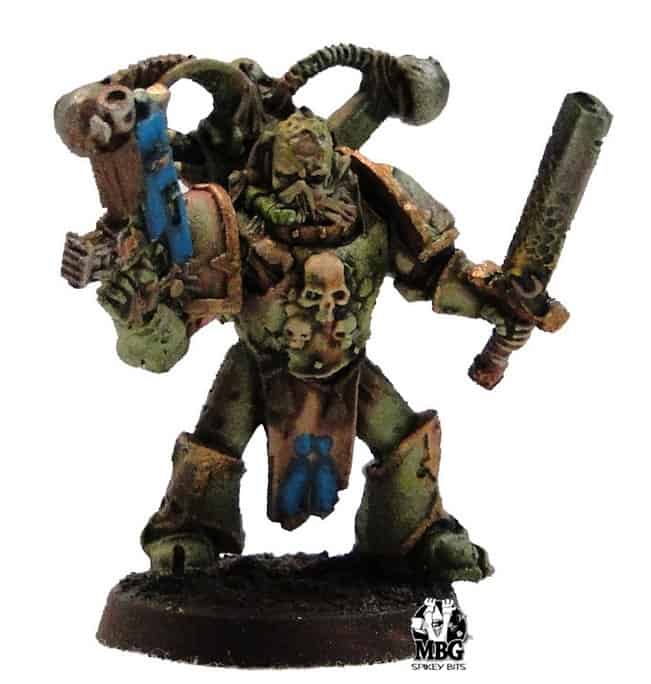
Finished Squad