 If you need some help or just ideas with your new army, check out these really great tutorials for painting Black Templars Space Marines!
All three of these tutorials are from Jack of Clubs Painting and he covers everything from armor to freehand. Even if you’ve played Templars for a long time, it’s always good to learn some new tricks!
Follow along with the video for a detailed tutorial to get these minis done fast!
Great Tips: Tutorials for Painting Black Templars
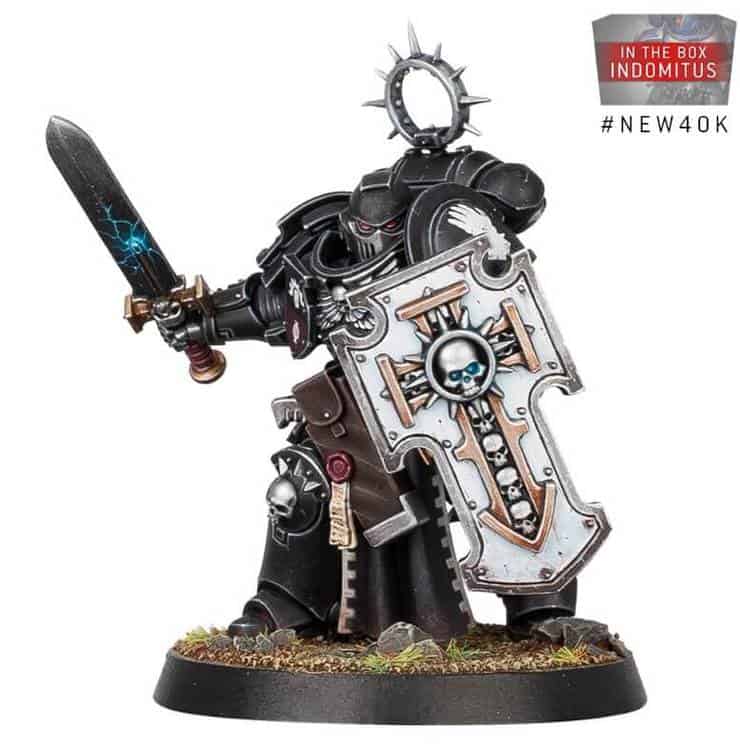
We’ll start with a great Bladeguard tutorial, but the tips inside can be used for almost any minis!
Black Templars Bladeguard Painting Tutorial
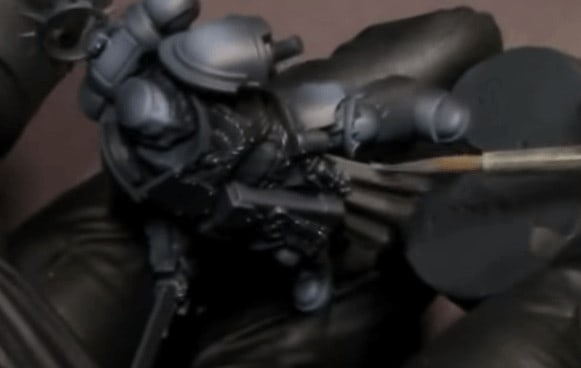
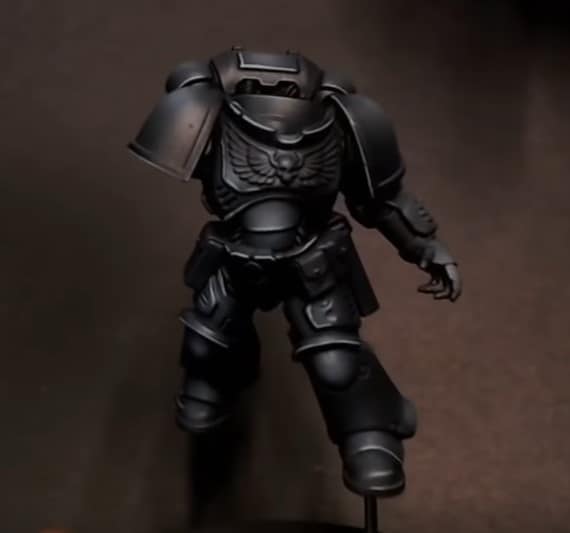
 For the initial basecoat use a black primer. Then, to give the model some depth, mix Monument Blue Black and Dark Natural Grey in a 50/50 mix. Spray the whole model to give it a light highlight everywhere. This will give the model far more depth than just a pure black primer. Then mix Monument Light Neutral Grey into the remaining airbrush mix. Just highlight where you feel appropriate here, nothing too specific. Just be sure to not use too much and take away from the feel of black Armor.
 To finish the basing, take Dark Warm Grey and highlight all the areas that we know are going to be lighter. This helps the transition from black to lighter colors. This takes some time but be patient. Next, he blocks out the shoulder pads with the Light Neutral Grey from before. Let it dry completely and then do a second coat to really cover the area.
Brush Base Coats
 Next, we move on to the red and other highlights. Start with Monument Burnt Red and cover any area that is going to be red. Then do a quick highlight of all the red areas with a very watery Monument Bold Pyrrole Red. The reason for the very watery paint is to give the cloth and highlight a very smooth look. Then use Dark Golden Brown to hit all the holsters and pouches. After that hit all the seals with a bone color or ivory paint. These are just base coats with nothing fancy going on.
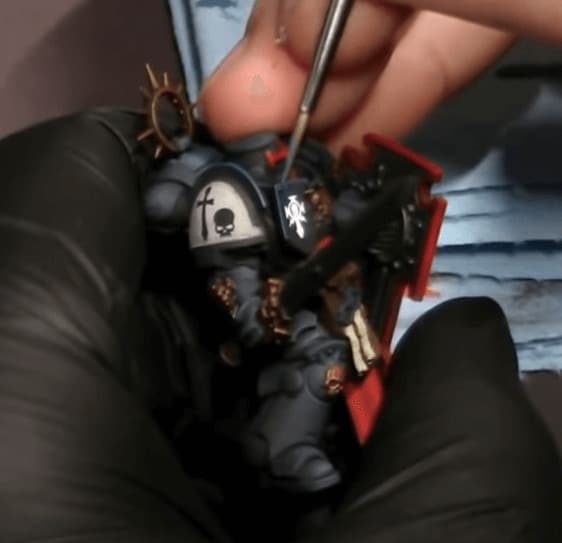
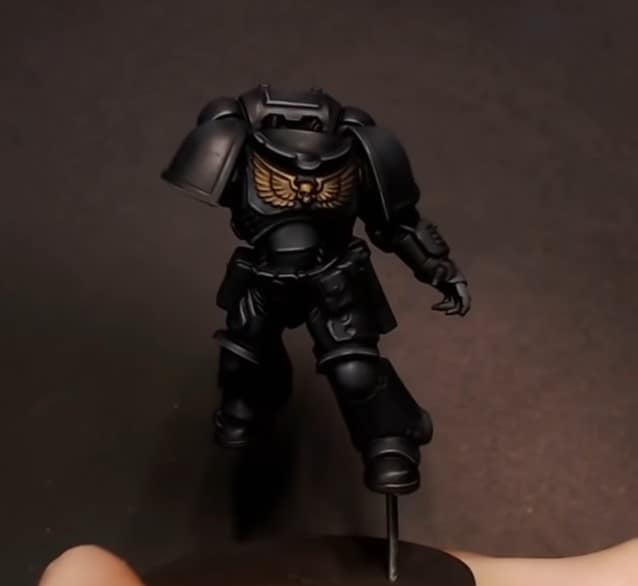
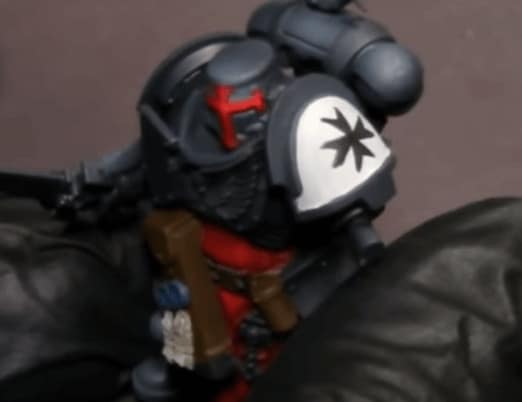 Next, he freehands the Templar logo on the shoulder pad with black. This looks hard but is really easy. He just makes three straight lines for each part of the cross, while looking at something for reference. Then when the outline looks right, he colors in the lines to complete the cross. For the other shoulder pad, he makes a small sword, but you can do anything you want here or just leave it white.
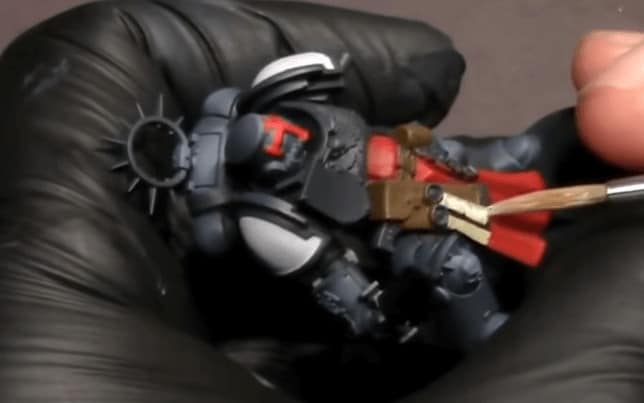
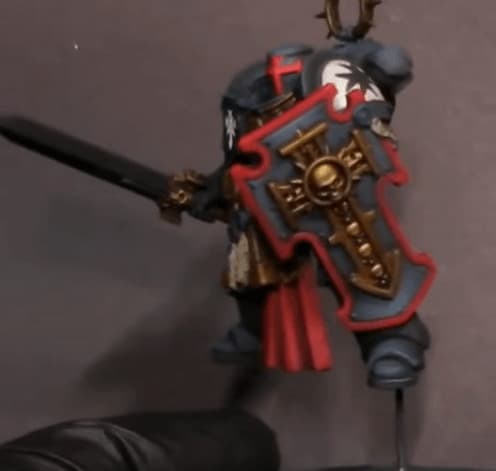
 Then, he uses Victor Gold for all the armor seals, shield parts, and the weapon hilt. Make sure you get very even and full coverage on this step. If the paint starts to get clumpy, rinse it off before moving forward. Gold can get very odd if you don’t keep your brush wet. After that has dried for half an hour minimum, he puts the Mr. Weathering Color multi black oil wash over the entire model, keeping the brush moving fast and not letting paint build up on anyone part of the model.
 Upgrade Your Redemptor for Less!
Dipping the brush more and more into the solvent it comes with as he goes on. This helps blend the oil and keeps everything from pooling in one spot.
Detail Work
 Be careful before moving on because that step can take a while to dry. Before you move on to highlighting next is a quick matt varnish over the entire model. Finally, we move on to highlights. Take the Light Natural Grey and highlight everywhere that makes sense. Like armor edges, Helmet edges, tops of the knee pads, etc…
Try to keep these lines as crisp as possible but subtle because we still want the armor to look black, not grey. But we do need the highlights as they really make marine armor pop. Last things last, do a pseudo dry brush over the entire model with very small amounts of the grey. This gives it depth. but don’t put on so much that the armor looks grey and not black.
 With that, the model is looking battle-ready and you can feast on your ten extra VP’s! If you want to learn more from Wyatt’s insight, watch the full video! And if you love his work, check out another great set of painting tips here.
How to Paint Iron Hands, Raven Guard, Or Black Templars
This one is a little more generic, but is all about painting black armor, which if you haven’t realized, the Templars have plenty of it!
Let’s take a closer look at a more realistic dark tone Primaris Marine.
 For this paint scheme, it doesn’t really matter if you’re going for Iron Hands, Raven Guard, or even Black Templars! Black power armor is the staple for all of these factions so it’ll come down to whatever flair you use to differentiate. But with the new Primaris hotness inside Indomitus, any Chapter can make good use out of the units.
We’ve got the video above for you. But if you want to read the highlights on your own time, we’ve got them pulled out for you below:
Painting the Armor
 Start by priming the model using Stynlrez Black Primer. Stynlrez sprays very easily through an airbrush and leaves a great coat on the model. Once the model is completely primed and dry, spray Somber Grey by Vallejo Game Air over the model to give the black a slightly bluish hue.
This does not need to be sprayed over the entire model, just areas where the light will hit the armor.
 Next, spray Dark Pale Blue by Vallejo Model Color onto the brightest points of the armor as spot highlights. Be careful with this as it is much brighter than the Somber Grey was. Once dry, use the Dark Pale Blue to edge highlight the armor pieces, picking out details on the hard edges of the armor.
 Now, make the joints pop against the black armor, using Scale 75 Black Metal instead of a straight black, this gives the model a slight sheen. The metallic paint will allow the joints to stand out a bit against the dark armor. This allows for some great color separation. Use Scale 75 Black Gold to hit up the chest’s winged insignia. Finally, wash the entire model with Army Painter Dark Tone plus Quickshade Mixing Medium, but don’t let the wash pool to prevent “coffee staining”. Once it’s dry, the body is done!
Painting the Helmet
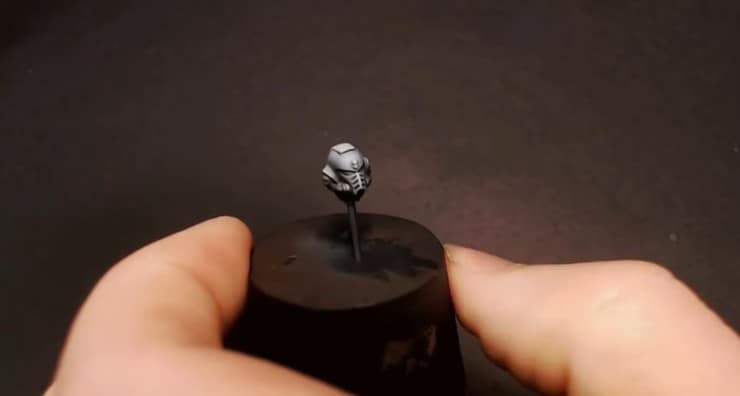
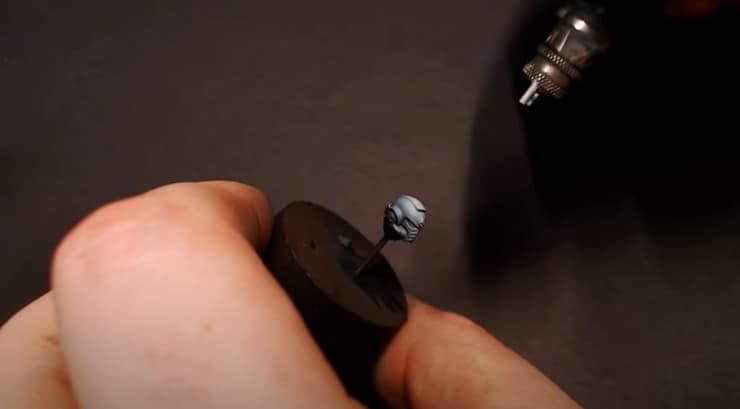 Directly over the same black primer, you used on the model, you’ll want to use Dark Pale Blue from Vallejo and cover the entire bit.
Upgrade Your Impulsor for Less!
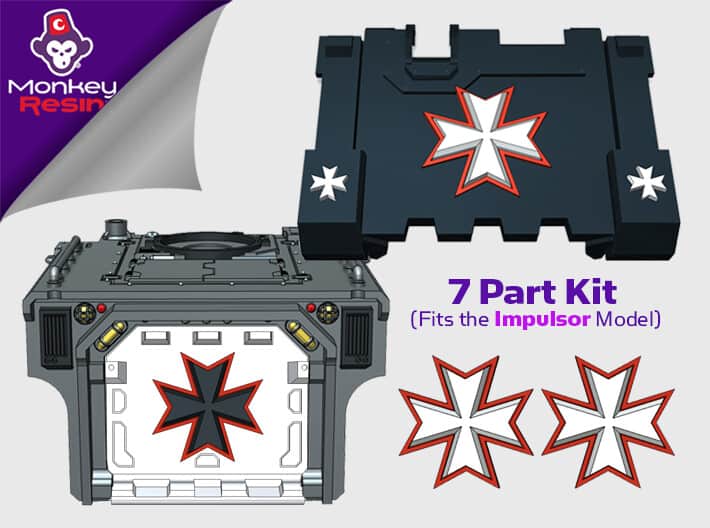 Upgrade Your Impulsor for Less!
Next, get some airbrush white Stynlrez primer and do a top-down spray on the helmet to create that lighting effect.
 Once the primer is dry, you’ll want to use that same primer and put a couple of drops onto your palette. Take a manual brush and edge highlight the hard surfaces with the same color.
 Finally, take the wash that you used on the model and apply it to the helmet. Make sure you watch for pooling in the flat areas like the top of the helmet. Prop the helmet up so that the wash pools at the bottom recesses of the helmet as well. Once that’s dry, you can glue it onto the model and fill out any other details you want to capture!
It might seem like quite a few steps for just a single model but once you get into the rhythm of things, you can assembly line this pretty easily.
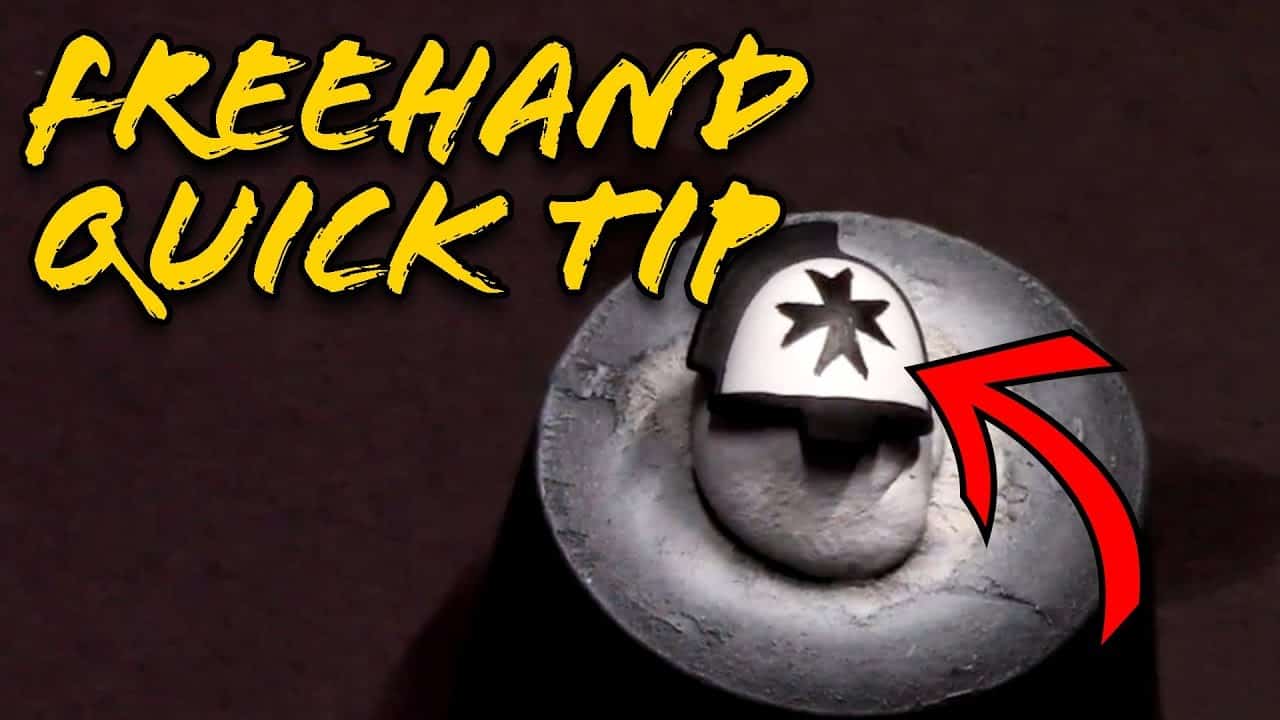
Black Templars Freehand Guide
Freehand painting may sound like a daunting task if you are a new painter, but this tutorial will show you how easy it can be. All it takes is a little extra focus to make sure things look nice and neat. A little planning will help your freehand painting look great on your minis, so pay attention to learn the best way to freehand!
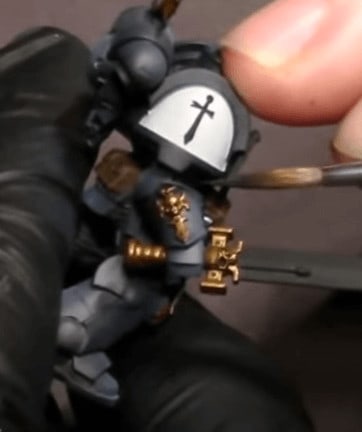
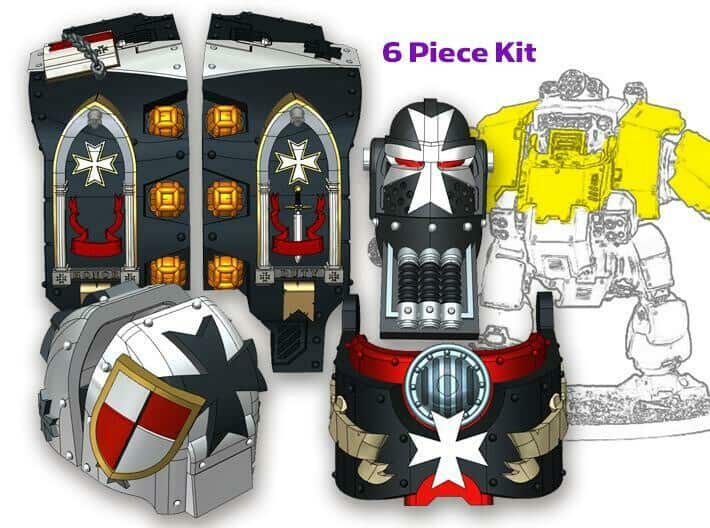
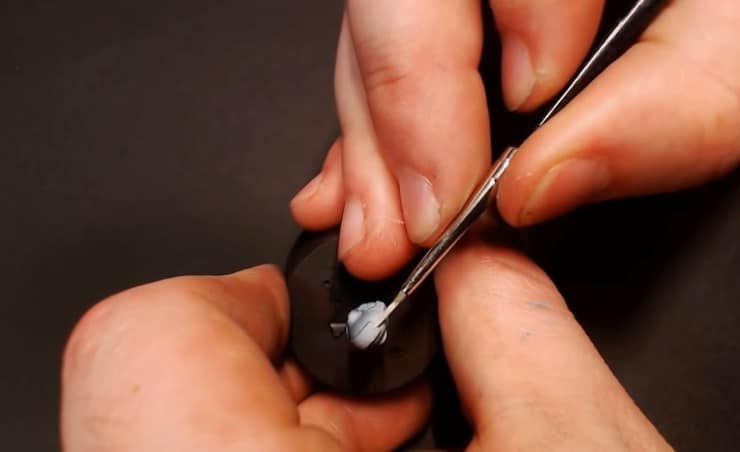
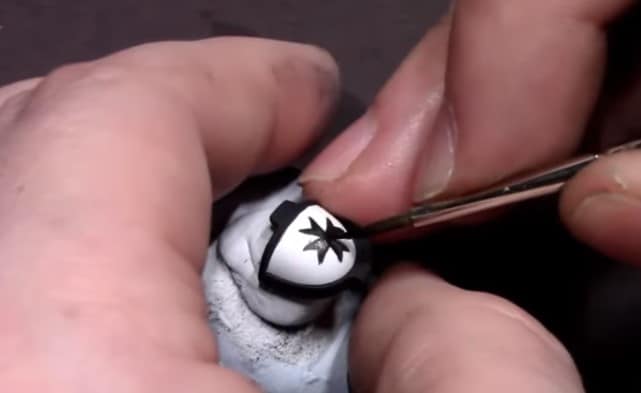
 To start things off, paint up a shoulder pad in the traditional Black Templar colors. Pro Acryl Dark Neutral Grey and Pro Acryl Coal Black are used to paint on the freehand symbol. Using the grey, start tracing out the symbol with a small dot in the center of the shoulder pad. This will help you create a grid of sorts to represent the points of the Templar star.
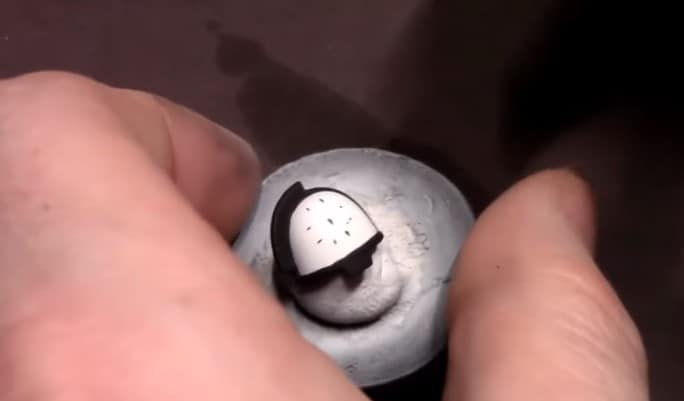
Your tracing doesn’t have to be perfect since we are just creating a guideline for our symbol. Now we are ready to connect the dots! Always trace your lines through the center point, creating small X’s. Make your grid work, connect the dots, and make triangle shapes for your points.
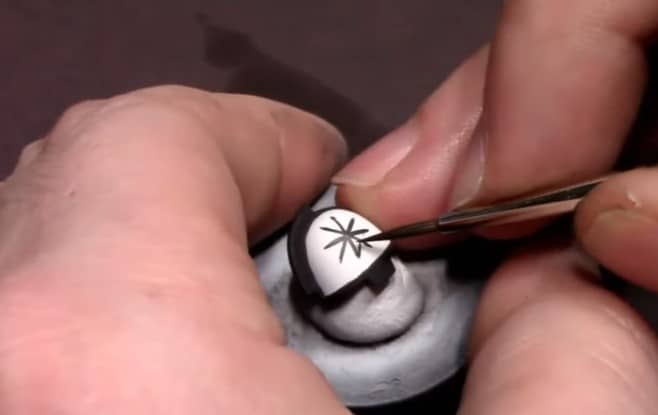
 Next, create a small triangle inside your X’s at a 45-90 degree angle. After you have finished your grid works and triangles, you can fill in your symbol with paint. Then after filling in your symbol with the Dark Neutral Grey, use the Coal Black. This will help you neaten up your paint lines.
Finishing it Off
 If you get any of your Coal Black on the white portion of your shoulder pad, use some Stynl Rez Primer to fill in your mistakes. There you have it! Freehand painting is not as scary once you have a plan to trace and design your own freehand symbols. Hopefully, these help you get your Templars army done!
Follow along with the latest from Jack of Clubs on YouTube or LIVE on Twitch four nights a week!
Follow Jack of Clubs Painting Here
Are you excited about painting up your new minis? Which of the tutorials was the most helpful?
Let us know in the comments of our Facebook Hobby Group, or our new Discord server, and make sure you enter the latest monthly giveaway for FREE today!
Get ad-free access to our vidoes, a monthly drop of miniatures, and support some of the best creators out there for as little as $6 a month on Patreon!

This post contains affiliate links, as an Amazon Associate Spikey Bits earns from qualifying purchases.