 Here’s how to magnetize Knight Armiger and future-proof your miniatures from rules changes in an easy-to-follow tutorial!
Looking to customize your Armiger with 3D parts but still want the option of switching out weapons? Want to future-proof the Armiger for more weapons that may come out? Take a look at this easy tutorial on how to magnetize the Armiger!
Magnetizing the Armiger is great to have options when more weapon options come out, future-proofing them and making them more customizable. This can be done in a few easy steps.
How to Magnetize a Knight Armiger: Tutorial
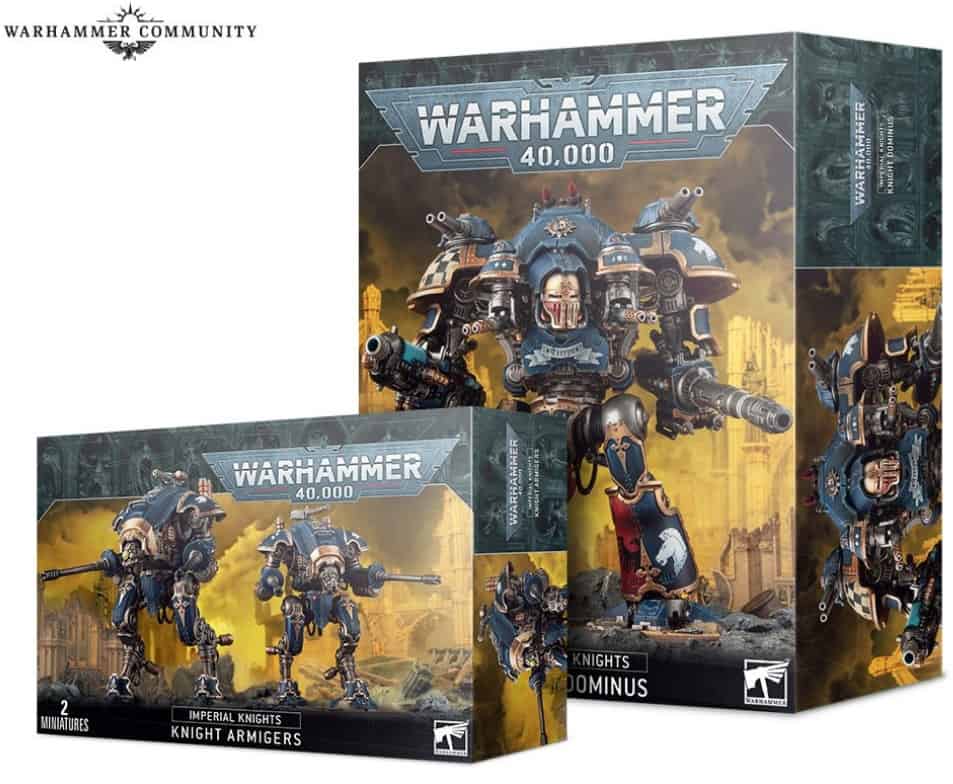
Click here to get yours for less from these retailers: | Amazon | Dicehead Games | Frontline Gaming | Bazooka Games |

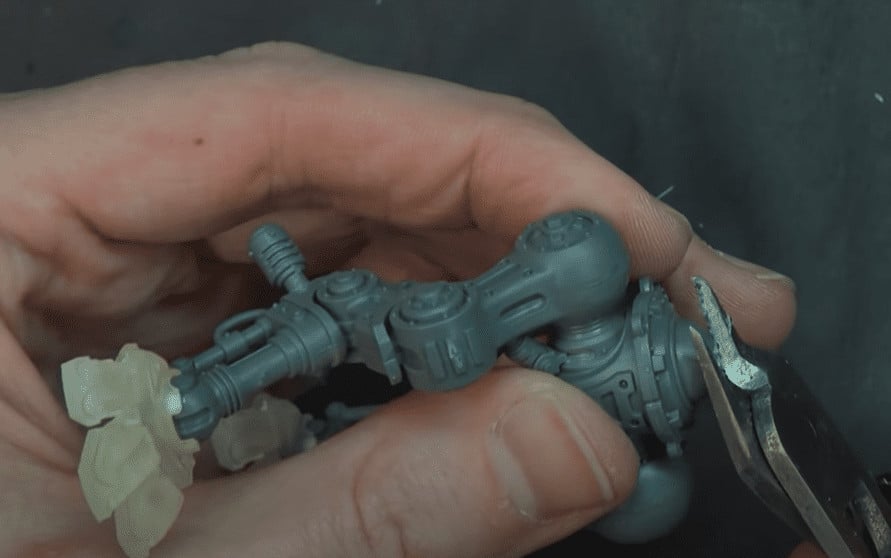
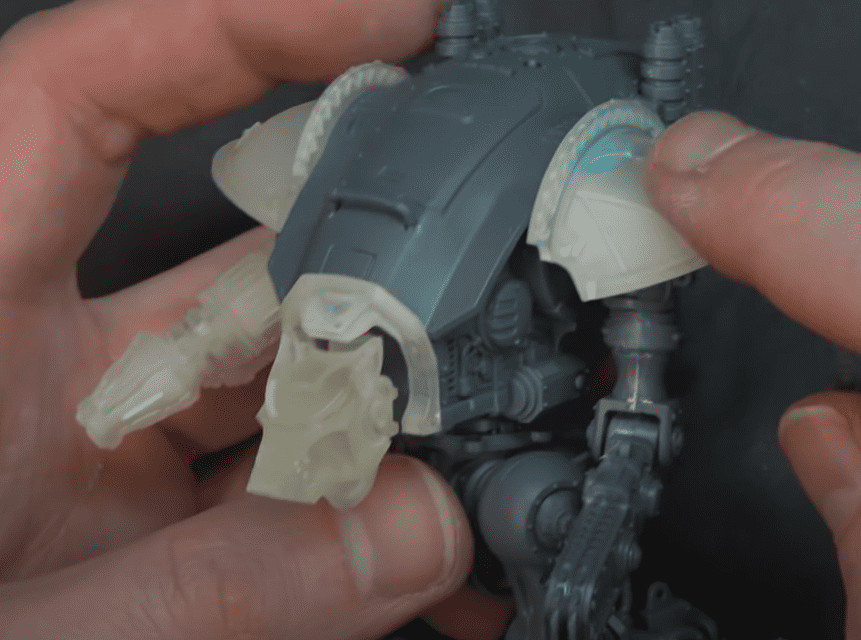
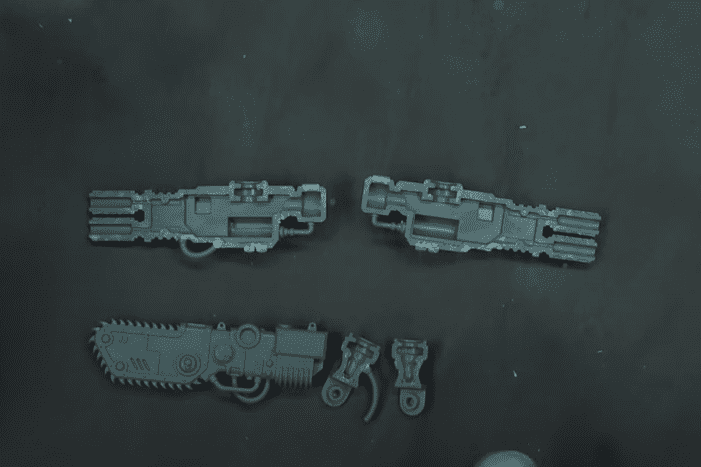 To prepare for magnetizing, get the pre-assembly done with weapons, chassis, arms, and carapace weapons. Like you can see above.
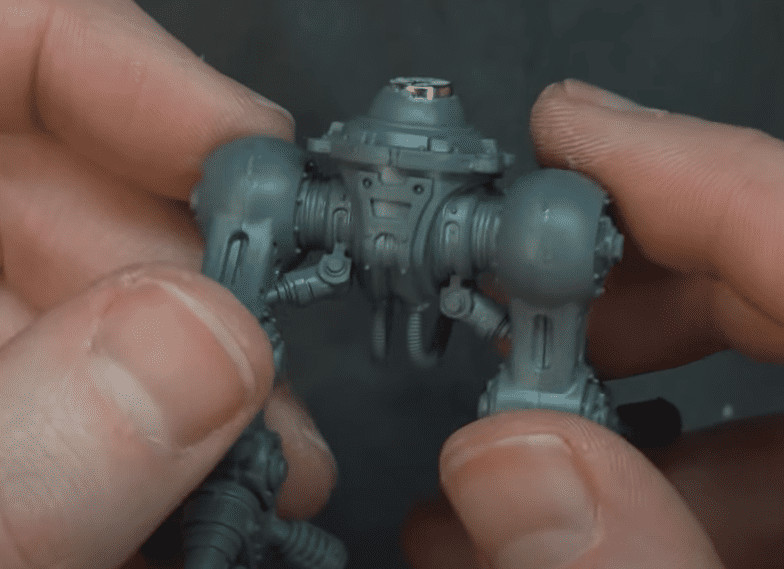
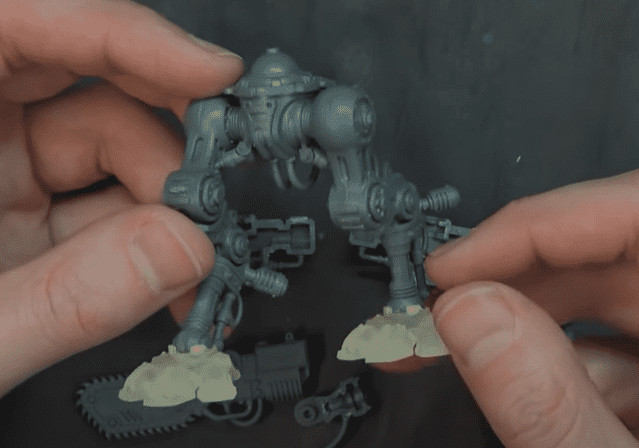 You’ll also want to assemble the legs first. In this example, Rob has some 3D parts on there, but that’s not very important for the magnetizing process.
Magnetizing the Torso
 We get all our magnets for hobbying from The Magnet Baron. Use coupon code Spikey10off to get 10% off your next order with them!
The torso will be magnetized to the legs, so it can swivel and let you make Pew Pew Pew noises! To do this and get the idea of where to put the magnet, get the torso flush on the legs and mark the top with a Sharpie.
Next, score the marks and snip the excess off the top so the magnet can stay flush (like Rob is doing in the picture above). Since there is a pilot hole already (thanks to the mold), drilling will be fairly easy.
If you are using a power drill, go slowly. 1/4″ x 1/16″ magnets are used to magnetize the legs.
 In order to give the magnet support, put a small piece of extra sprue down in the cavity. As you can see, Rob is just using an old sprue.
 Then all you have to do is glue it in place, and you’re ready for the top piece.
 A 3/8″ magnet will be glued into the torso, with plastic putty put around the larger magnet inside here to create extra support for the magnets.
Magnetizing Arms
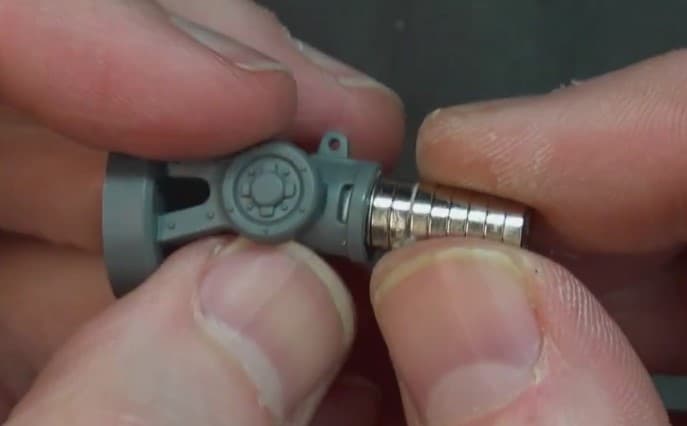 To get the arms magnetized, the arm joints need to be trimmed down to give the magnet a good spot to rest. Drill a hole once again very slowly until you have the depth you need for the 1/4″ magnet. To make magnetizing easier, use the stack of magnets to insert into the hole easily, then remove once the glue is dry enough to hold.
When the stack successfully spins, the stack can be safely removed! Do this for both sides.
Magnetizing the Weapons
 For the weapons, you want to dry fit where the magnet will go. On the gun, the socket is the perfect size to hold the magnet itself. Before gluing the magnet, be sure to check the polarity against the arm that will be holding it. Once that is good, glue it down and let it dry!
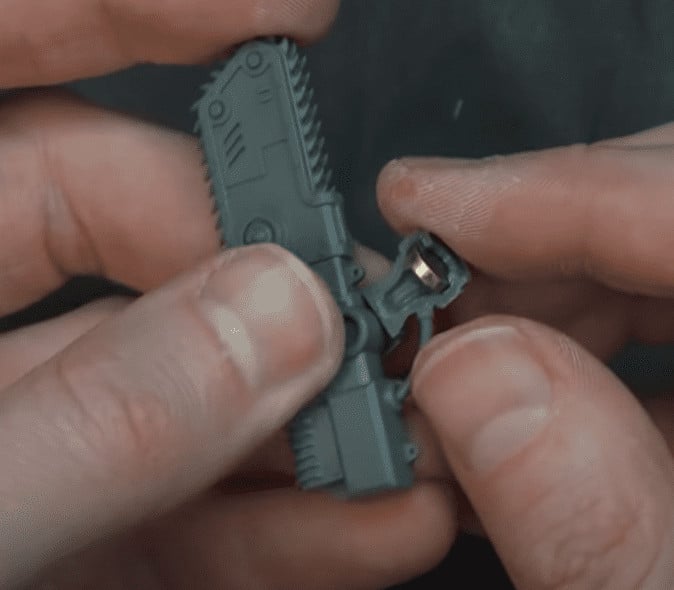 For the chain weapon, use a 1/8″ x 1/16″ magnet, and glue it into the socket of the chain weapon as well as on the support arm. This will keep the range of movement and allow weapons to be switched out if for that particular arm.
 Overall, magnetizing can be fairly easy, especially on the Armiger. Making sure all magnets have support structures and are secured is important to keep interfacing easy and allow switching out. The top carapace weapons slot in, so magnetizing them is optional. Be sure to see the entire process by pressing play on the video below!
Get Your Magnets Here 10% OFF Use Code Spikeybits10
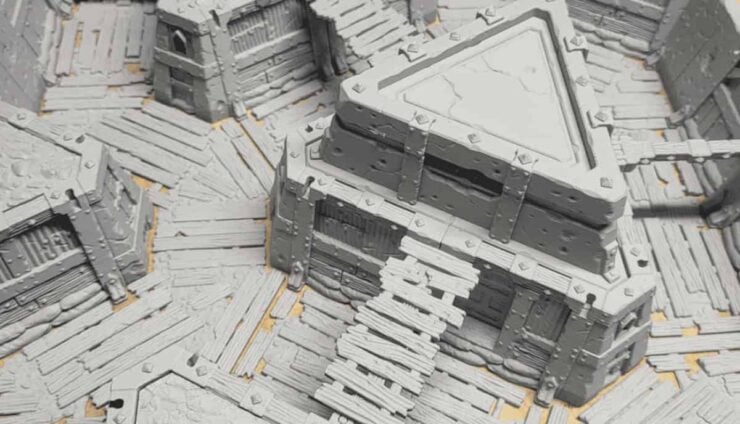
Check out Iron Wolf Miniatures as well for your 3D-printed Armiger and Knight bits.
Armiger Magnetization Tutorial Parts List:
- Two 1/4″x 1/8″ (6.35mm dia) for each arm/weapon interface
- One of the same goes in the hips and a 3/8″ in the torso.
- CCW is two 1/8″x 1/16″ deep.
Click Here to Get Your Knight Armiger Kit!
Have you tried magnetizing your Warhammer 40k Knight Armigers yet?
Let us know in the comments of our Facebook Hobby Group, or our new Discord server, and make sure you enter the latest monthly giveaway for FREE today!
Get ad-free access to our hobby videos, a monthly drop of miniatures, and support some of the best creators out there for as little as $6 a month on Patreon!

This post contains affiliate links, as an Amazon and eBay Associate Spikey Bits earns from qualifying purchases.