 Painting Imperial Guard Regiments doesn’t have to be hard; learn with this excellent how-to tutorial from Peachy and the Painting Phase.
Peachy has recently joined the Painting Phase and started making excellent YouTube tutorials! They also have a really cool Patreon, so if you want to show some extra support and get great rewards, go check that out here!
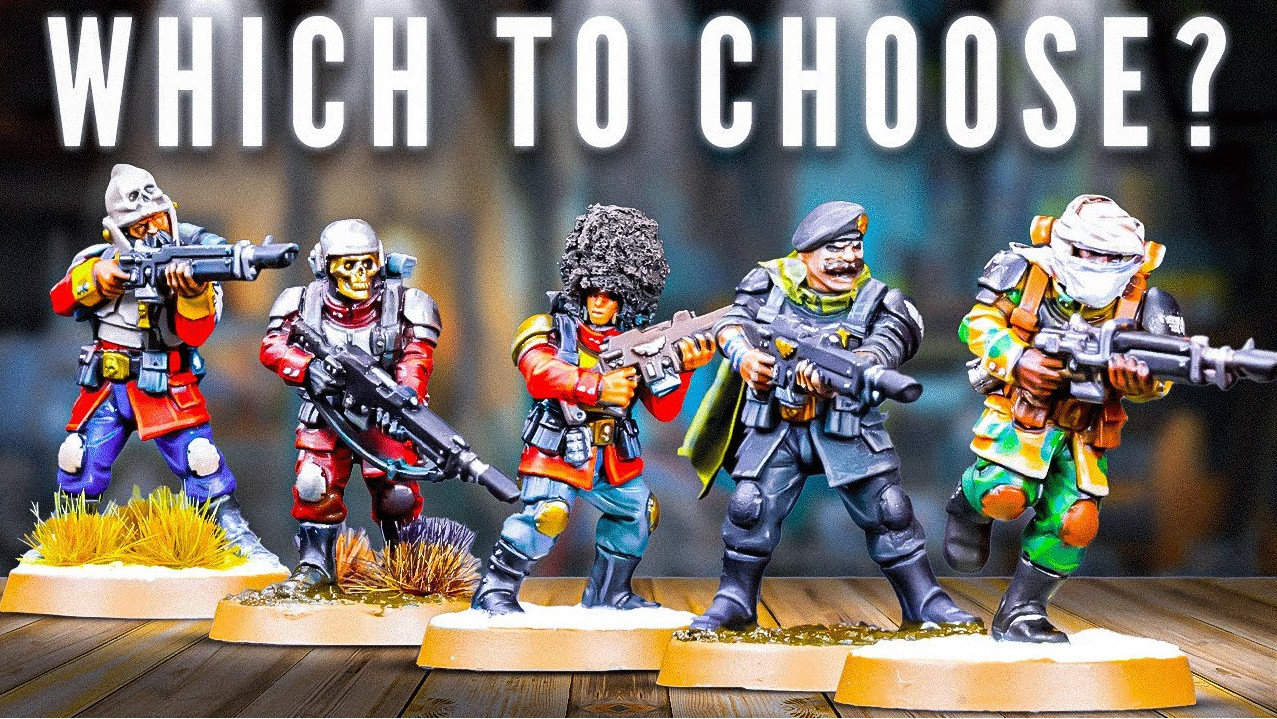
They will break this into two parts, so today, we’ll cover how to paint the second five regiments; if you want to see the first five, you can check that out here!
Painting Imperial Guard Regiments: Peachy Painting Tutorial Pt. 2
 Considering we’re going over so many models, this will be a quick how-to, but it will get your minis ready for the tabletop!
Style 6- Tanith
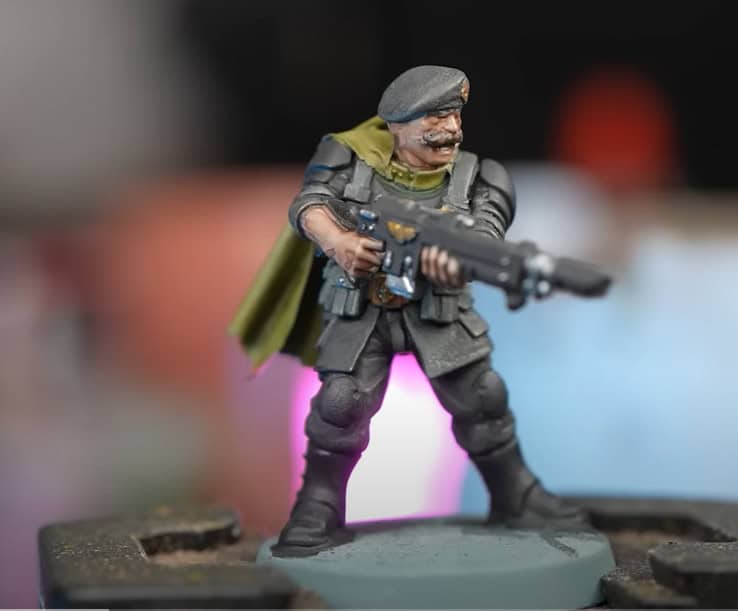 He starts with a Rakrath Flesh drybrush over the whole thing to bring out the details and then washes everything but the cloak with a watered-down Black Legion wash. Then slowly builds to a full Black Legion wash.
Next, he picks the gold out with AK Bronze and AK Oily Steel for all the silver. The first color on the cloak is Deathworld Forrest, then a lighter coat of Plaguebearer Flesh. He returns to Rakarth Flesh for the skin and paints the hair with Cygor Brown. Then just a quick wash of Guilliman Flesh on the skin.
Now, it’s ready for the tabletop, but just be sure to base it first, but you can always take it a step further!
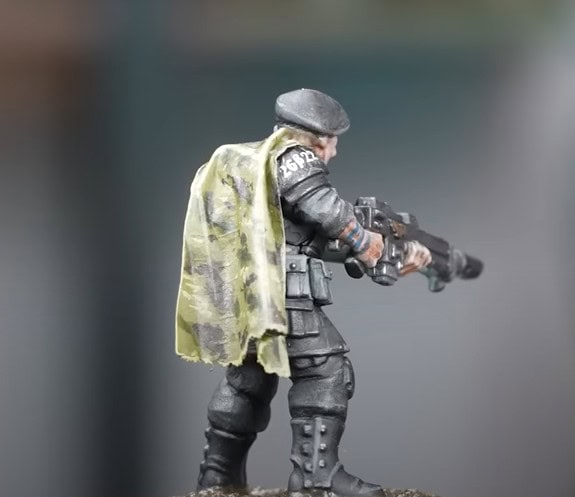 For the camo on the cloak, he does some little splashes of Militarum Green and then does another with Cygor Brown. To finish off the cloaks, he does little spots of Ogryn Camo and an edge highlight with it.
To differentiate the black, he does some edge highlighting with Stormvermin Fur. Next up, he relayers up the skin with Rakarth Flesh and, finally, does the iconic tattoos with Stormfiend.
Style 7- Blood Pact
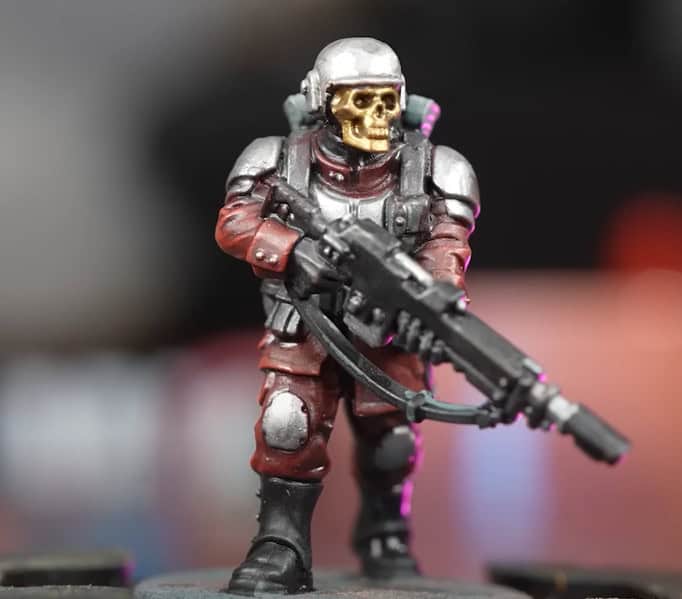 Now, we’re going to the chaos side of things, but they fight more like Imperial Guard so that you could use the rules! He starts with a gray undercoat and then does a Rakrath Flesh drybrush over the whole thing to bring out the details.
Then he paints the cloth with Flesh Tearers Red and gently drybrushes over the cloth with Wild Rider Red. For the silver, he uses Oily Steel; for the gold, he uses Bronze; for any black details, he uses Black Legion. He then does a Nuln Oil Wash over all the details he just painted.
Now, it’s ready for the tabletop, but just be sure to base it first, but you can always take it a step further!
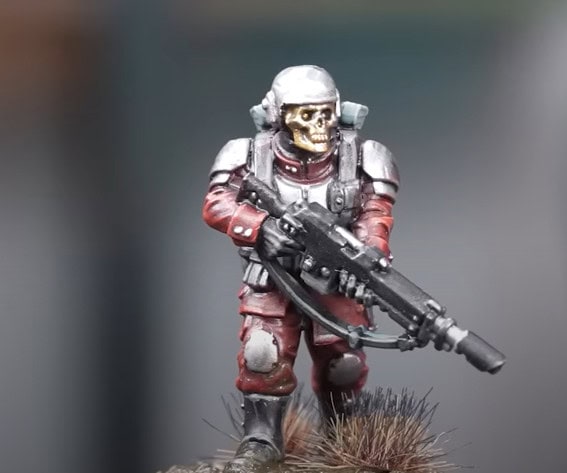 He starts by highlighting Wild Rider Red on the cloth. He does some edge highlighting with Stormvermin Fur for any leather pouches or black details. To keep the gold from being too bright, he does some minor highlighting with the Oily Steel.
Style 8- Tallarn
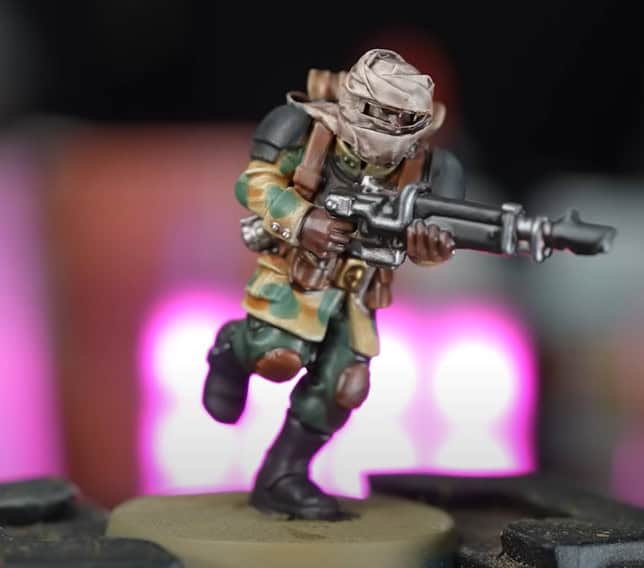 He starts with a beige primer and then drybrushes that with Screaming Skull and finishes it with a wash of Seraphim Sepia all over. For the pants, he uses WAAAGH! Flesh and also does the camo with this. For the pouches, he uses Mournfang Brown and then AK Rock Grey for the scarf.
For the silver, he uses Oily Steel; for the gold, he uses Bronze; for any black details, he uses Black Legion. For the skin, he does a couple of coats with Bloodreaver Flesh and finally washes the whole model with Targor Rageshade.
Now, it’s ready for the tabletop, but just be sure to base it first, but you can always take it a step further!
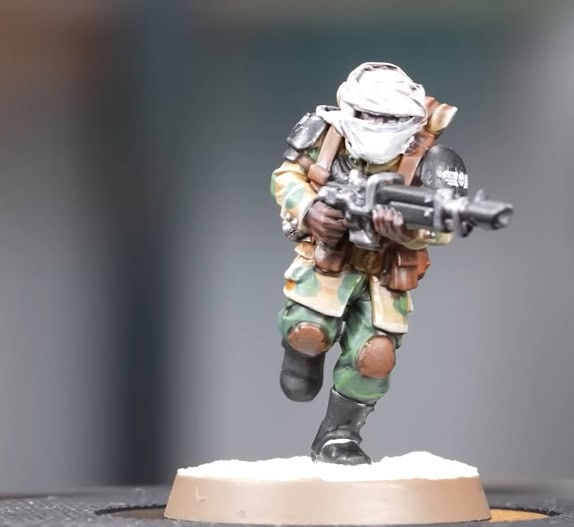 First, he tidies up the paints with WAAAGH! Flesh then does a little drop in the center of the camo pattern with Medium Olive Green. He then goes back and hits the leather with Mournfang Brown and highlights the cloth with Screaming Skull.
Finally, he chips the armor with Oily Steel.
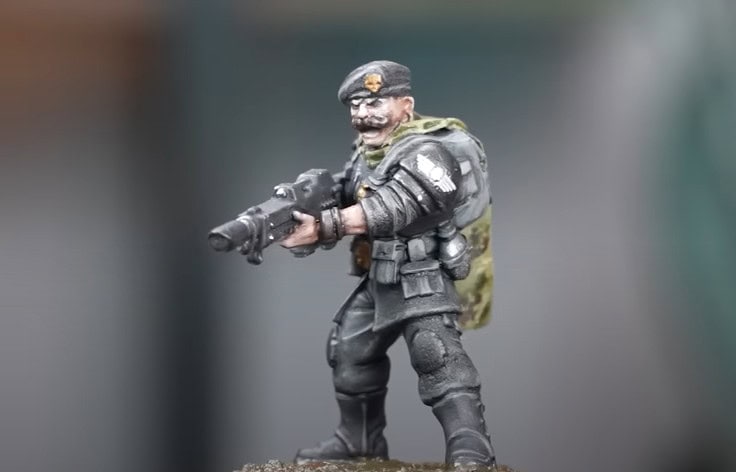
Style 9- Praetorian Guard
 He starts with a gray undercoat and hits all the cloth with Mephiston Red. For the paints, he basecoats with Kantor Blue and paints the armor with Rakarth Flesh. For the collars and cuffs, he uses Averland Sunset. For the silver, he uses Oily Steel; for the gold, he uses Bronze; for any black details, he uses Black Legion.
Next up, he applied a Nuln Oil wash to everything we just painted. The skin is painted with Guilliman Flesh. Now, it’s ready for the tabletop, but just be sure to base it first, but you can always take it a step further!
 First up, he tidies up the tunic with Mephiston Red and highlights it with Wild Rider Red. He highlights the pants with Alaitoc Blue and cleans up the yellow with Averland Sunset. He does some edge highlighting with Stormvermin Fur for any leather pouches or black details.
To clean up the armor, he goes back with some Rakarth Flesh and finally does some battle damage on the armor with Rock Grey.
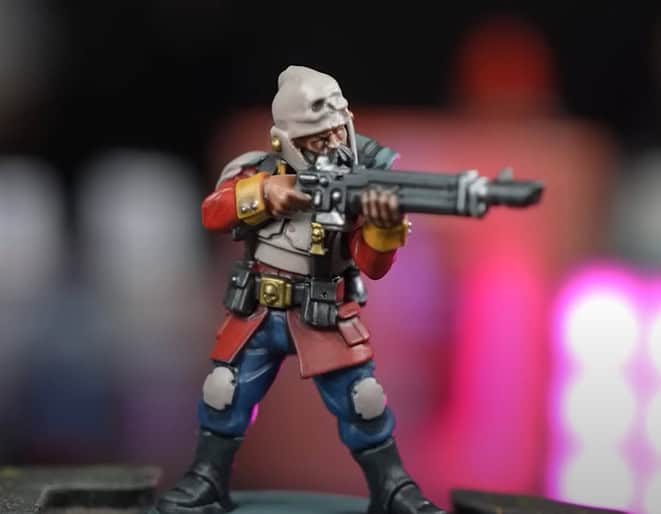
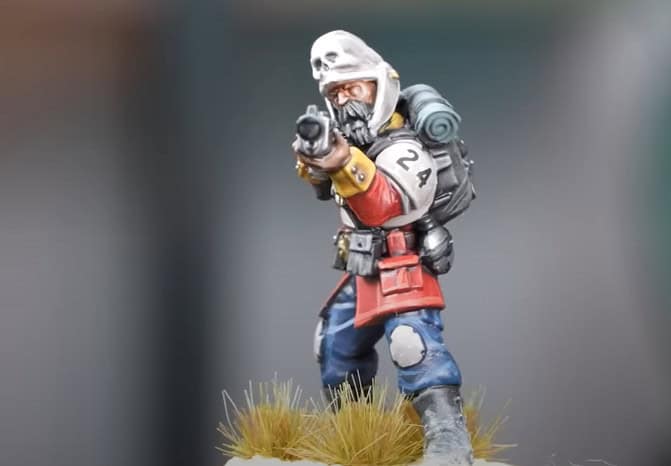
Style 10- Vostroyan First Born
 He starts with a gray undercoat and hits all the tunics with Vermillion from AK. For the silver, he uses Oily Steel; for the gold, he uses Bronze; for any black details, he uses Black Legion. For the wooden gun casing, he uses Catachan Flesh and also drybrushes the bearskin helmet with it.
Next up, he applied a Nuln Oil wash to everything we just painted. He paints the skin with Cadian Fleshtone and coats that with Guilliman Flesh. Now, it’s ready for the tabletop, but just be sure to base it first, but you can always take it a step further!
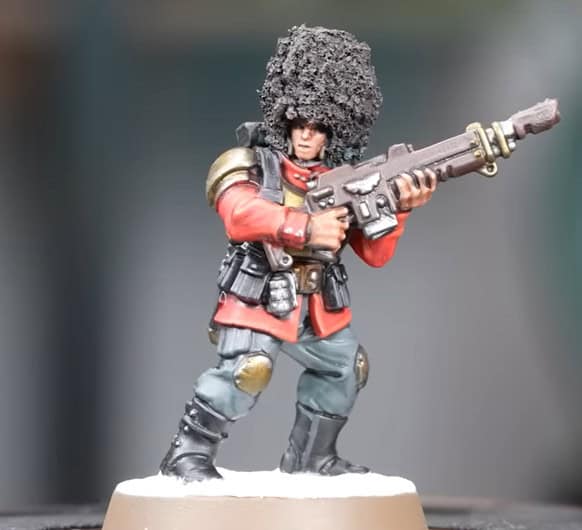 First up, he tidies up the tunic with Vermillion from AK and highlights it with Wild Rider Red. He then cleans up the pants with Mechanicus Standard Grey, which saves you from highlighting.
He does some edge highlighting with Stormvermin Fur for any leather pouches or black details. He highlights any brown with Gorthor Brown and cleans up the skin with Cadian Flesh. To keep the gold from being too bright, he does some small highlighting with the Oily Steel.
There you have it, a super easy way to paint more Imperial Guard regiments. Check out the video below for all the details!
Click Here To Follow Painting Phase on Patreon or YouTube
What do you think of this how to paint Imperial Guard Regiments tutorial by Peachy and the Painting Phase?
Let us know in the comments of our Facebook Hobby Group, or our new Discord server, and make sure you enter the latest monthly giveaway for FREE today!
Get ad-free access to our videos, a monthly crate of miniatures, and support some of the best creators out there for as little as $6 a month on Patreon!

This post contains affiliate links, as an Amazon Associate Spikey Bits earns from qualifying purchases.