When youre priming miniatures, mistakes cost time and detail; follow these simple steps for using spray primer in any weather or humidity without ruining your model.
Nothing ruins a miniature faster than a bad primer job. One second, you’re holding a perfectly sculpted model, and the next, it looks like it got caught in a sandstorm. Blotchy, rough, or uneven primer can turn crisp details into a texture nightmare, making painting a frustrating mess.
The good news? It’s easy to avoid—if you know what you’re doing. A few simple tweaks to your spray technique, timing, and weather awareness can mean the difference between a smooth coat of primer and a ruined model. Whether it’s humidity throwing off your results or just a heavy hand with the can, this guide will help you nail the perfect primer coat every time.
Mastering the Art of Rattle Can Priming:
So, you’ve got your miniatures prepped, assembled, and ready for paint. But before you go wild with your favorite colors, there’s one crucial step that sets the stage for everything that follows—priming. Get this part right, and you’ll be off to a great start. Get it wrong, and your beautifully sculpted model might end up looking like it took a bath in cake frosting.
Let’s talk about using spray primer for miniatures, often called rattle cans, to get a smooth, even base coat. We’ll also go over a simple way to add a highlight effect before you even break out a brush.
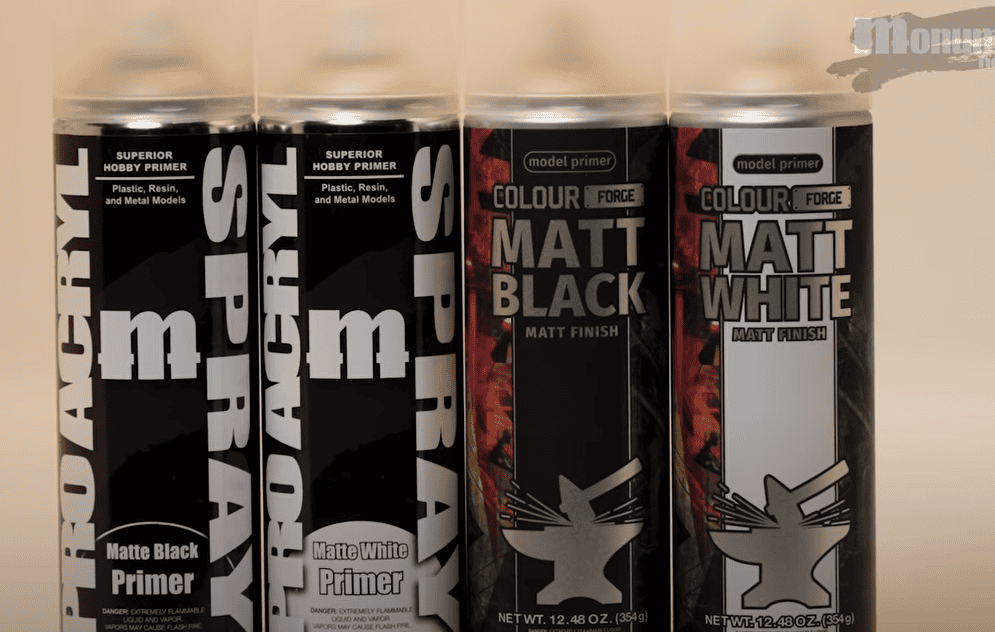
Get Your Primer From Monument!
The sprays used in the video are from Monument Hobbies. Snag yours from them and give us a high-five in support! Every qualifying purchase helps Spikey Bits keep the lights on and the fun going.
Be sure to get 5% off on your purchase by using promo code: Spikeybits
The Key to a Smooth Coat
 Rattle cans are fast, convenient, and—when used correctly—deliver an even, professional-looking finish. But there’s a trick to getting it right. You don’t just point and spray like you’re hosing down a car, and temperature and humidity do play a role.
The secret? Short, controlled bursts. Hold the can about 8 to 10 inches away from the model. Closer than that, and you risk pooling and ugly drips. Too far, and the paint can dry before it even reaches the surface, leaving you with a speckled mess.
Start each spray off the model. Press the nozzle while aimed away, then sweep the can smoothly across the miniature before letting go of the button. This keeps the application even and prevents sudden bursts of excess paint from ruining fine details.
Think of it like mowing a lawn—overlap each pass slightly so there aren’t any bare spots. Keep the can moving, don’t rush, and don’t go back and forth over the same area repeatedly. Less is more. A light coat is always better than drowning the model in a layer of primer.
Taking It to the Next Level with Zenithal Priming
 If you want your highlights to pop right from the start, zenithal priming is a fantastic trick (and great for speed painting, aka Slapchop). It’s easier than it sounds and makes a world of difference in how your final paint job turns out.
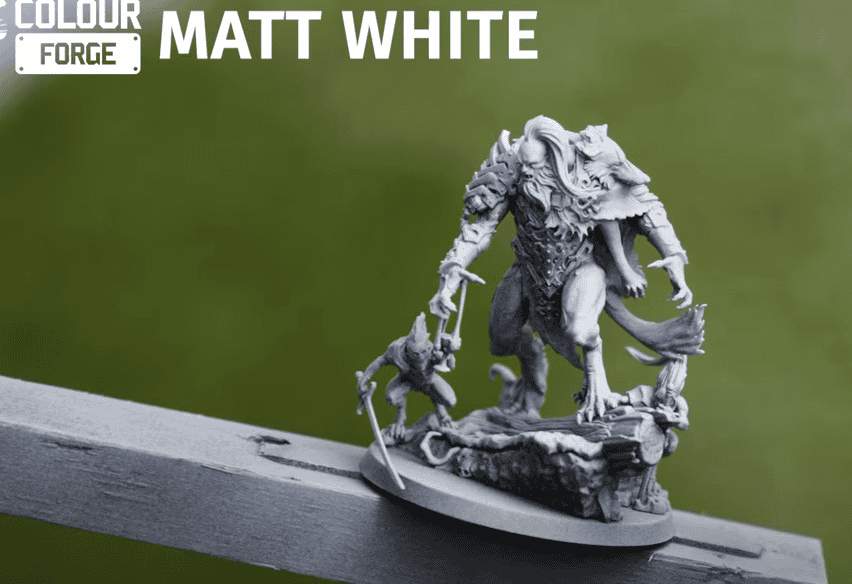
Start with a black primer as your base. Once it’s dry, grab a lighter color—usually white or a light gray. Instead of hitting the model from every angle, imagine the light source is coming from above.
Hold the spray can at an angle, usually around the 10:00 or 2:00 position, and apply quick passes from that direction only. This creates natural highlights on the raised areas while keeping shadows intact.
 For an extra touch, rotate the model to the opposite side and hit it lightly with the white again, but with even fewer passes. You’re looking for just enough contrast to keep the model from looking too flat. The goal isn’t to turn it into a two-tone statue but to give yourself a natural guide for later acrylic painting.
Why It’s Worth the Effort
 At this point, you might be wondering if all this extra work is necessary. Can’t you just slap some paint on and call it a day? Technically, sure. But if you’ve ever struggled with getting smooth blends, controlling contrast, or figuring out where shadows should fall, this little extra step makes life much easier.
When you start painting over a pre-highlighted surface, your colors will naturally look more vibrant and have built-in shading. You won’t be fighting against a solid black base, and the details will stand out better.
On top of that, using a rattle can correctly means avoiding unwanted textures if you’ve ever primed a model only to find it looking like sandpaper, which usually comes down to spraying too far away or in bad conditions.
Too high humidity for priming miniatures, cold weather, or a clogged nozzle can ruin your day fast. A smooth primer coat sets the foundation for everything that follows, so getting it right is worth the effort.
FAQS About Priming
 How long after priming can you paint miniatures?

Give it about an hour, just to be safe. Most spray primers dry to the touch in 15-30 minutes, but if you rush in too soon, you might end up smudging or lifting the primer. If it’s humid, wait longer if you’re impatient (like most of us), at least do a quick touch test before breaking out the brush on primers. You can also try spraying out of your house into another controlled but easily ventilated area, like a basement or garage, to control humid environments.
How long to wait after priming miniatures?
An hour is a good rule of thumb, but if the weather is working against you—like high humidity or cold temperatures—you might need more time. If the surface feels dry and doesn’t feel tacky, you’re good to go. Just don’t start painting too soon, or you’ll regret it when the paint pulls up mid-brushstroke.
How to wash miniatures before priming
Grab a bowl of warm water, add a little dish soap, and give your miniatures a good scrub with a soft toothbrush. This gets rid of oils, mold release, and whatever mystery grime is clinging to them. Rinse well, let them dry completely, and you’re set.
Skipping this step might leave you with paint that doesn’t want to stick—so it’s worth the extra few minutes.
A Few Final Tips

- Shake the can well before use. This isn’t optional—half-mixed primer leads to a patchy mess.
- Avoid priming in extreme temperatures or high humidity. Spray paint doesn’t behave well in bad weather.
- Don’t rush drying time. Give your primer at least an hour before moving on to painting (we recommend “overnight”).
- If you accidentally go too heavy, let it dry and lightly sand problem areas with fine-grit sandpaper. Or you can also strip your model.
Priming isn’t the most exciting part of the hobby, but it’s one of the most important. Get it right, and your paint job will thank you. Mess it up, and you’ll be fighting an uphill battle the whole way through. A little patience, the right technique, and a few short bursts of paint can make all the difference.
Grab Your Primer From Monument Hobbies Here!