Your go-to 40k Kill Team Rules breakdown packed with tactics, examples, and advice to help you win more missions and make smarter plays.
If you’re returning to Warhammer 40k’s Kill Team after some time away, a lot has changed since the 2021 release, and catching up can feel like navigating a labyrinth. Fear not!
That’s why this 40k Kill Team Core Rules Survival Guide exists: to give you the tactics, examples, and straight-up advice you need to win more missions and outthink the opposition.
From smart positioning to clutch activations, we’ll break down what actually matters on the tabletop so you can make sharper plays and stop feeding the casualty pile. Ready to play smarter and hit harder?
Kill Team World Championships Errata: What You Need to Know
Updated October 23rd, 2025, by Rob Baer with the latest rules and links.
 Games Workshop just dropped a chunky batch of Kill Team errata ahead of the World Championships of Warhammer, and these updates are already stirring up plenty of table talk. Technically, they were sent out early to align with the event, but the good news is they’ll be match-play legal soon, so you might as well start running them now and get ahead of the curve.
Big Rules Tweaks and Tactical Shifts
 Some of these changes may look small on paper, but they’re going to reshape the meta in big ways. The Smoke Grenade Action now tones down Piercing 2 weapons inside a smoke area, making those close-quarters firefights a little less lethal. That’s a subtle but meaningful shift for teams that rely on Piercing stacks to chew through cover.
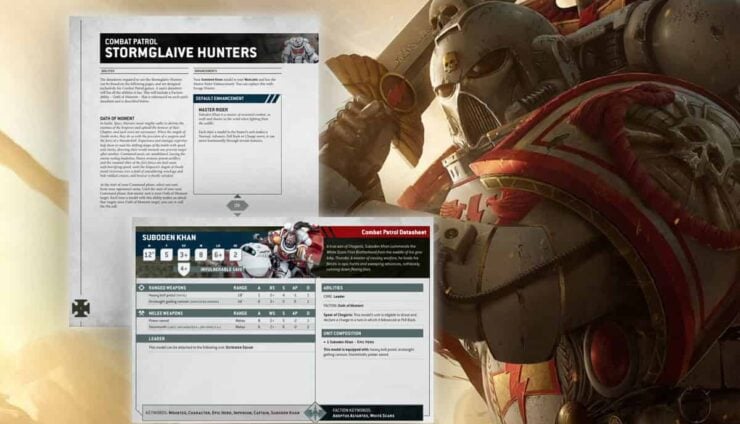
Space Marines got a few new tools in their war chest, including a more flexible Heroic Leader rule that gives Captains extra tactical punch. Between free firefight ploys, bonus Doctrine uses, and zero-CP Adjust Doctrine plays, Angels of Death players are going to feel a lot more like battlefield commanders than bystanders.
On top of that, tweaks to Chapter Tactics like Hardy, Sharpshooter, and Siege Specialist give Marines a distinct edge in resilience and ranged precision.
Kill Team Meta Highlights
 The Blades of Khaine picked up a buff that makes Howling Banshees even scarier in melee, while Hearthkyn Salvagers got a little tankier with new defensive and damage-reduction options. Over in the shadows, Hand of the Archon operatives can now swing twice in a single activation, perfect for when you need to clear an objective fast.
Even Void-Dancer Troupes and Scout Squads saw smart tweaks that make their mobility and reliability shine.
40k Kill Team Core Rules & Rulebook Essentials
At the heart of every match are the kill team core rules, the secret sauce that makes every activation feel like a tactical puzzle instead of a dice-chucking brawl. Every move, shot, and charge runs off these mechanics, turning a handful of models into a miniature war movie.
You’ll juggle positioning, timing, and risk with the precision of a commander trying to outsmart fate. It’s fast, brutal, and surprisingly strategic once you realize every inch counts. Before you start plotting your first ambush or lining up that perfect overwatch shot, grab these four essentials:
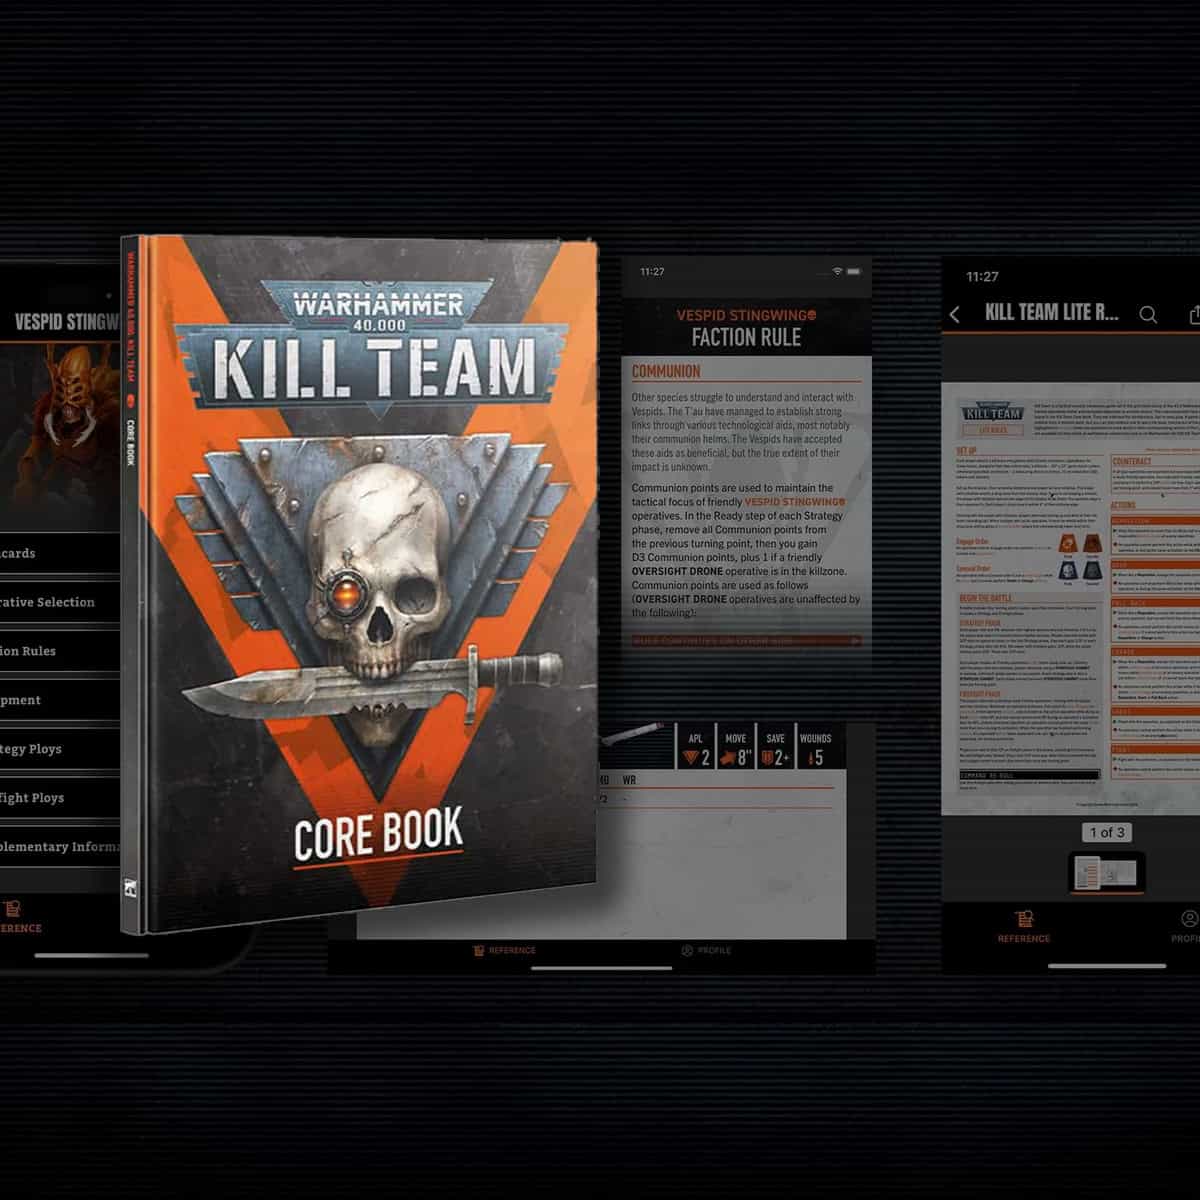
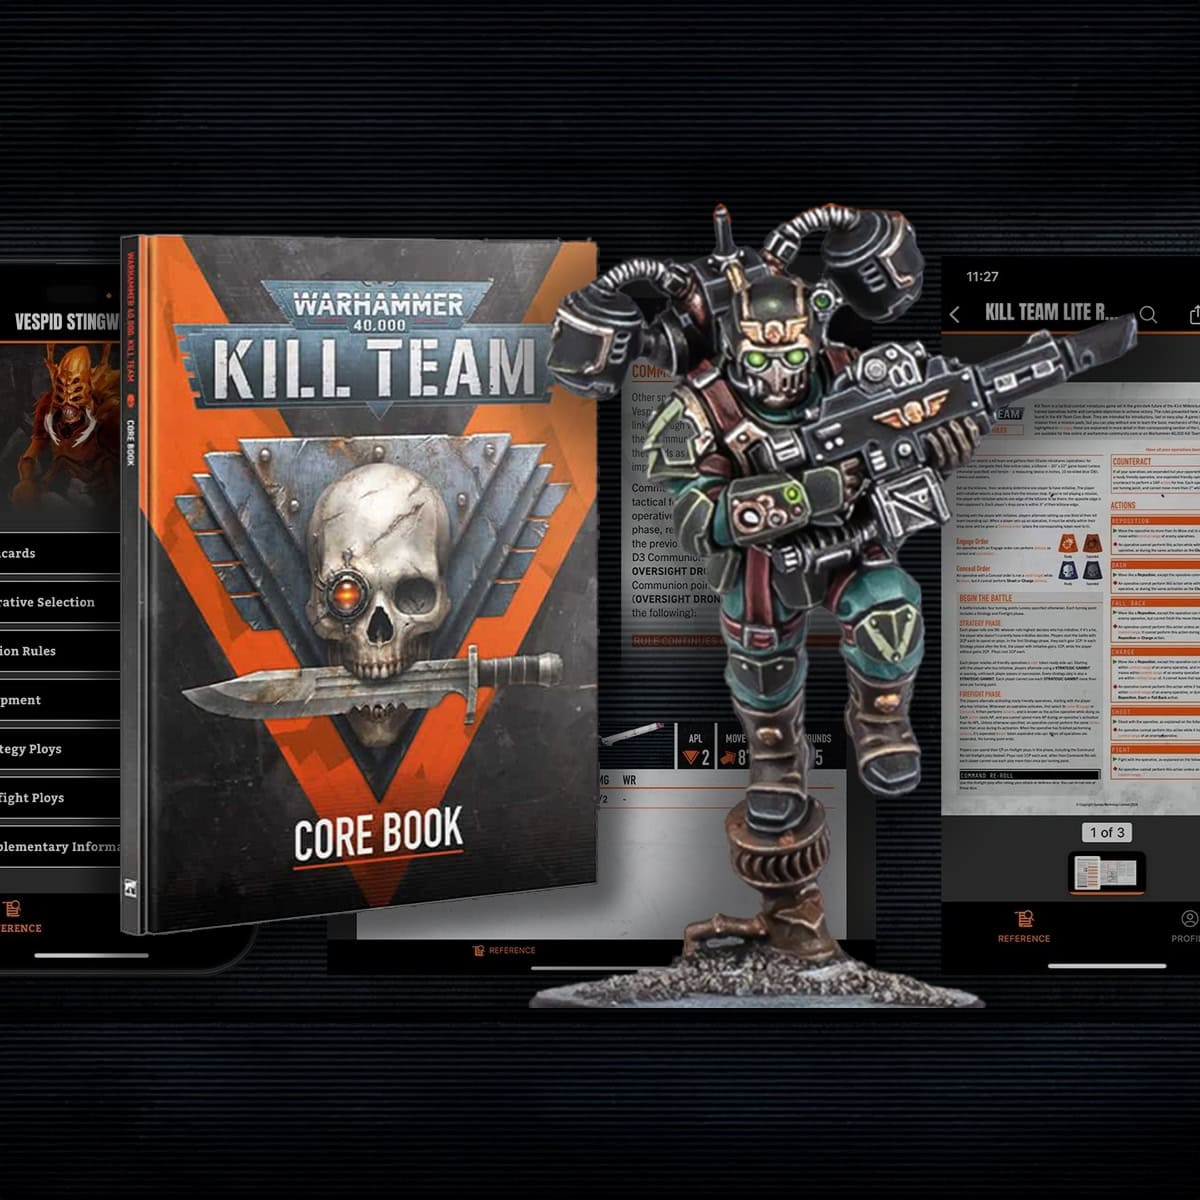
- Kill Team Core Rules Lite PDF – the quick-start guide for learning flow.
- Kill Team Rulebook – the full rules for advanced play and timing.
- Kill Team Compendium PDF – faction data, ploys, and equipment.
- Current FAQs and Errata – the patch notes that keep your games current.
If you’re new, start with the Lite rules PDF. Once you’ve got the hang of alternating activations, step up to the full book for deeper play.
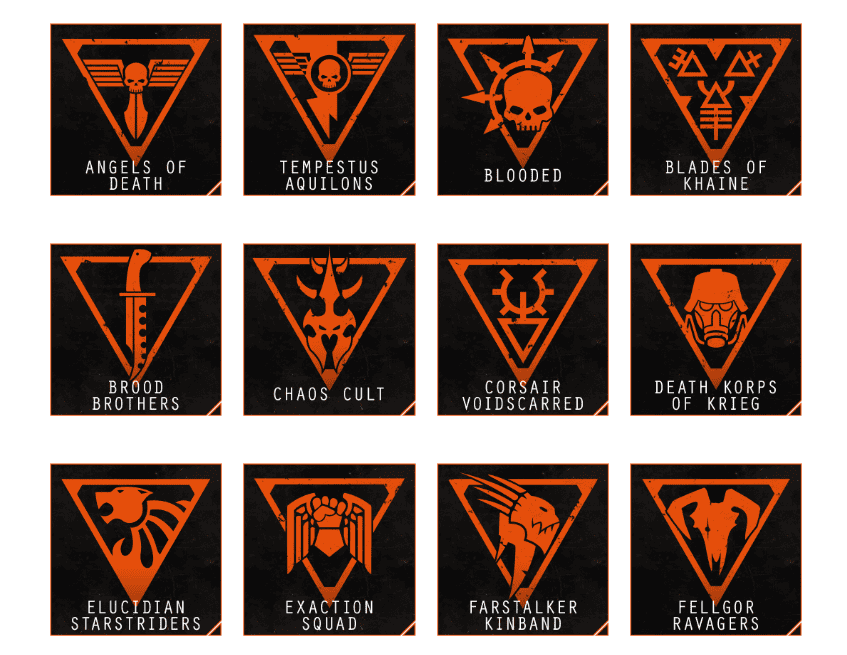
Kill Team Rule Faction Downloads
Click any of the Kill Team Faction names below to get their free rules PDF datasheet!
What Are Kill Team Rules? (Warhammer Kill Team Overview)
Grab the Core 40k Kill Team Rulebook
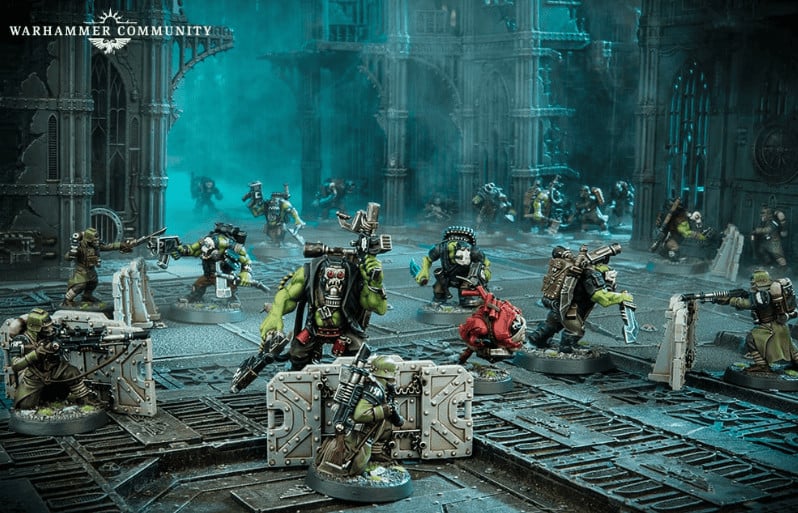
Warhammer Kill Team rules zoom in on tight, small-scale skirmishes where every decision can swing the match. You’re commanding a handful of operatives, usually between 6 and 10, on compact boards packed with terrain that matters. Every turn is a tug-of-war between aggression and restraint, where you decide who moves, shoots, fights, or hides first.
The Lite rules keep it clear: each operative gets a set number of actions (their APL) to move, shoot, fight, or complete mission tasks, and you alternate activations instead of taking full turns. That means no waiting around while your opponent clears half the table; it’s quick, punchy, and constantly tense.
You’ll trade gunfire across crates, climb gantries, and pull off last-second objective flips that feel way too good for a skirmish this small. Big guns still matter, sure, but it’s the player who measures cleanly and plays the angles who walks away with the win.
Kill Team Core Rules Basics: A Beginner’s Guide to 40K Kill Team

Here’s the meat of the 40k kill team rules that decide most games:
- Activation Points (APL): This is your fuel each turn. Move, shoot, fight, or perform mission actions—each one burns APL.
- Control Range: A 1-inch bubble around each operative that defines engagement range and who controls an objective.
- Orders: You’ll use Engage to attack and Conceal to stay hidden. Switching between the two sets your tempo.
- Turning Points: Each round has a Strategy Phase for command points and a Firefight Phase for activations. There are four in total, and they fly by fast.
Mastering those four concepts puts you miles ahead of someone just pushing models and rolling dice.
Movement & Terrain in Kill Team Rules
 Movement is inch-based, which makes positioning everything. A good path across terrain keeps your fighters alive and in scoring range. Hug cover, use elevation, and plan your end positions around objectives—not just targets.
Terrain isn’t just decoration. It defines line of sight, blocks charges, and changes the rhythm of your turns. Think of it as both your shield and your weapon.
Combat Basics Under Kill Team Core Rules
Shooting pulls dice from the weapon profile, rolls hits and crits, then checks the target’s saves. Melee fights happen within that 1-inch control range, where both players roll and trade parries or strikes until one model drops, or both do. The winner often decides who controls that vital point when the smoke clears.
Using Orders in Warhammer 40K Kill Team Rules
Orders make or break your round.
- Engage: Go loud. You’re visible and ready to attack, but easier to target.
- Conceal: Stay hidden. Move safely, flip objectives, and prepare ambushes.
Flipping orders at the right time separates rookies from killers. Knowing when to reveal is how you steal turns and flip missions.
Advanced Tactics with 40K Kill Team Rules
 Smart play wins games. Damage is just one tool; control is the goal. Score early, trade later, and use concealment to waste your opponent’s activations. Switch to Engage only when angles and distance give you the edge.
Pre-measure your dashes, know your charge ranges, and plan ploys like a checklist. The cleanest players aren’t the flashiest, they’re the ones whose models end each turn in perfect spots.
Starter Sets & Materials for Warhammer Kill Team Rules
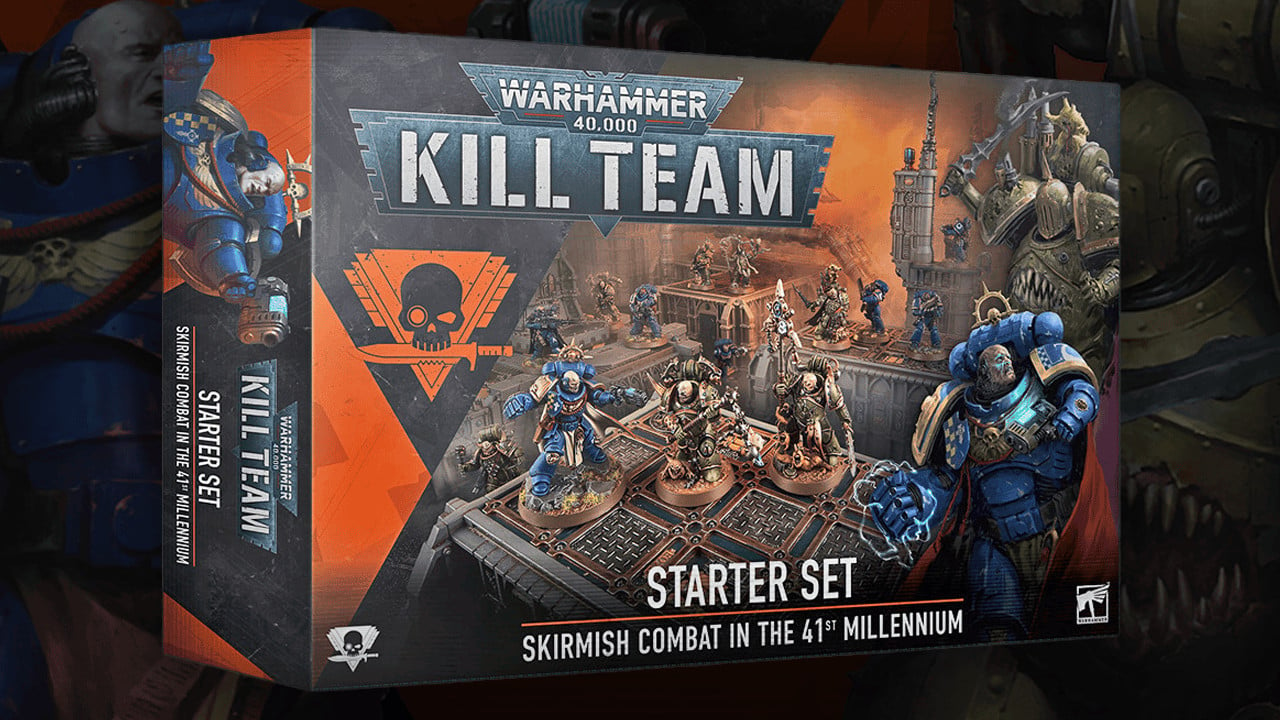 The main starter box includes everything you need to play from scratch:
- Kill Team Core Book and scenario booklet
- Two kill teams with datacards
- Tokens, rulers, dice, and board
- Modular terrain matched to mission layouts
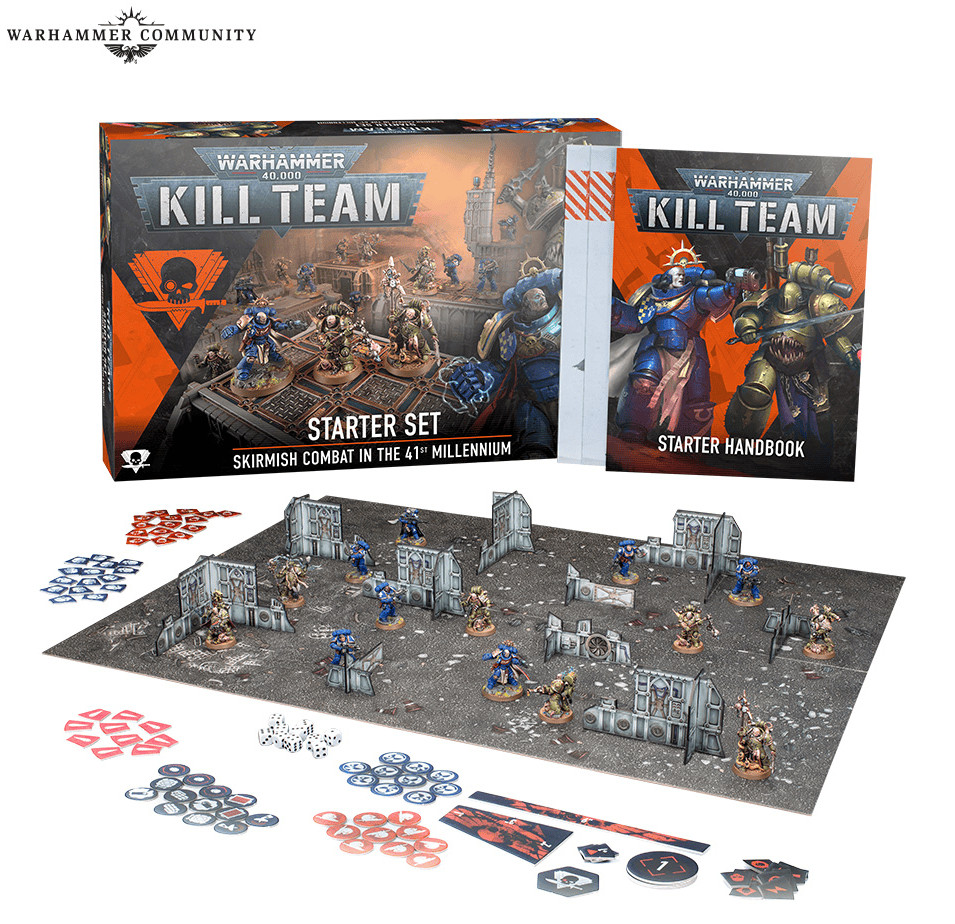 The value here isn’t just in the models. You get all the measuring tools, reference sheets, and terrain that make the game flow. It’s the cleanest way to learn Kill Team rules without juggling extra purchases. It was released in the fall of 2024. Learn more in our review and values breakdown guide here.

- starter set
- Miniatures
- Kill Team
Last update on 2026-04-01 / Affiliate links / Images from Amazon Product Advertising API
Recent Kill Team Rules Update & Expansions (Warhammer 40K)
 All current factions and datasheets live in the Compendium PDF and individual downloads on Warhammer’s site. Most players bookmark these alongside the Lite rules and errata so they can cross-check updates before events.
Each expansion tweaks balance or adds narrative options, but the core 40k kill team rules stay consistent: APL economy, movement precision, and timing still decide games.
Key Kill Team Core Rules Changes Since 2021 (40K Kill Team)
 Returning players are in for a pleasant surprise; the Warhammer Kill Team rules have gotten a serious polish since the 2021 version. Movement now uses inch-based measurements, which means no more guessing from odd symbols or arguing over what counts as a stride.
Engagements feel smoother too, with Control Range locked at a clean one inch, so fights play out consistently. Datacards finally make sense at a glance, laying out APL, wounds, saves, and abilities without needing a spreadsheet.
Line of sight and cover got fine-tuned to reward clever positioning instead of lucky angles, and weapon profiles are balanced so you’re not stuck spamming the same loadout every game. All together, these tweaks make the game faster to teach, fairer to play, and way more fun to master.
Grab the Kill Team CompendiumCompetitive Play: Missions & Rule Interactions in Kill Team
 Tournament packs rely on the Critical Ops Deck. Secondary missions revolve around objective flips and holding key zones. If you’re prepping for events, bring:
- Printed datacards and roster
- Objective markers and tokens
- Latest errata and FAQs
- A game plan for each map layout
 Playtesting mission layouts ahead of time saves you headaches mid-event. Know where to deploy and how to pivot when initiative flips.
Final Thoughts on the Warhammer 40k Kill Team Rules
Kill Team rewards precision and planning more than raw firepower. Once you’ve got the kill team core rules down, every inch, order, and objective flip matters. The difference between a win and a loss often comes down to timing, and the player who treats the mission like a chessboard instead of a shooting gallery usually walks away with the points.
So grab your team, set up the board, and start getting reps in. The Warhammer 40k Kill Team rules aren’t a trap; they’re a playground for smart gamers who like their tactics tight and their dice hot.
All the Latest on Warhammer 40k Kill Team

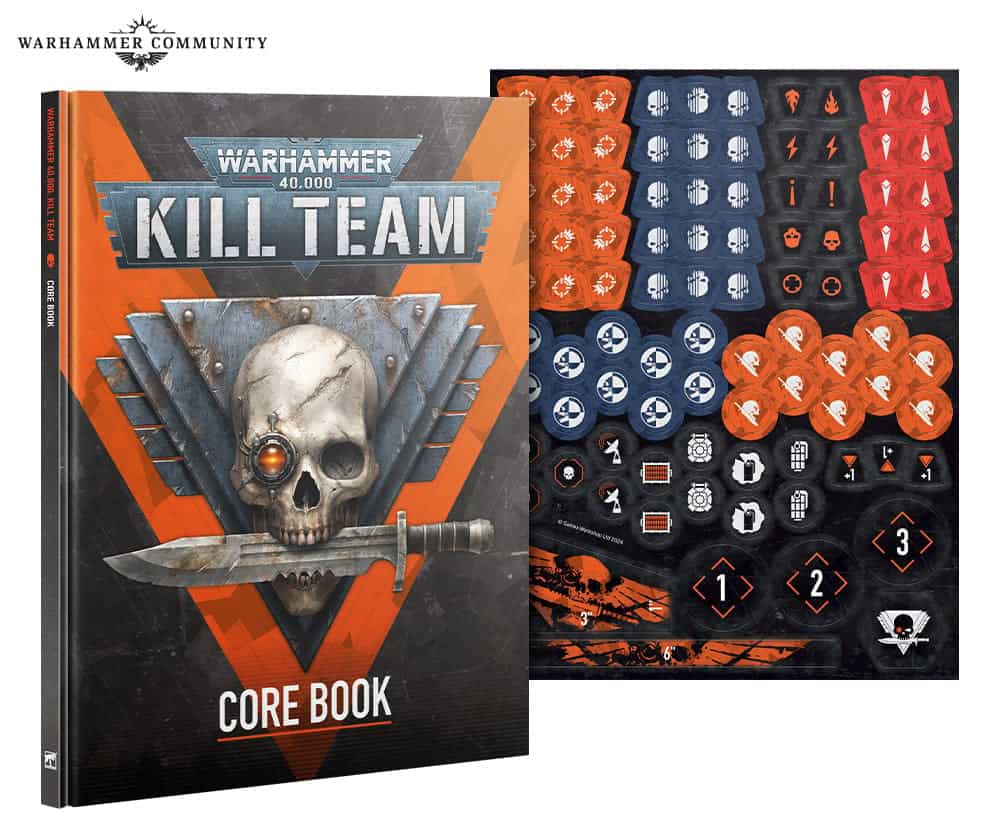
- Games Workshop - Warhammer 40,000 - Kill Team: Core Book (2024 - 3rd Edition)
- The essential guide for playing action-packed games of strategic combat with small teams
- Features a streamlined ruleset focusing on tight, tactical gameplay and versatility
- Includes a full set of tokens for easily keeping track of your operatives and objectives
- Core rule set
Last update on 2026-04-01 / Affiliate links / Images from Amazon Product Advertising API