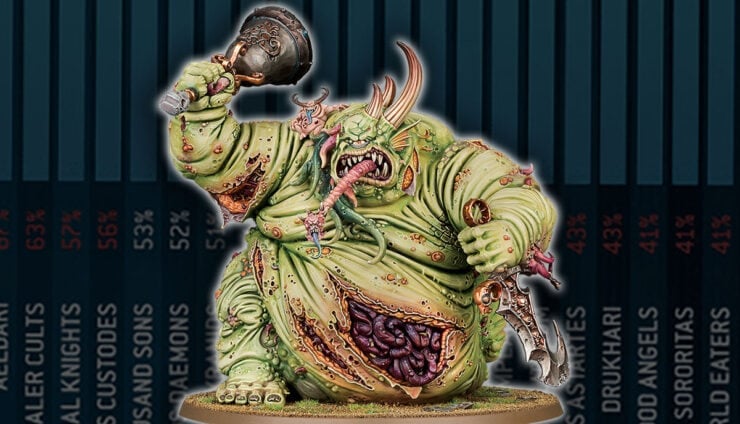
Here’s how to layer and glaze miniatures using acrylic paint glaze techniques that enhance contrast, expedite painting, and maintain vibrant colors on your models.
Let’s talk acrylic glaze, straight from Monument Hobbies. Not the kind that goes on donuts (tragically), but the stuff that transforms your miniatures from “passable” to “worth zooming in on.” Glazing with acrylic paint is one of those techniques that looks fancy but boils down to a few smart steps and a little patience—or a hair dryer.
If you’ve been speed-painting your goblins like you’re in a race with time itself, glazing might sound like a luxury. It’s not. Done right, it’s the shortcut to making your models look like you spent hours layering every inch with a monk’s precision.
And it all starts with knowing how to use your acrylic glaze miniatures paint without making a mess. Here’s a breakdown on how to actually do it.
Quick Tips to Save Your Sanity
- Use cool air to dry layers fast—hot air can rehydrate the base coat and wreck your work.
- Paint with intent. The fewer unnecessary strokes you make, the less texture you’ll need to fix later.
- Yellow-based highlights tend to be lower opacity. Expect more layering if you’re working toward bright yellows.
- Glazes don’t need to be fancy products (even the best glaze medium for miniatures is fairly simple). Just thin your paint until it’s see-through, and you’re good to go.
Start Dark, Think Bright

Now, if you want more contrast early on, swap that mid-green for something like dark camo green. That pulls you closer to your shadows from the first brushstroke. Just don’t expect a vibrant finish if you stop there.
Layer Like You Mean It

- First layer: Full coverage over the area. Let it inherit the black underneath.
- Second layer: Cover about 75% of what you just did.
- Third layer: Hit 50% of that.
- Fourth? We’re talking edge highlights or a tight stipple near the brightest spot.
You’re not glazing yet. This is layering with opaque paint to build shape and volume. Each coat adds a bit more color while leaving behind a trail of shadows and midtones. You’re not just painting—you’re sculpting with color.
Bring on the Glaze

This “finish glaze” knocks back any harsh edges and ties the layers into a smooth, unified look. Think of it as a soft focus filter—except you’re doing it with a brush, not Photoshop.
Want a warmer tone? Use a yellow-green glaze. Cooler? Bring in a touch of blue. You can manipulate the whole vibe of your miniature with this one step, without repainting anything.
Highlight Like a Sniper

Glazing Isn’t Just for Showpieces

And here’s a bonus: using acrylic glaze model paint as part of your regular workflow adds depth and saturation without more steps. It’s like cheating, but legal.
Get Your Paints From Monument!

Be sure to get 10% off on your purchase by using promo code: Spikeybits
Final Word on Acrylic Glazing Techniques

Whether you use this for green like here or skin tones, this glaze works like a charm, no matter the amount of paint you buy!
So next time you’re eyeing your pile of plastic, think less about grinding through them and more about how much life you can pull out of a single color. Your acrylic glaze doesn’t need to shout to stand out—it just needs a small amount of planning.
Grab Your Paints From Monument Hobbies Here!


